Flash via USB-C Cable
- Use a data-capable USB-C cable and connect it directly to your computer.
- If the CORE is mounted to the HAT, plug into the HAT’s “CORE/ESP32” USB-C port. Otherwise, use the CORE’s USB-C port.
- Use the form below to flash Production or Beta firmware, with or without mmWave.
-
Select the JTAG device
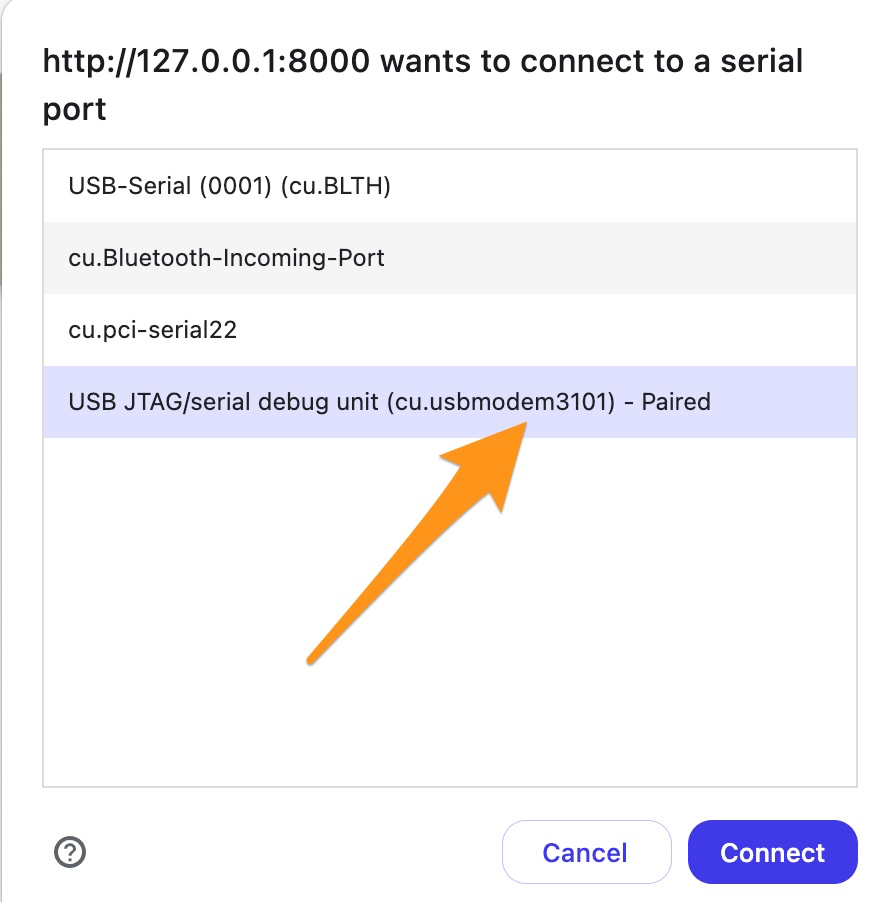 After clicking the blue "Connect" button, a pop-up window will open. Select the JTAG device in the pop-up window.
 -
Start Firmware installation
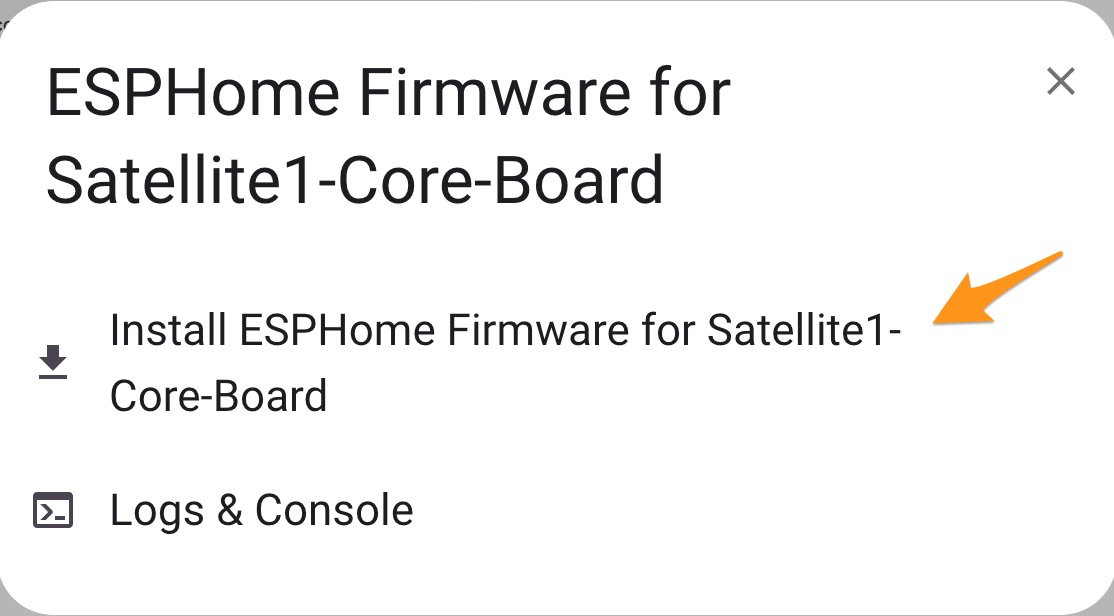 Click "Install".
 -
Erase the device
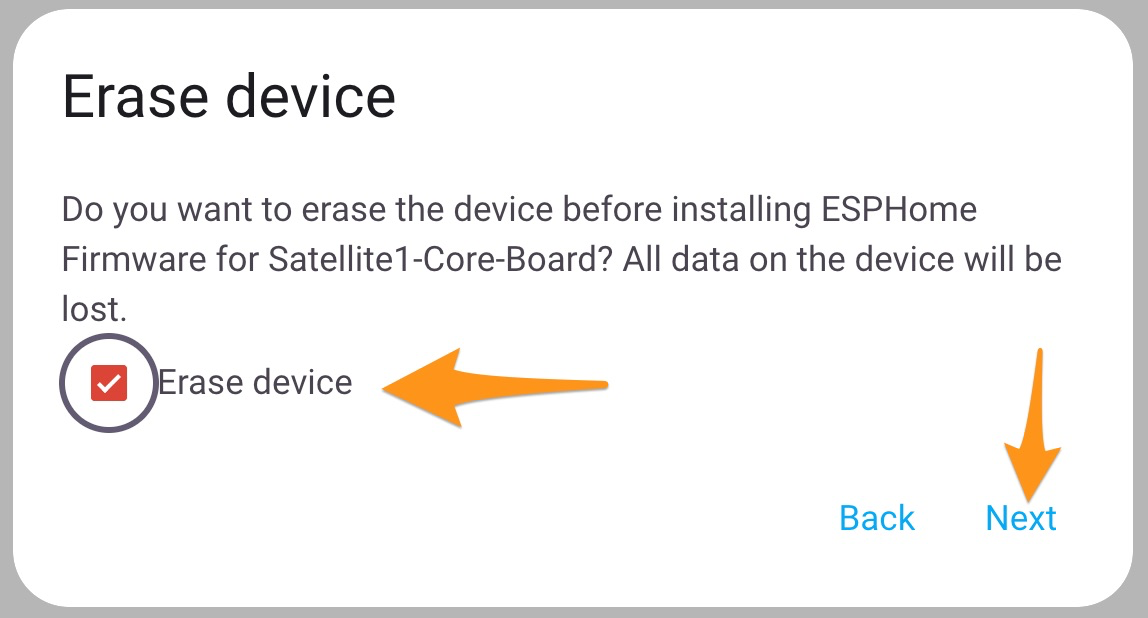
 Check Erase the device if you want to remove saved WiFi credentials, then click "Next" and "Install".
 -
Installation completed
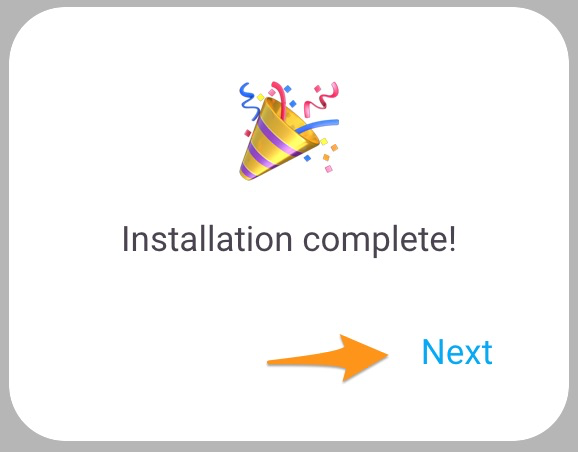 Installation will complete. Click "Next".
 -
Configure WiFi
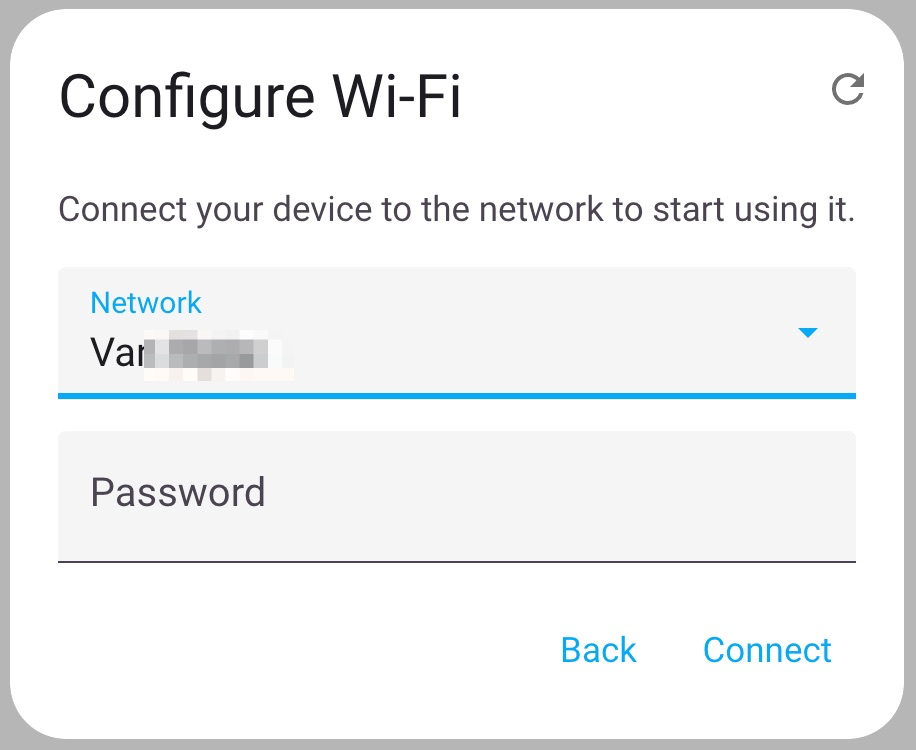 Select your 2.4 GHz WiFi network and click "Connect". Your Sat1 device will begin sparkling blue while attempting to connect. If you don't see your WiFi network then click the refresh icon on the top right to scan for networks again.
 -
Connected to WiFi
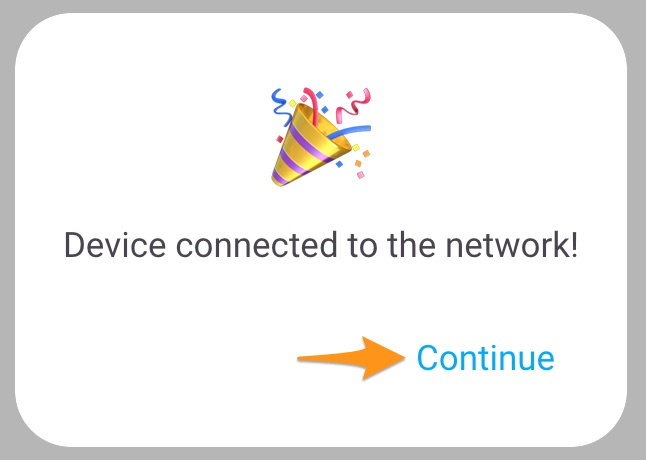 Congrats you're now connected to your Wifi! Your device will now begin sparkling red. This means it needs to be connected to ESPHome in your Home Assistant instance.
 -
Start ESP Onboarding
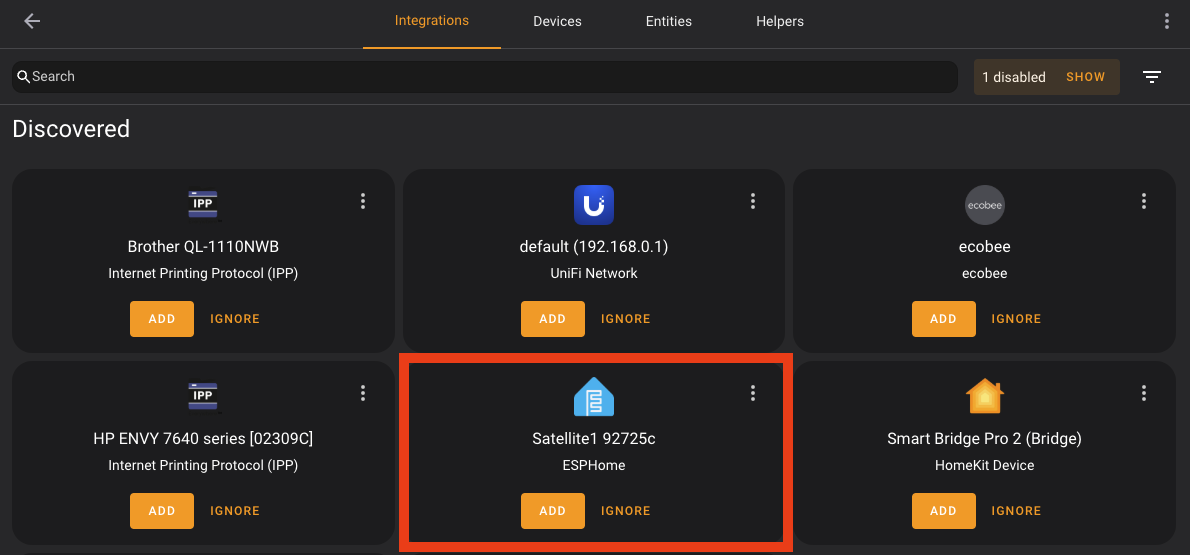 Inside Home Assistant, go to "Settings -> Devices & Services" and notice you have a Discovered
 Satellite1 xxxxxxdevice. Click ADD and follow the ESPHome onboarding steps.