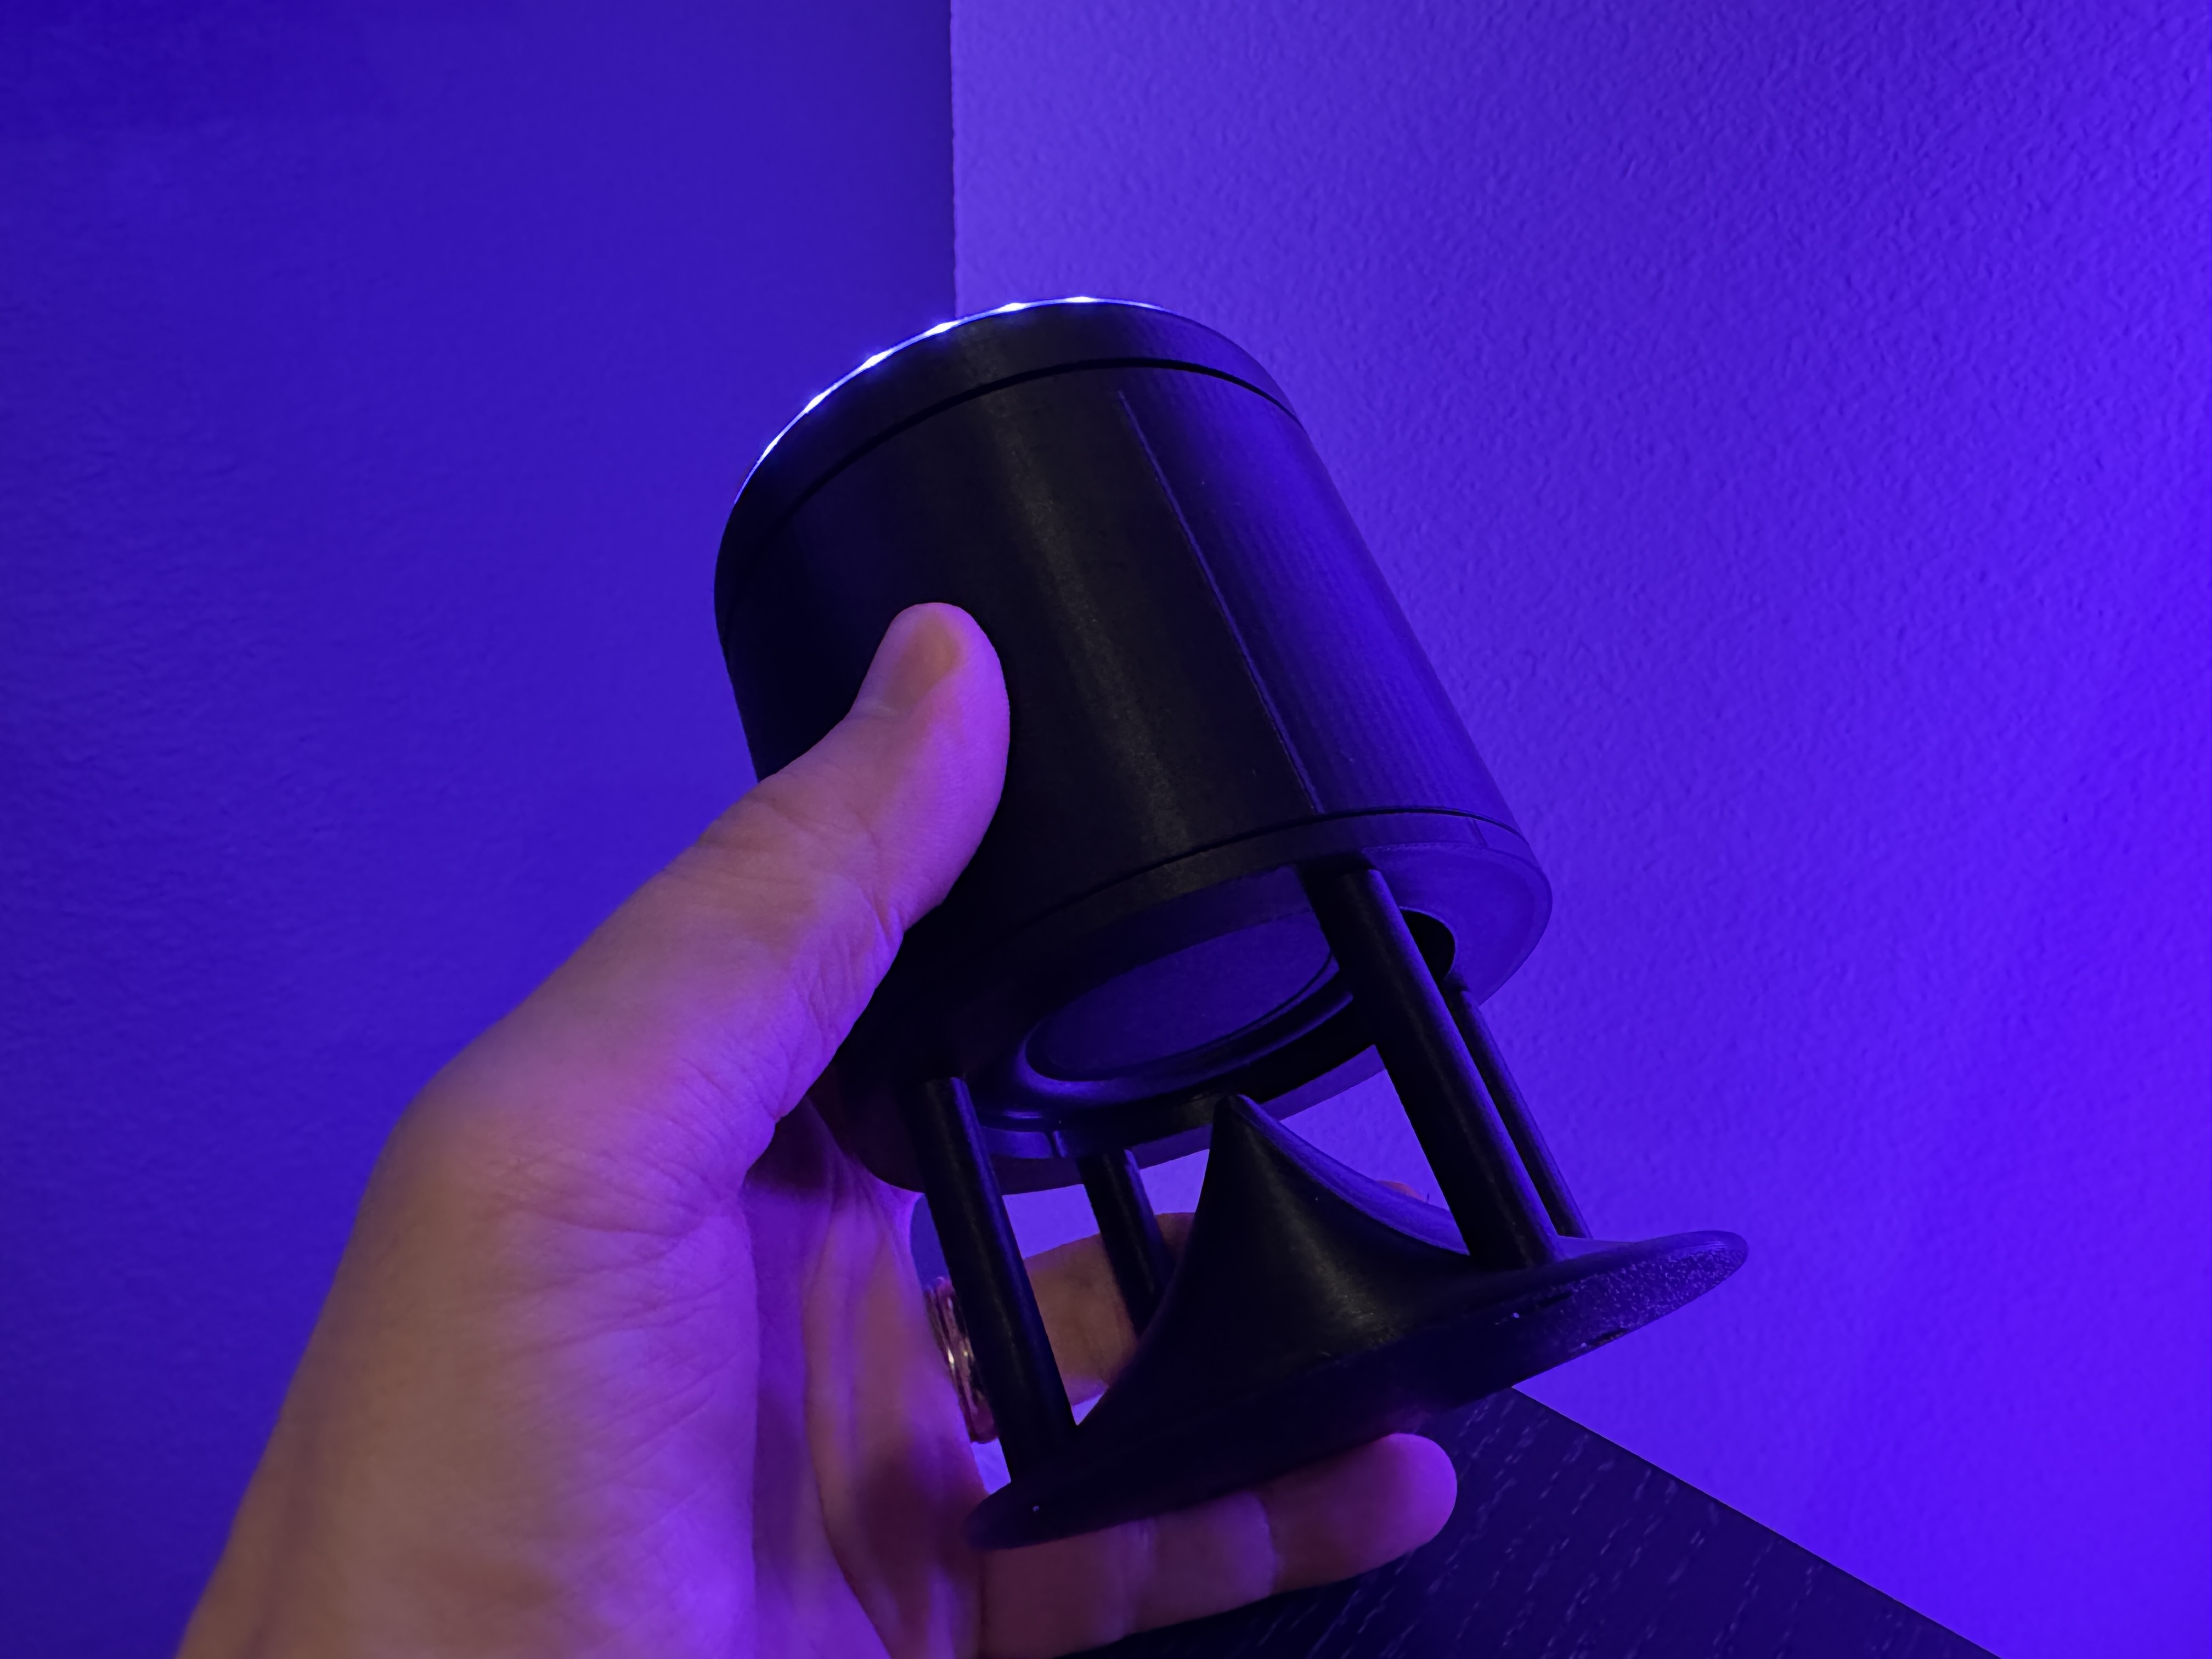
Cylindrical Dev Kit Enclosure
The Satellite1 Cylendrical Enclosure is a snap-fit enclosure that can be printed on a single plate. We highly recommend PETG filament, plus some Loctite (Blu-Tack) and speaker polyfill for the best acoustic results. This is our first-generation enclosure, and many revisions will come out as we iterate the product and receive feedback. Currently the enclosure supports three recommended speakers:
- Dayton Audio RS75-4 3" driver
- Tectonic TEBM46C20N-4B BMR 3" driver
- GRS 3RF-4 4" driver (requires a slighly custom stand since it's a larger speaker)
All the files necessary can be found in the Satellite1-Enclosures Github Repo.
Watch the Instructional Video
Enclosure Limitations
Many of the below enclosure limitations are solved by our upcoming power-over-ethernet SHOE board
Without the SHOE board there are some current limitations of the enclosure:
-
The lux sensor will not give accurate readings of the room.
We will solve this with a light pipe and updated enclosure designs. This can also be solved by our upcoming SHOE board and relocating the lux sensor down in the speaker chamber. -
The temp/humidity sensor will not give accurate readings of the room. Also the mmWave sensor is pointed up at the ceiling.
Our upcoming "SHOE" PCB will relocate these sensors down into the speaker chamber while also giving a PoE port to the enclosure! -
The mic pipes very slightly decrease the accuracy of speech-to-text.
We will solve this once we get to plastic injection molded enclosures. -
The wake word may not respond when playing music at full volume.
We will experiment with modified enclosure designs, gaskets, and better audio echo cancellation firmware to mitigate vibrations in the enclosure.
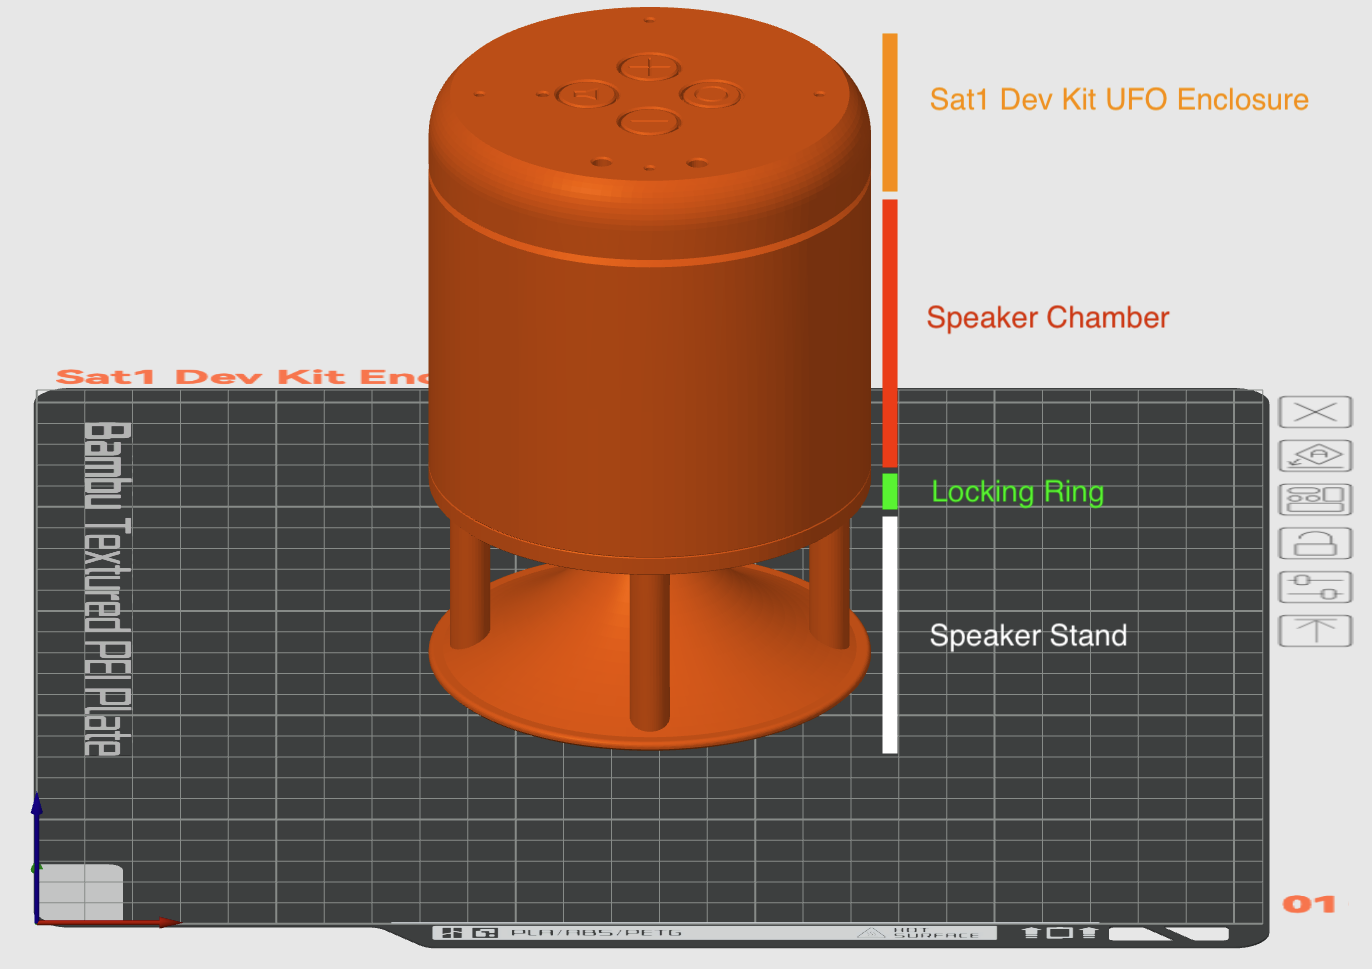
Printing the Dev Kit Cylindrical Enclosure
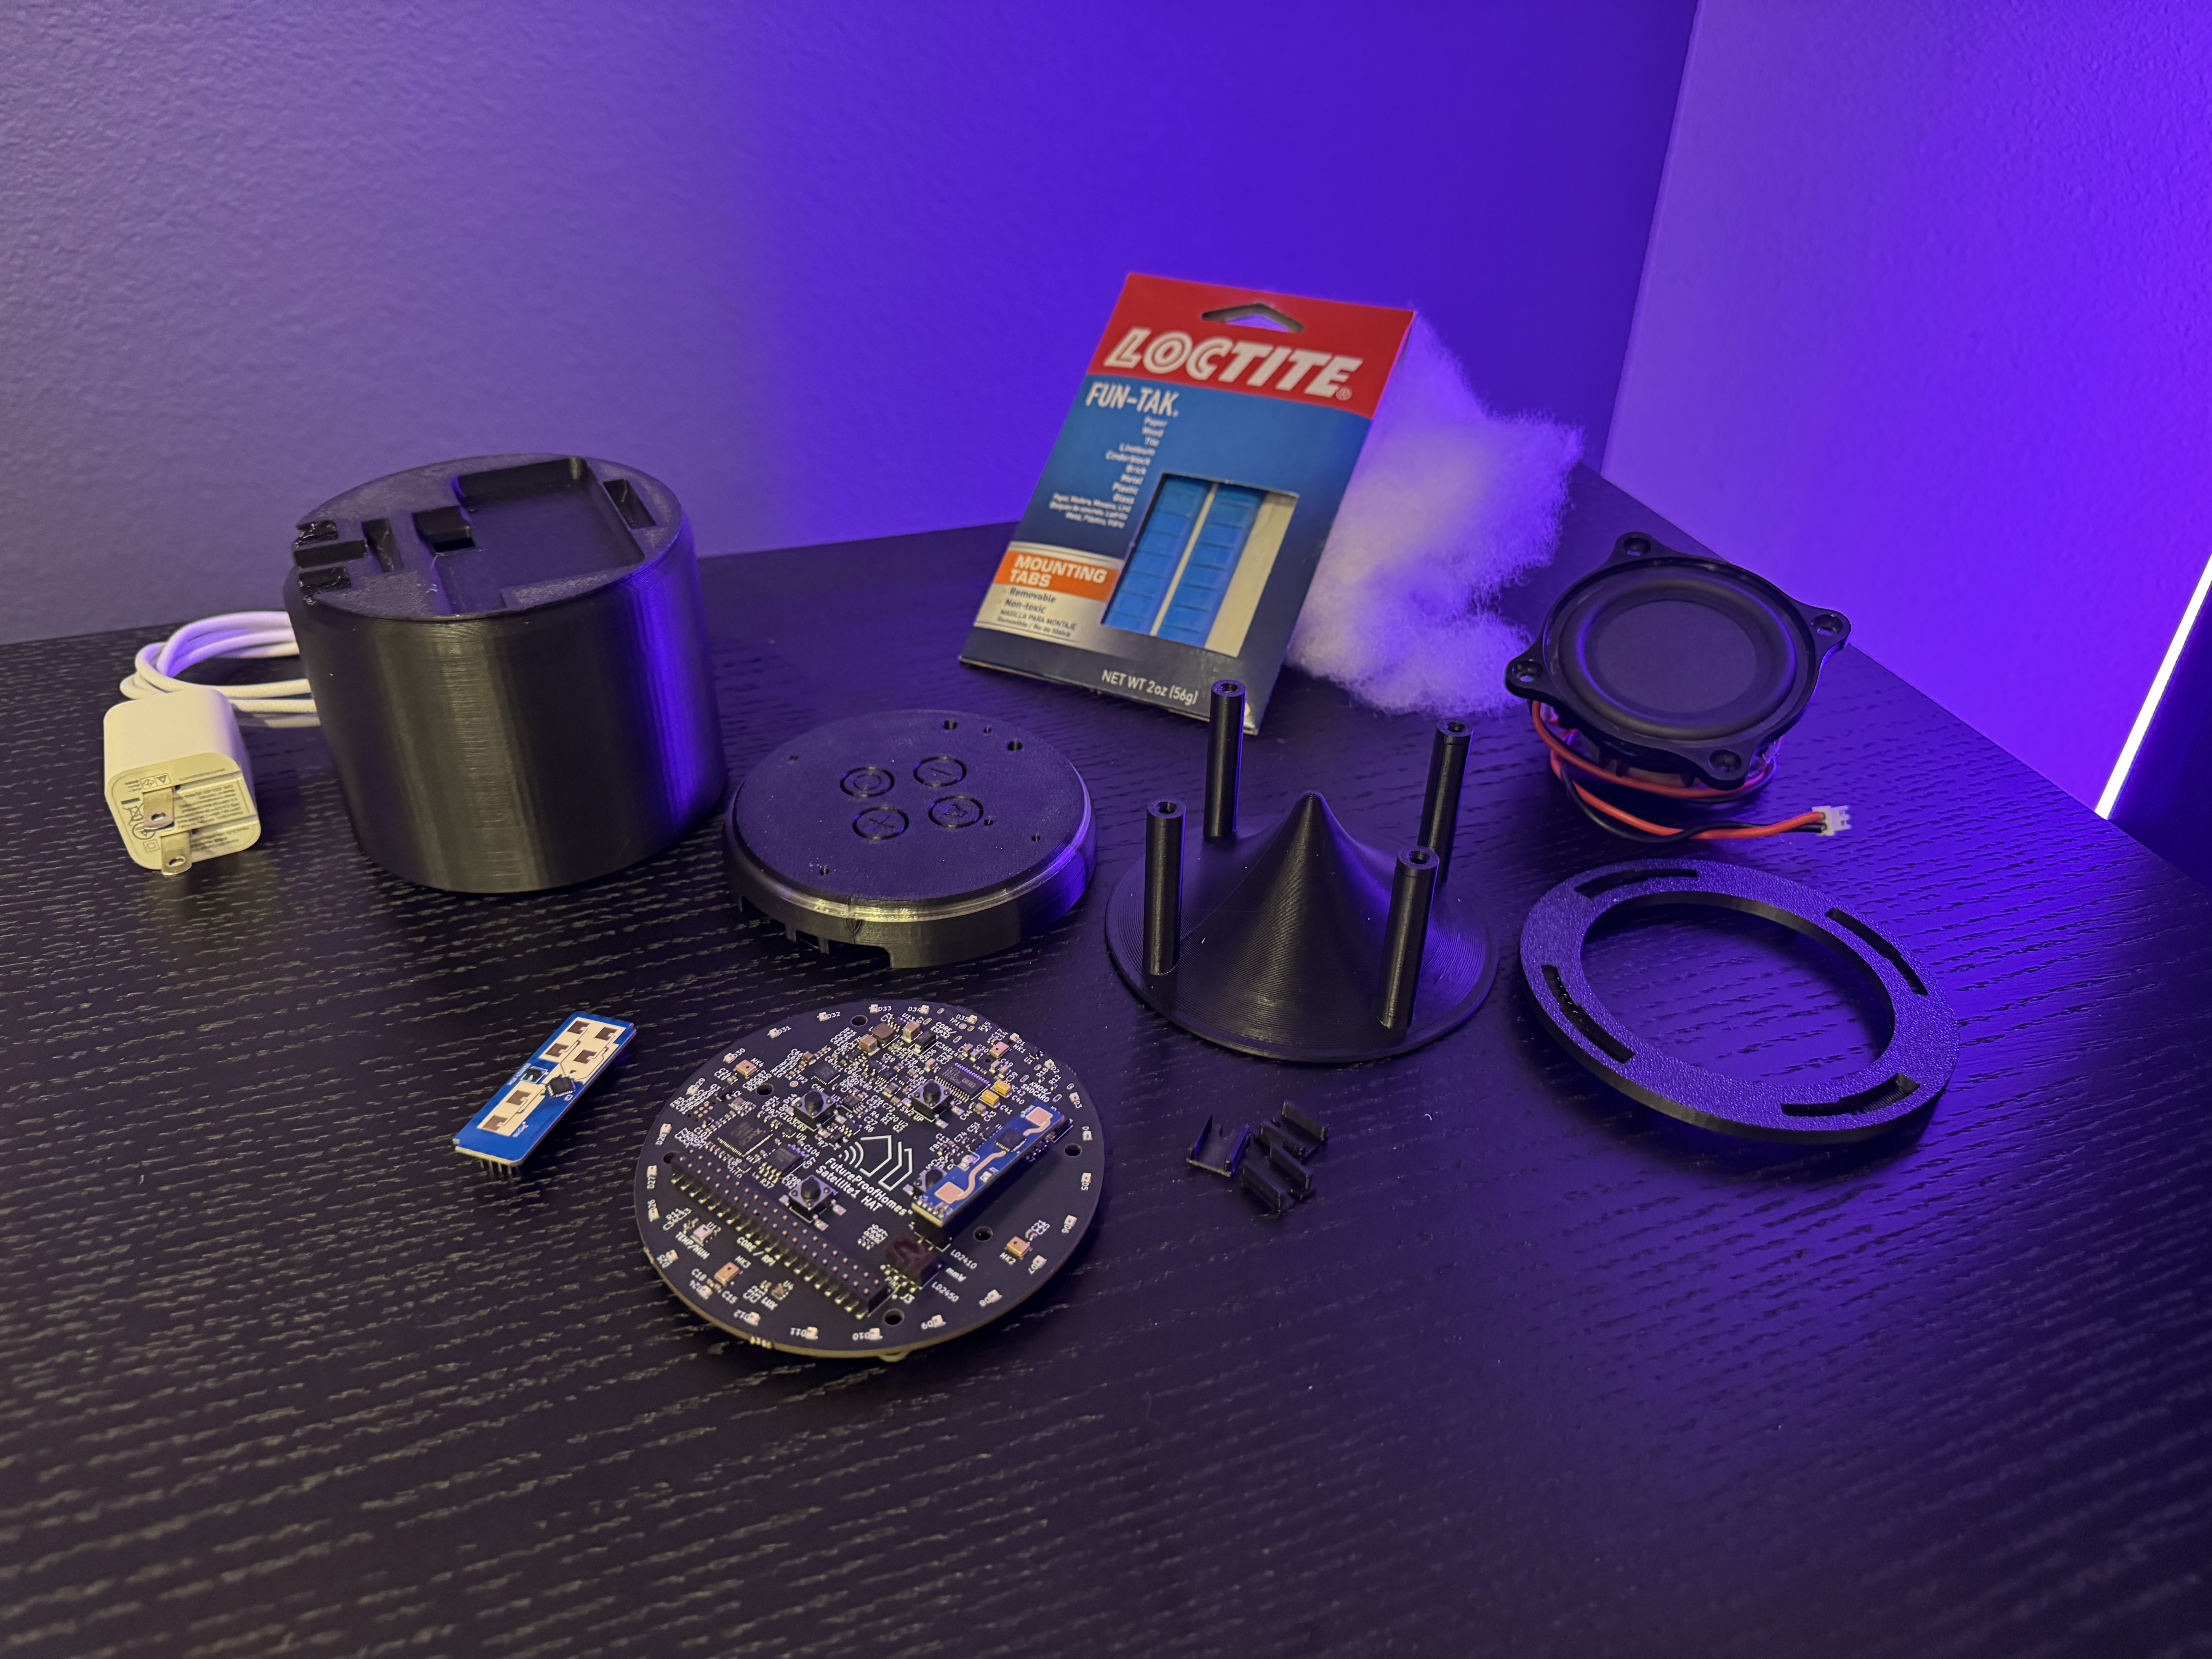
The full speaker enclosure consists of 4 major parts. If you don't have the necessary speaker you can print just the Satellite1 UFO enclosure.
NOTE: Enclosures and geometry files may be specific to a hardware revision & speaker model number.
I want to quickly print using the pre-build slicer project file.
Pre-Built Slicer Project File
-
Determine the speaker model number you're running and select the correct threaded adapter. i.e. "Dayton Audio RS75-4"
-
Download the correct pre-built
.3mfproject file from the Satellite1-Enclosures Github repository and open in your favorite slicer software.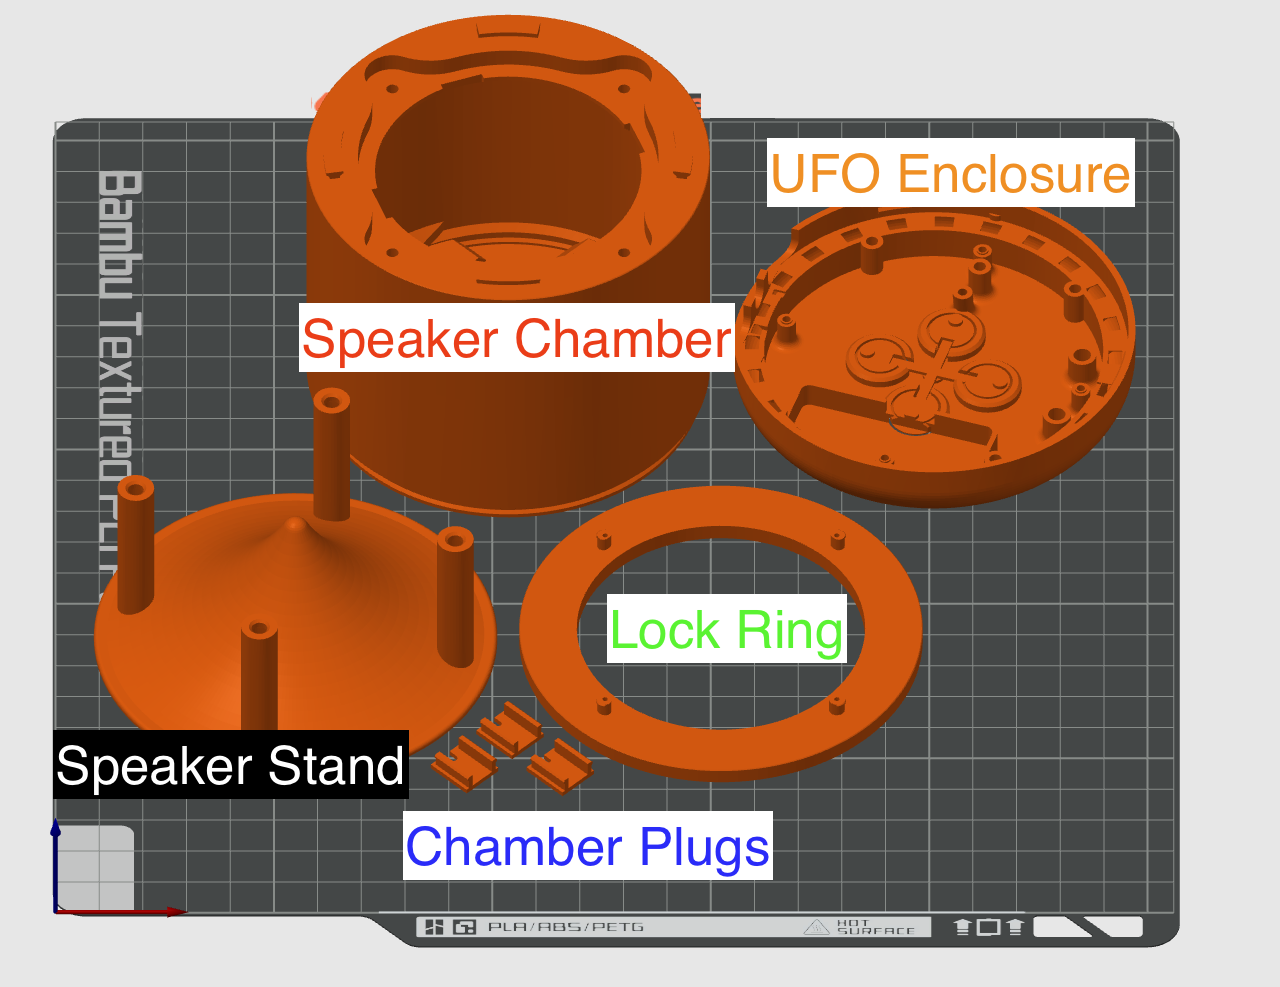
-
Right-click on each part and select your desired filament.
(NOTE #1: PETG-HF is better for acoustics, but PLA will work too.)
(NOTE #2: Set UFO Enclosure's "Light Ring" layer to transparent or white filament so you can see the LEDs.)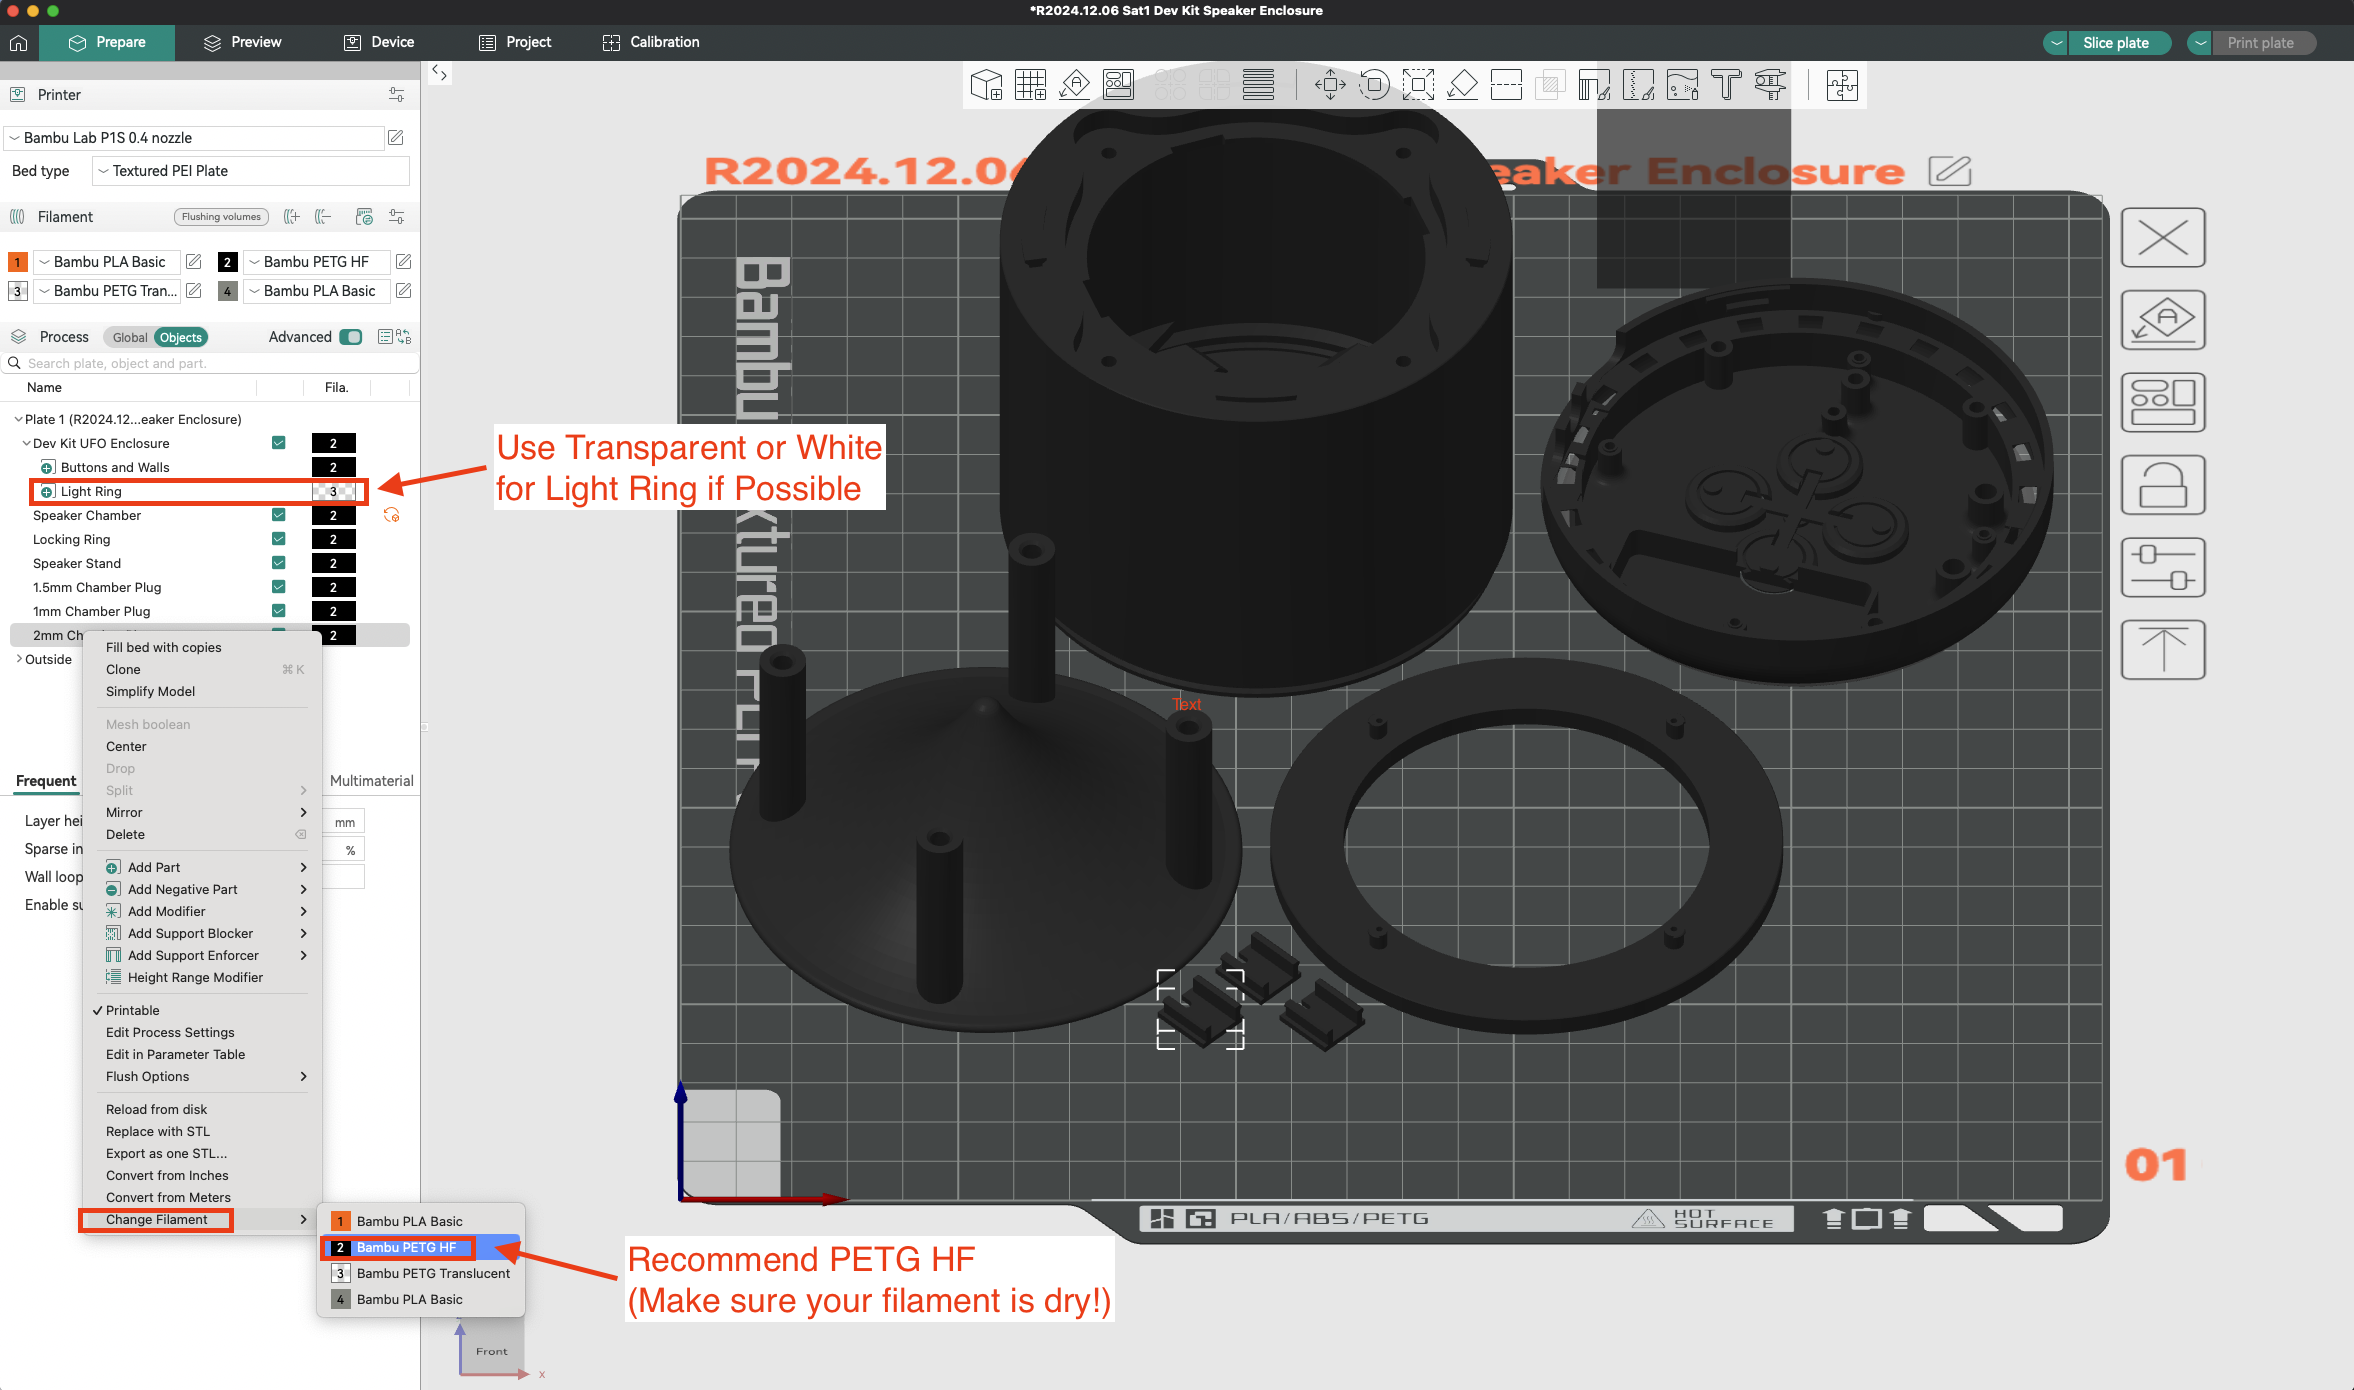
-
After slicing and printing you see this is approx a 4.5h print. Everything is "snap-fit" and requires no screws.

I want to create my own project from scratch in my slicer software.
Custom-Built Slicer Project
If you cannot or do not want to use our pre-built slicer project file then you can build your own plate from scratch:
- Add the necessary
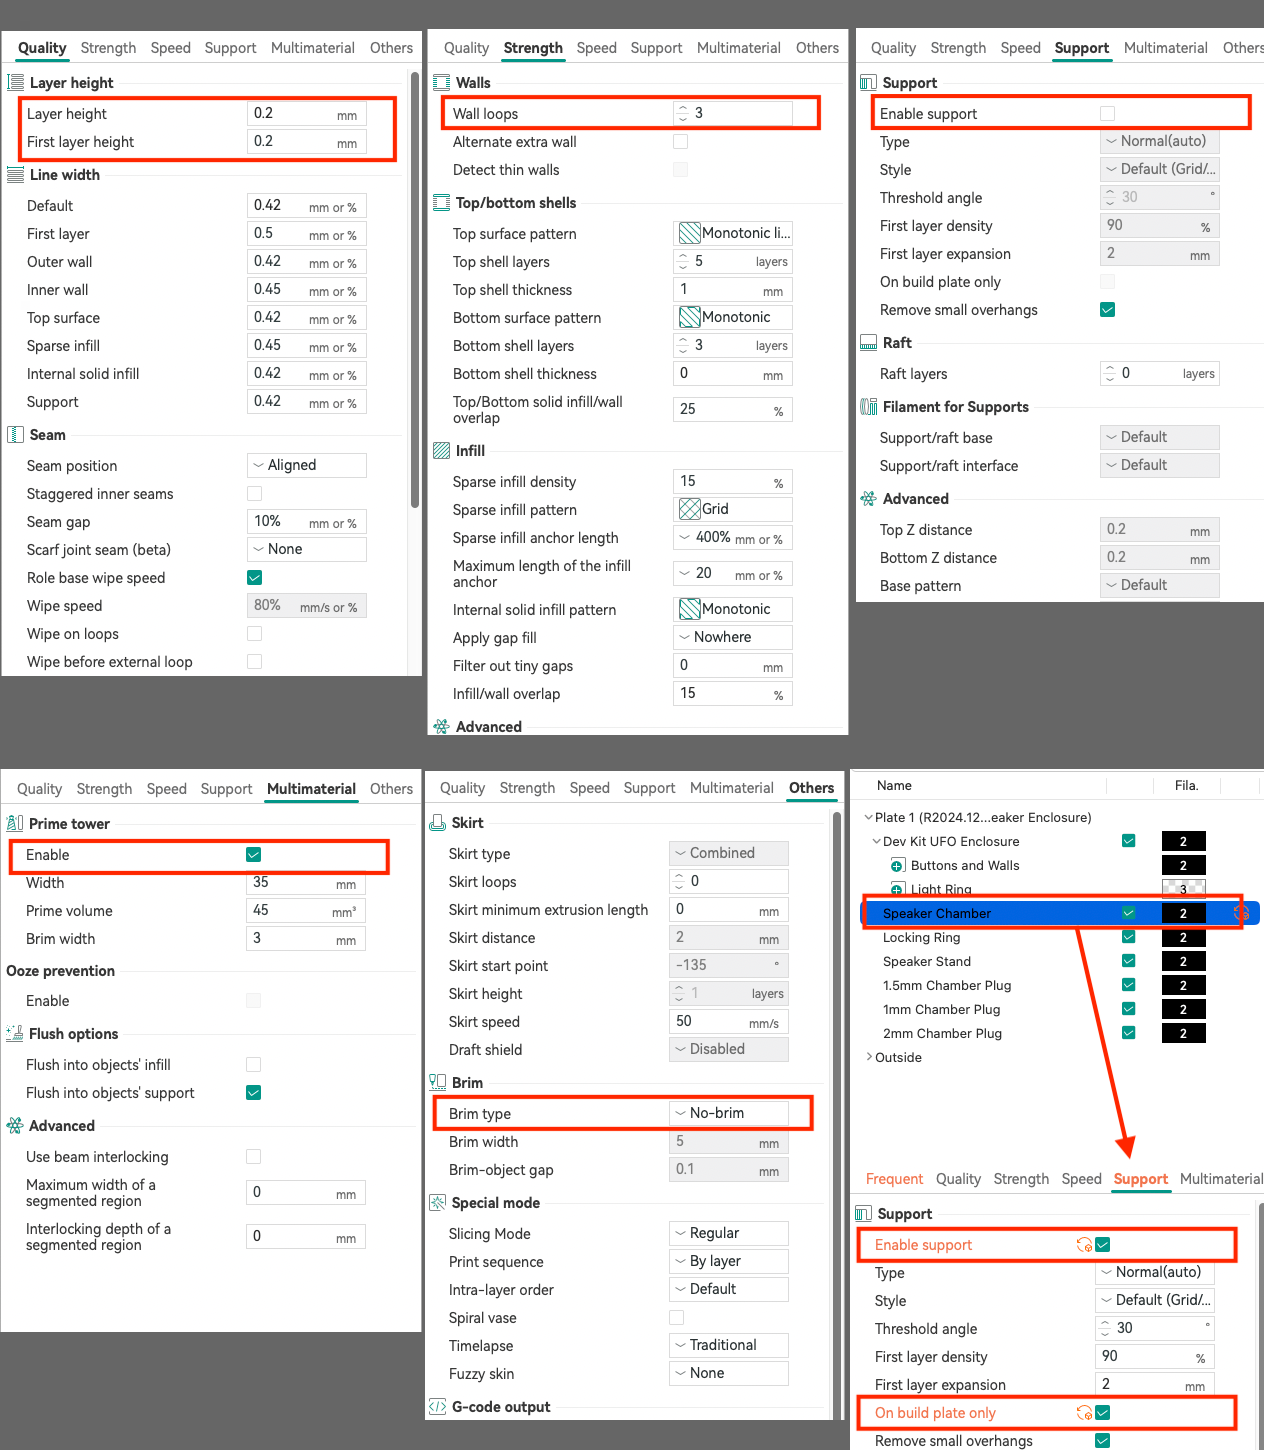
.stlgeometry files to your slicer software from the Satellite1-Enclosures Github repository. - Set your project to use the recommended settings.
- 0.2mm layer height
- 3 wall loops for strength
- 15% infill (increase this to 50% for the speaker enclosure for even better acoustics)
- (Optional) Arachne wall generator
- Supports are disabled EXCEPT the speaker chamber and speaker adapters have "Build Plate Only Supports" enabled
- No-Brim
Assembling the Dev Kit Cylindrical Enclosure
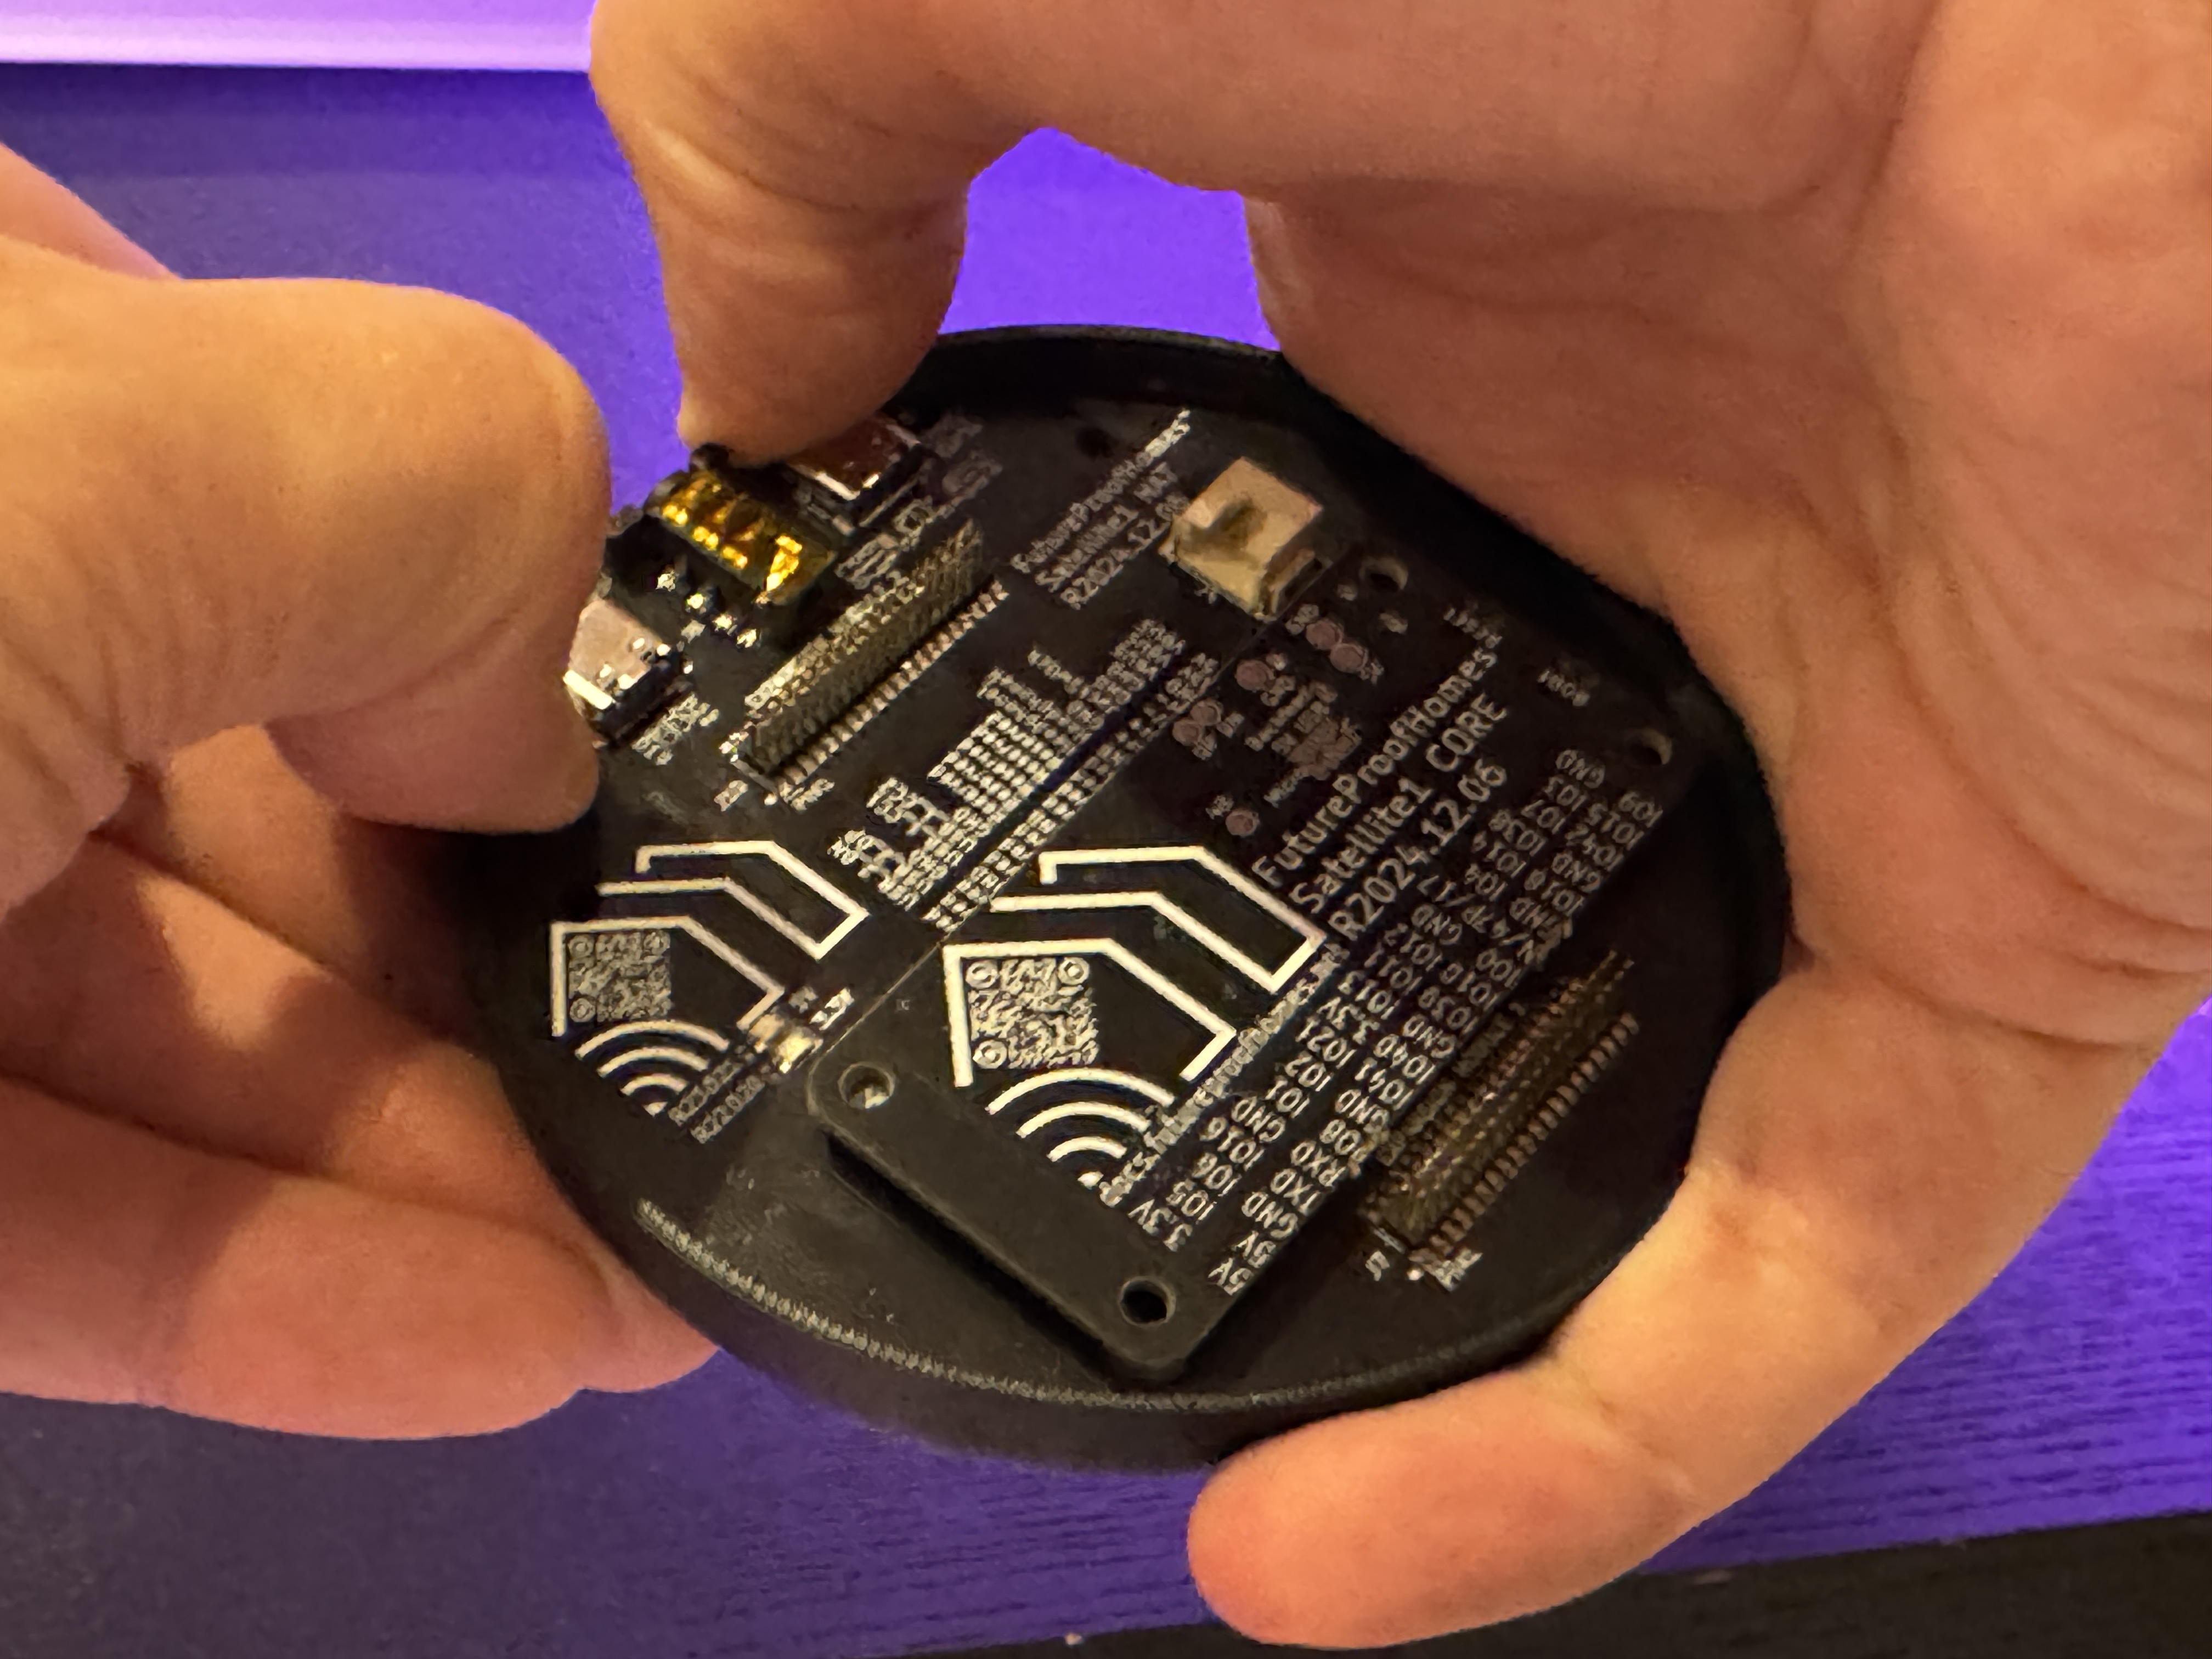
- Grab some Loctite (aka Blu-Tack) and generic speaker Polyfill. Attach your chosen mmWave to the HAT.
- There are three locations where you'll see 2 mounting lips on the UFO enclosure. The goal is to get the Sat1 HAT sloted underneath the smaller bottom lip in all three locations, such that the LEDs are peaking through the square cutouts and into the light ring.
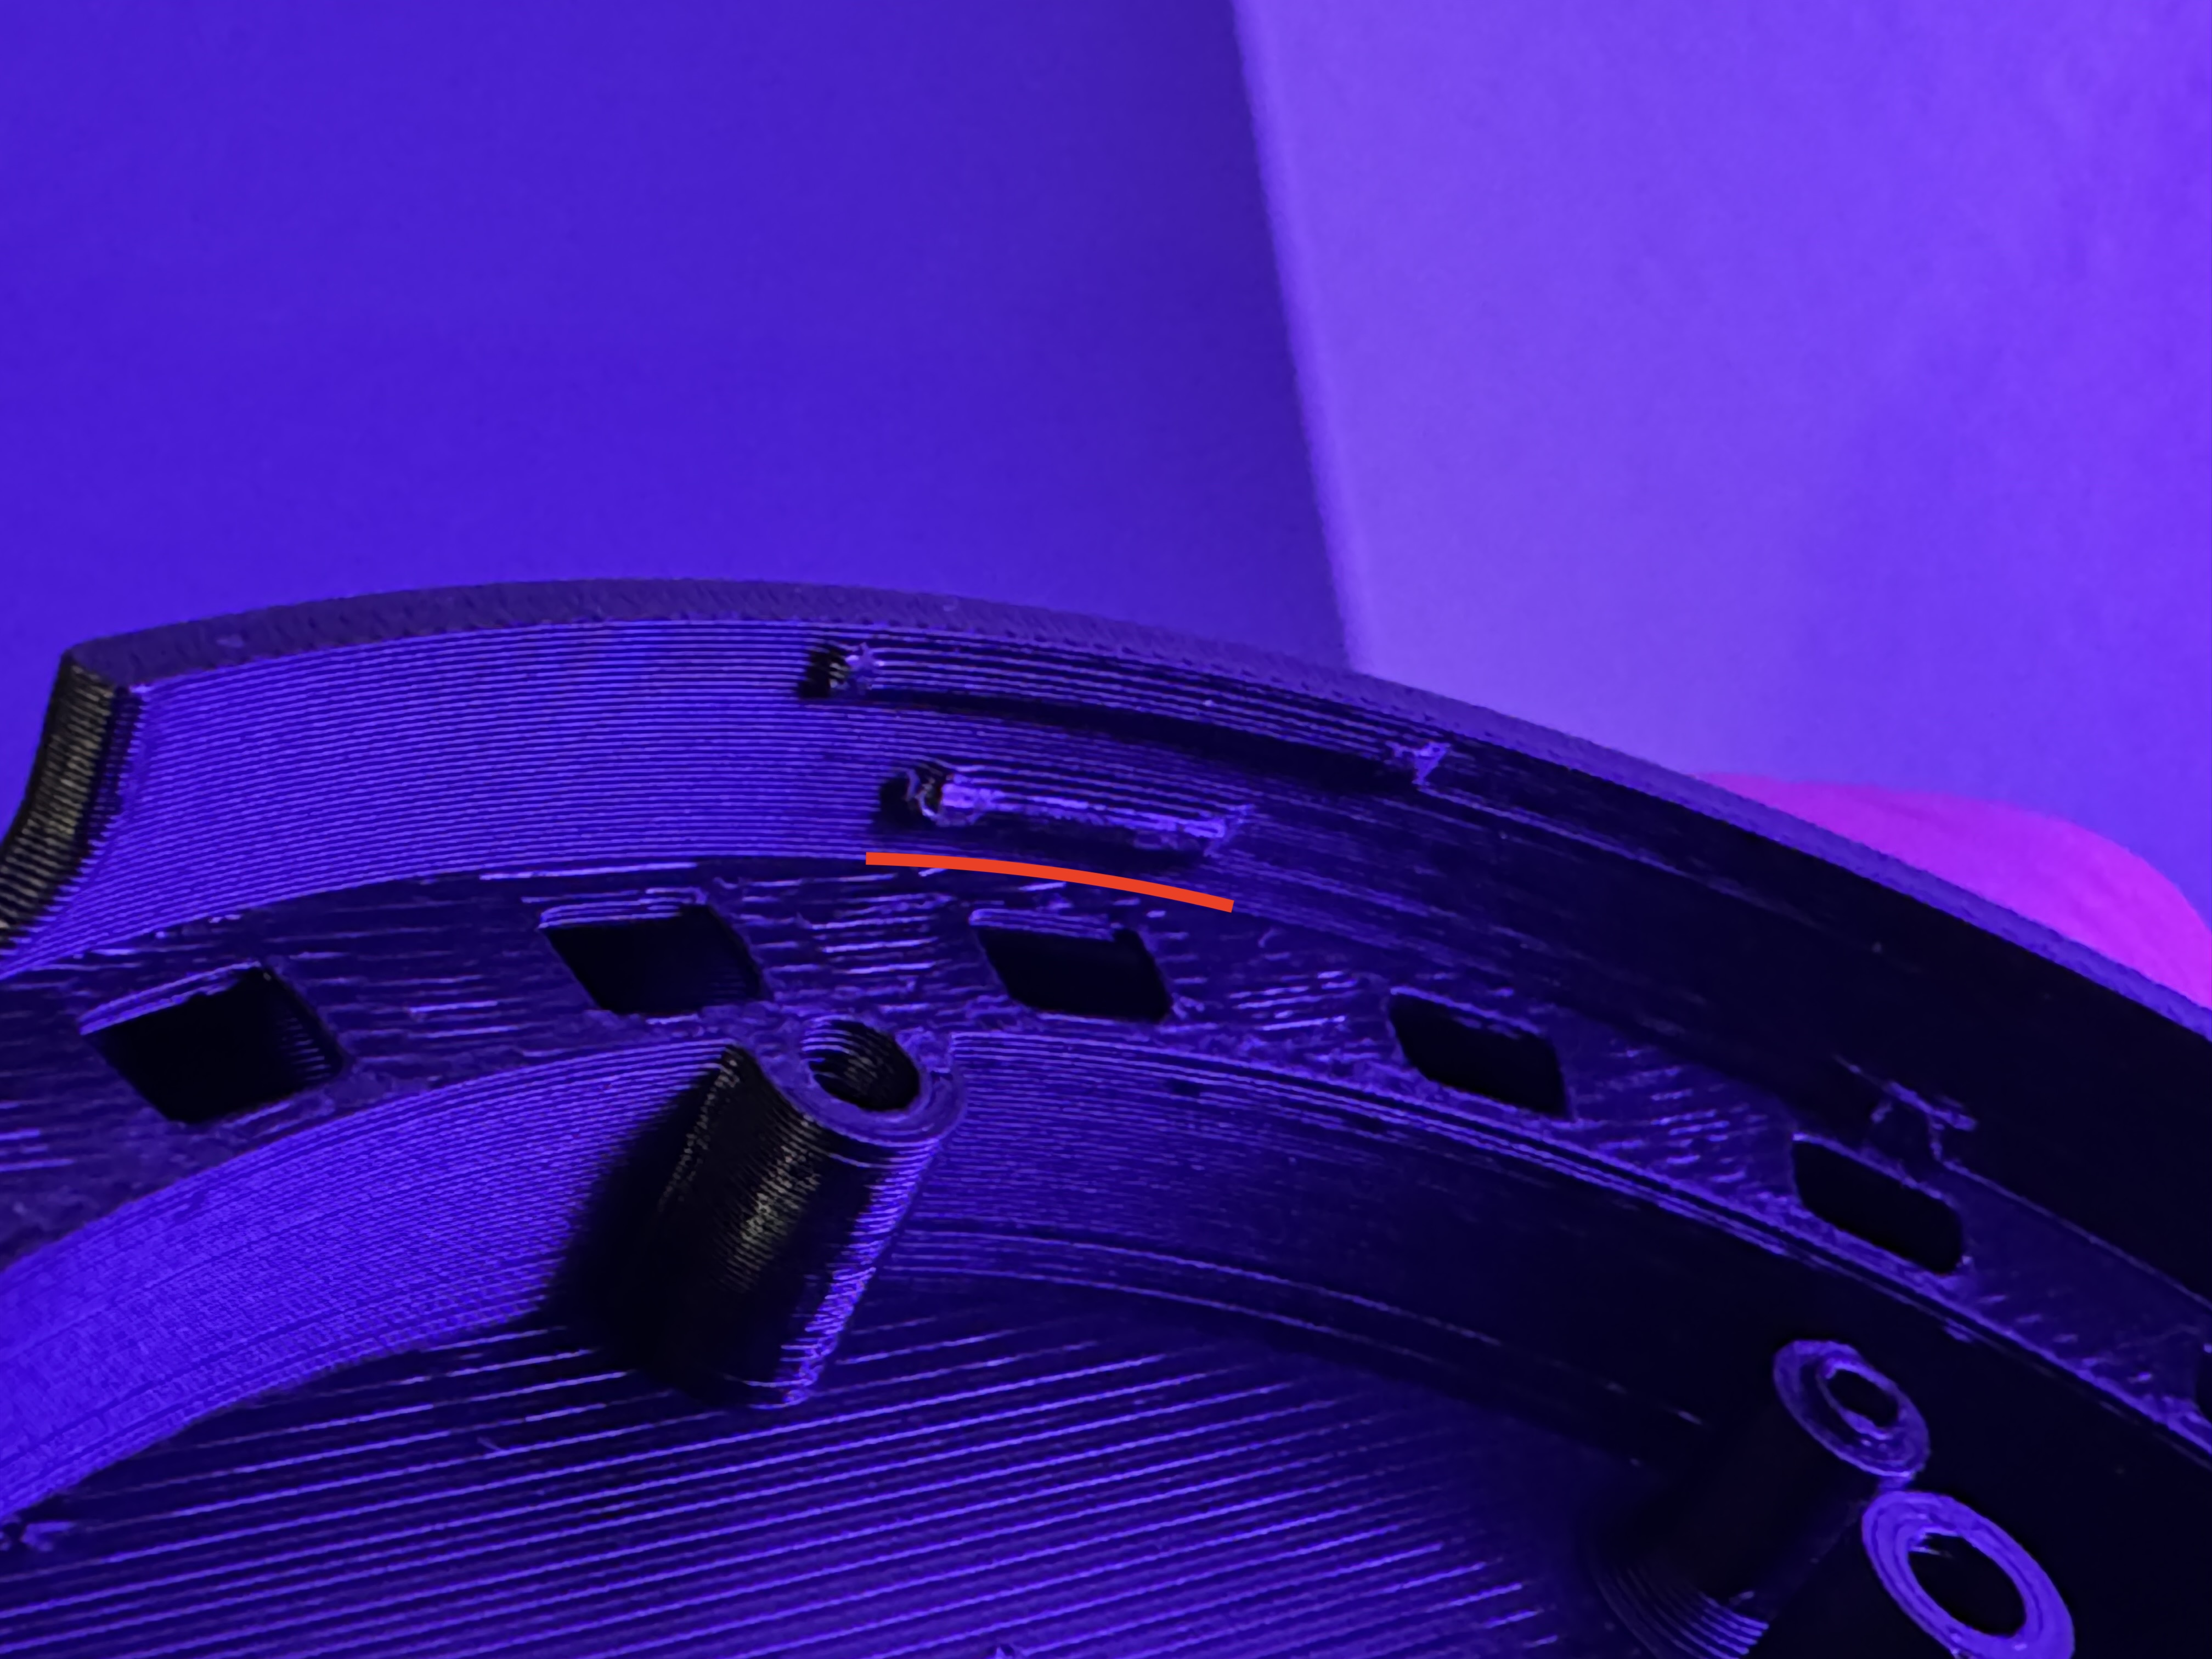
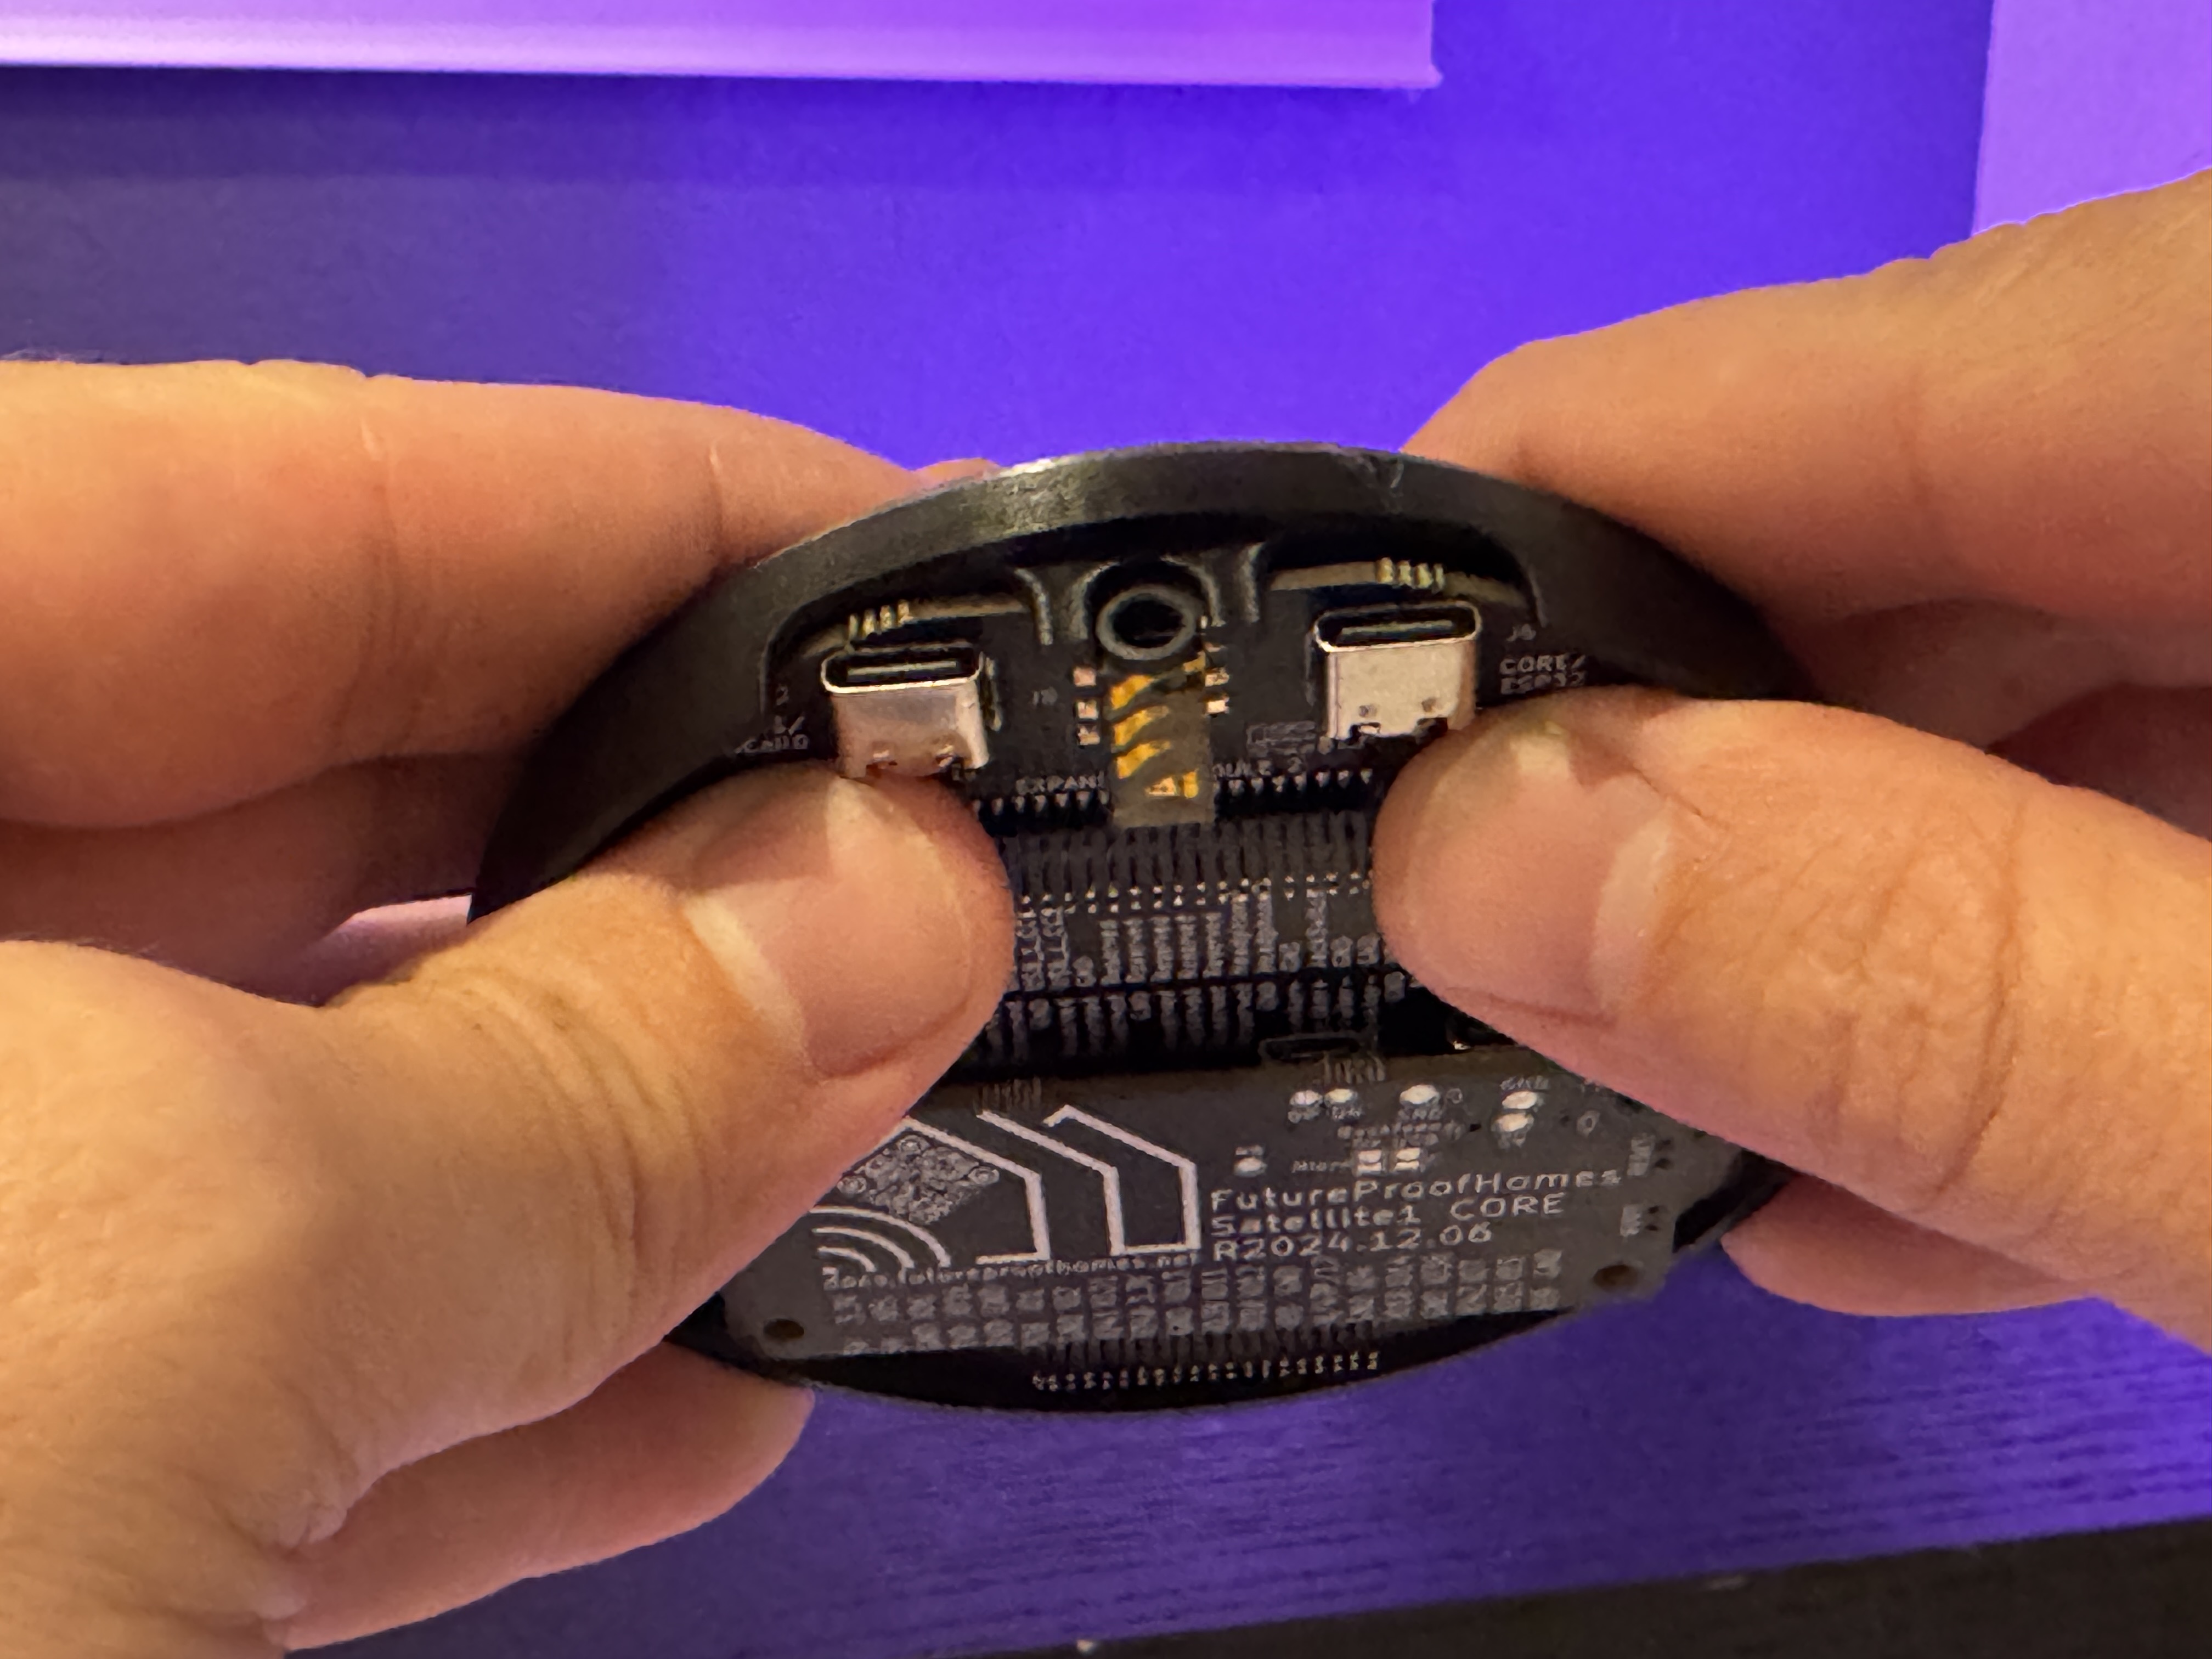
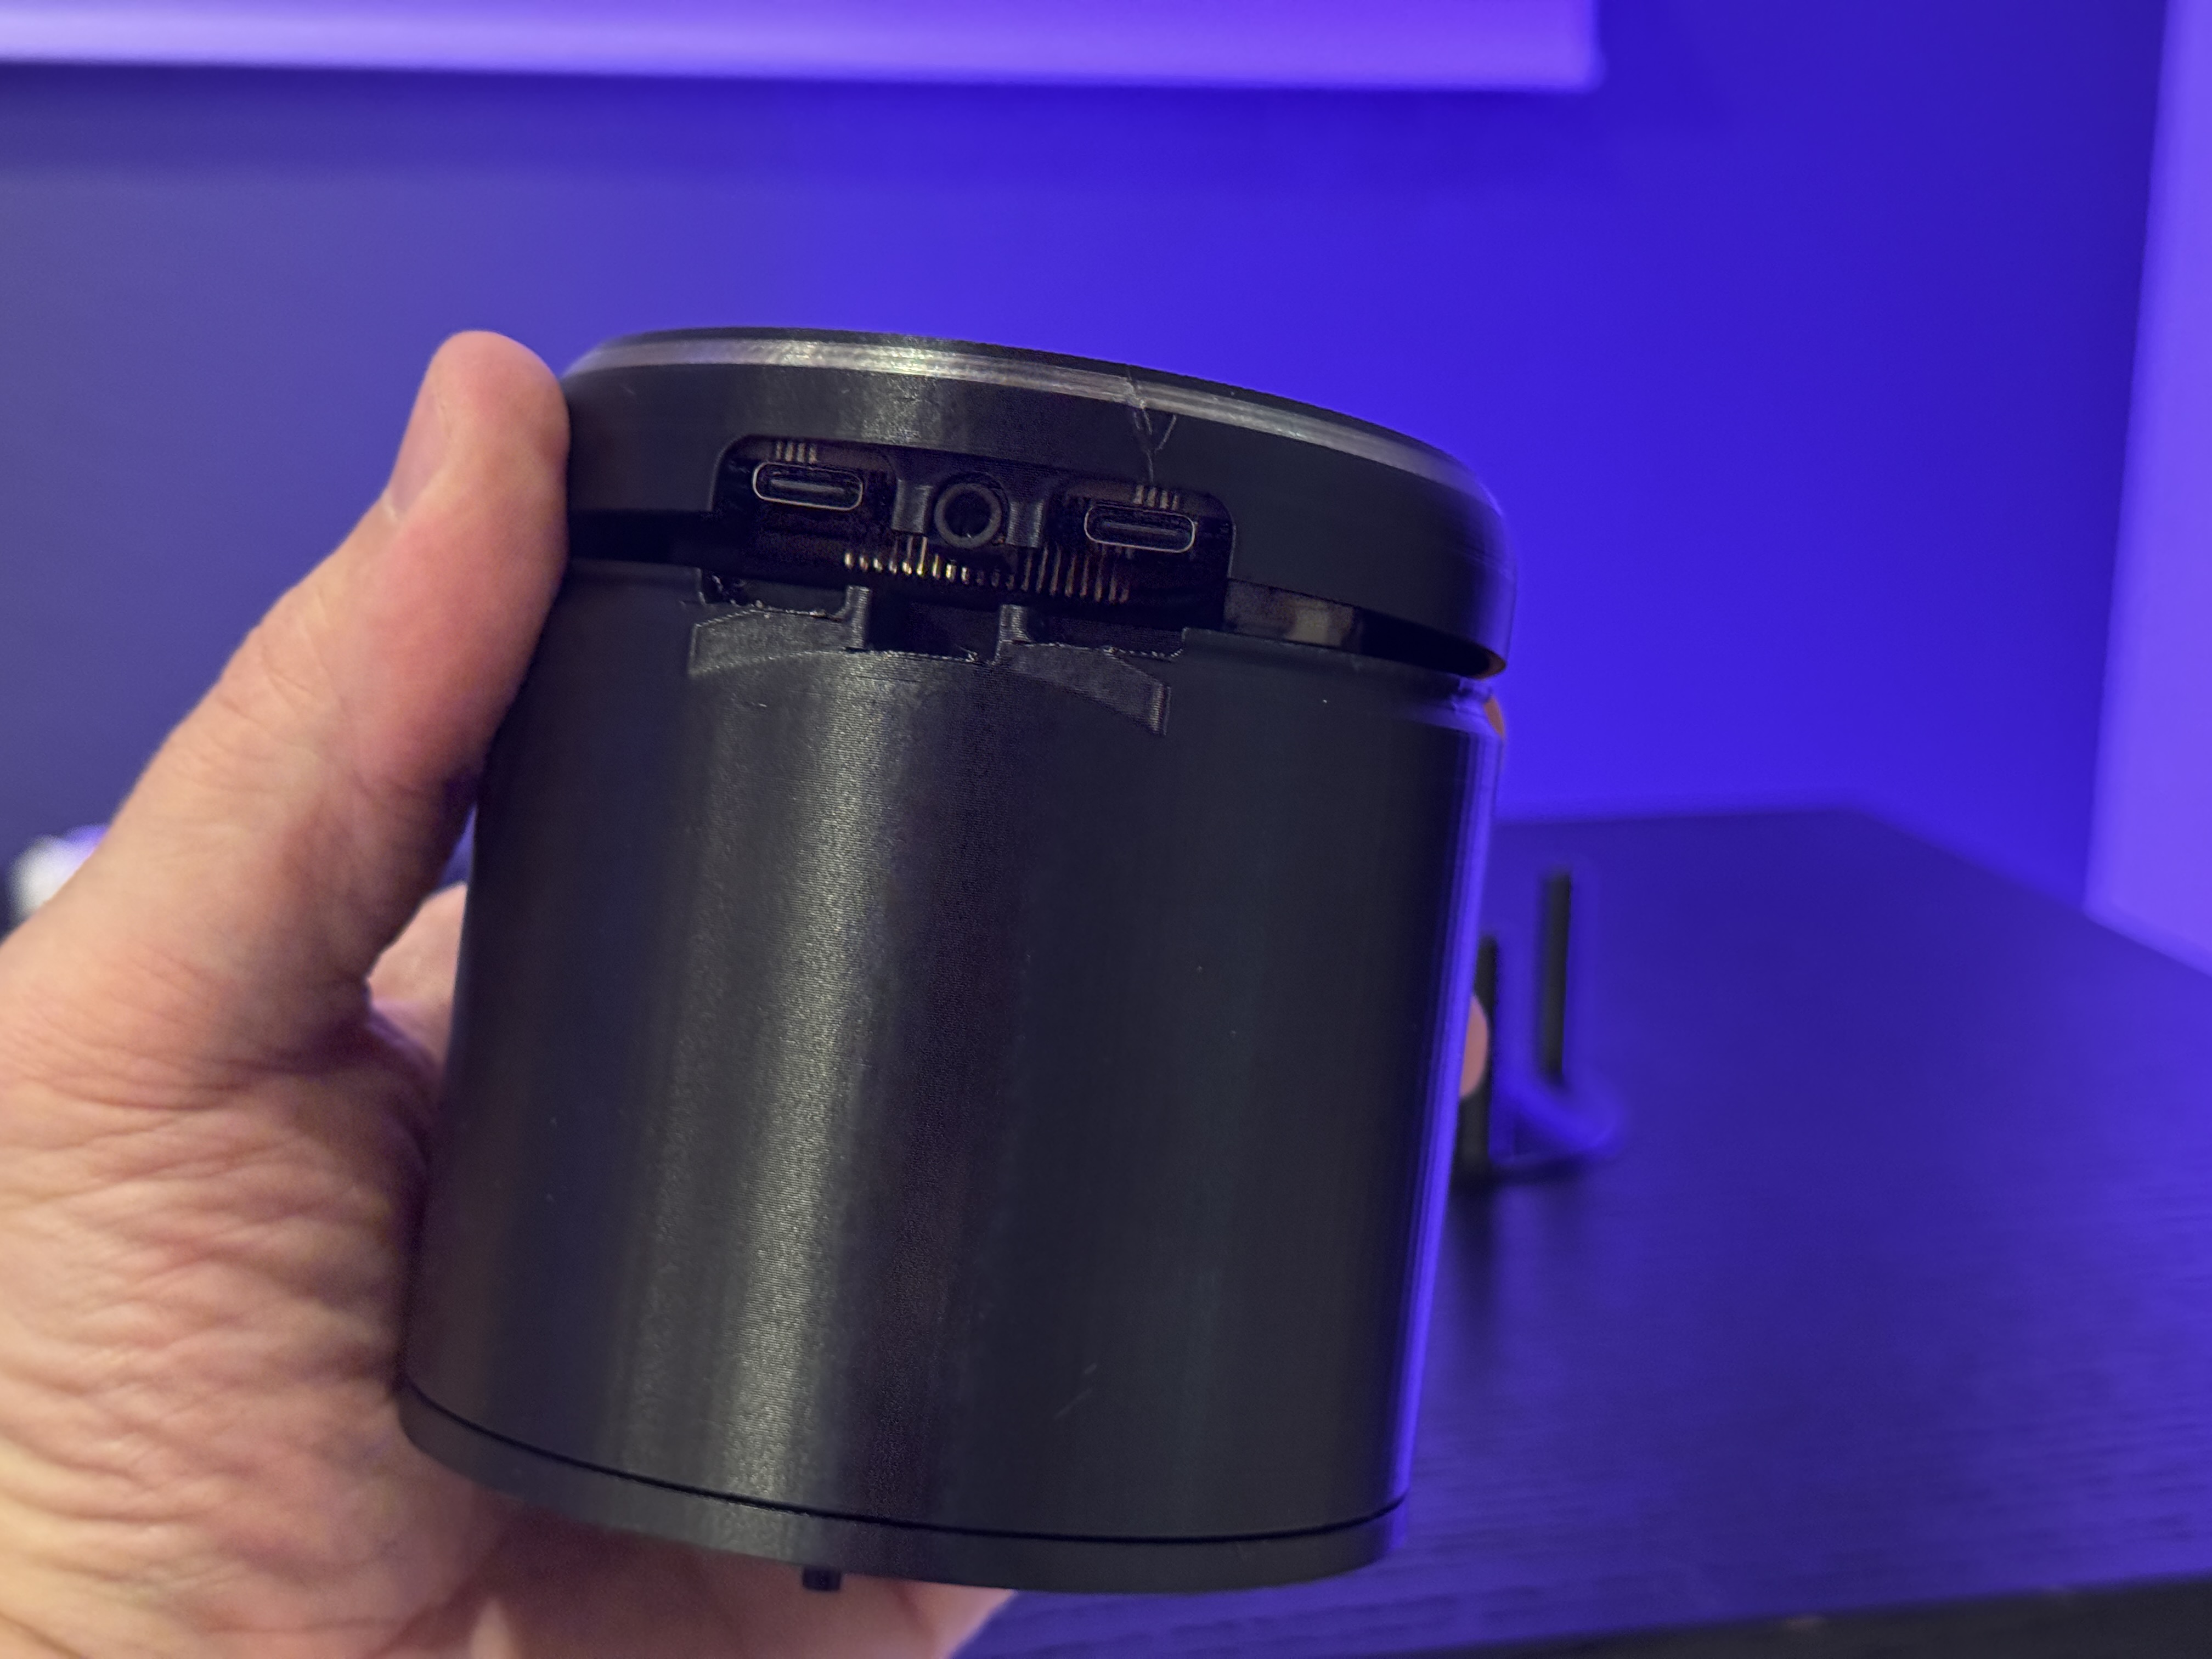
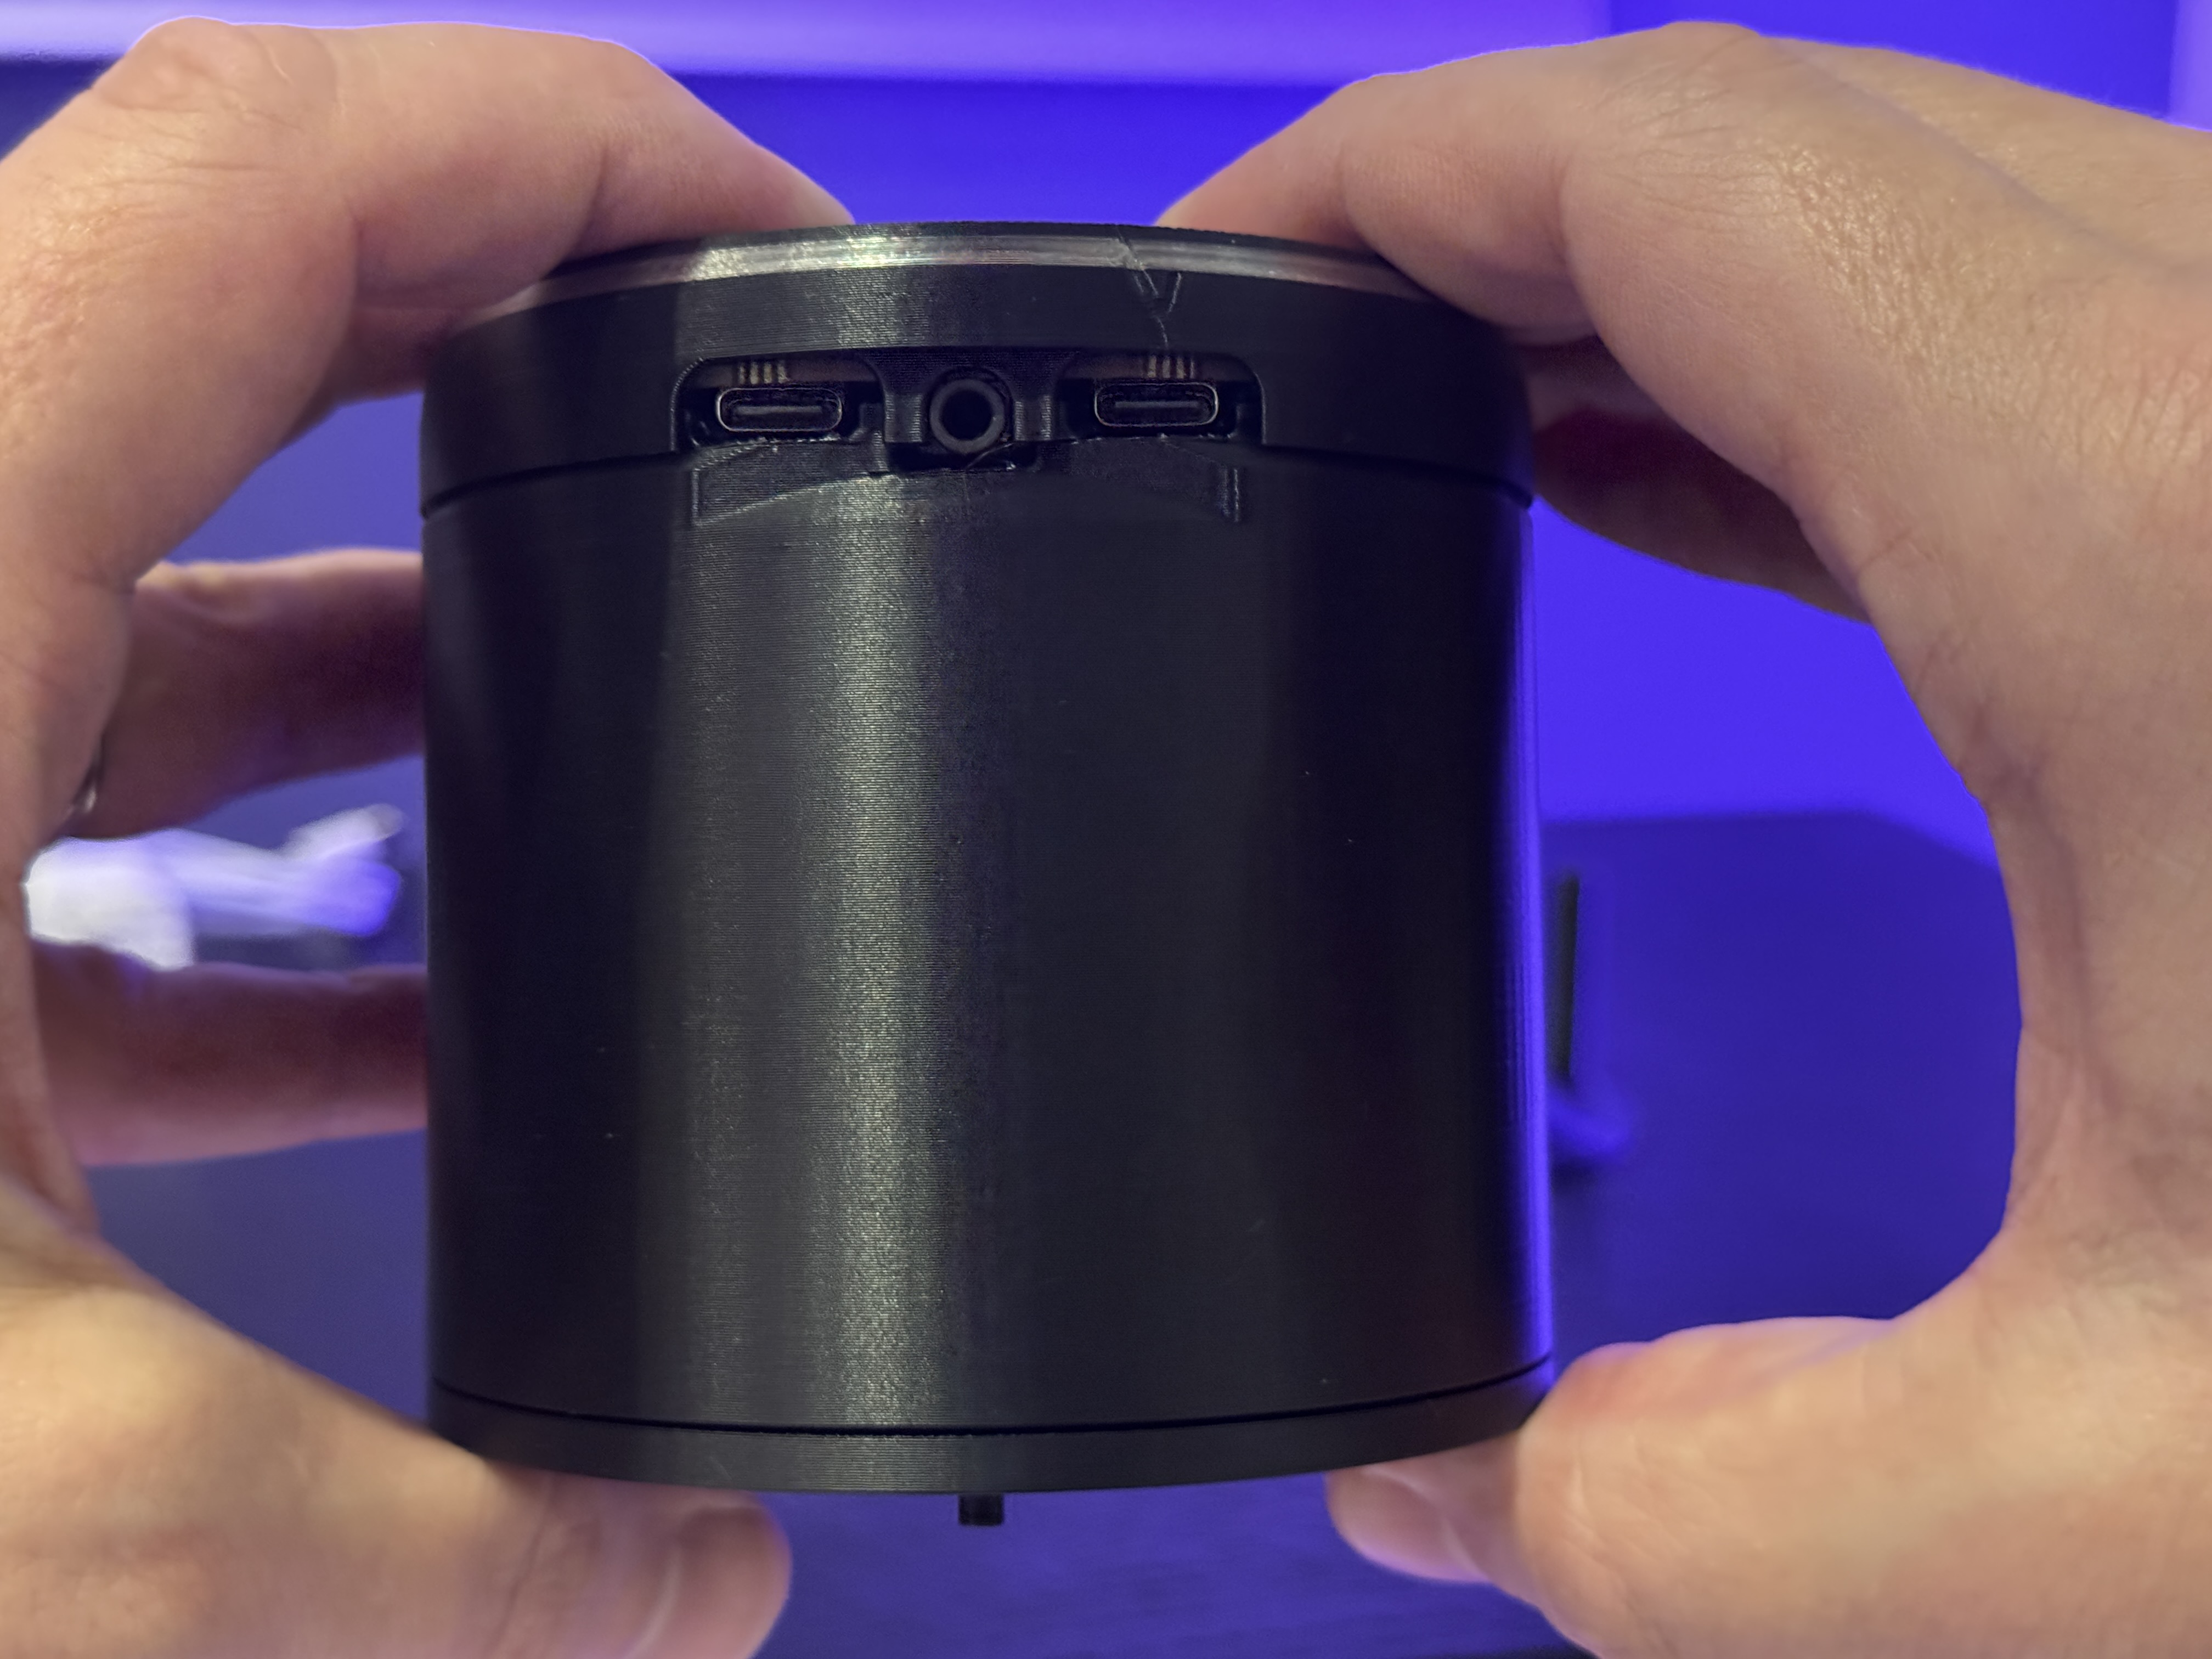
- Align the bottom (south) part of the Sat1 HAT under the bottom lip and press firmly at the top (north) of the Sat1 HAT near and around the USB-C ports and headphone jack. Press around the parameter of the Sat1 HAT to snap in under all the bottom lips. You'll know when you're done when the 4 buttons click perfectly.
- If you need to remove the HAT, pull on the corner of the wall near and lift up from the USB-C ports.
- Roll your Loctite into a "snake" that you wrap around the speaker to make a gasket. (This isn't required if you're using the Dayton Audio RS75-4 speaker since it has a gaskey seal built-in.)

- Route the speaker cables up through the speaker chamber and out the top. You only need 1 inch of cable coming out the top.
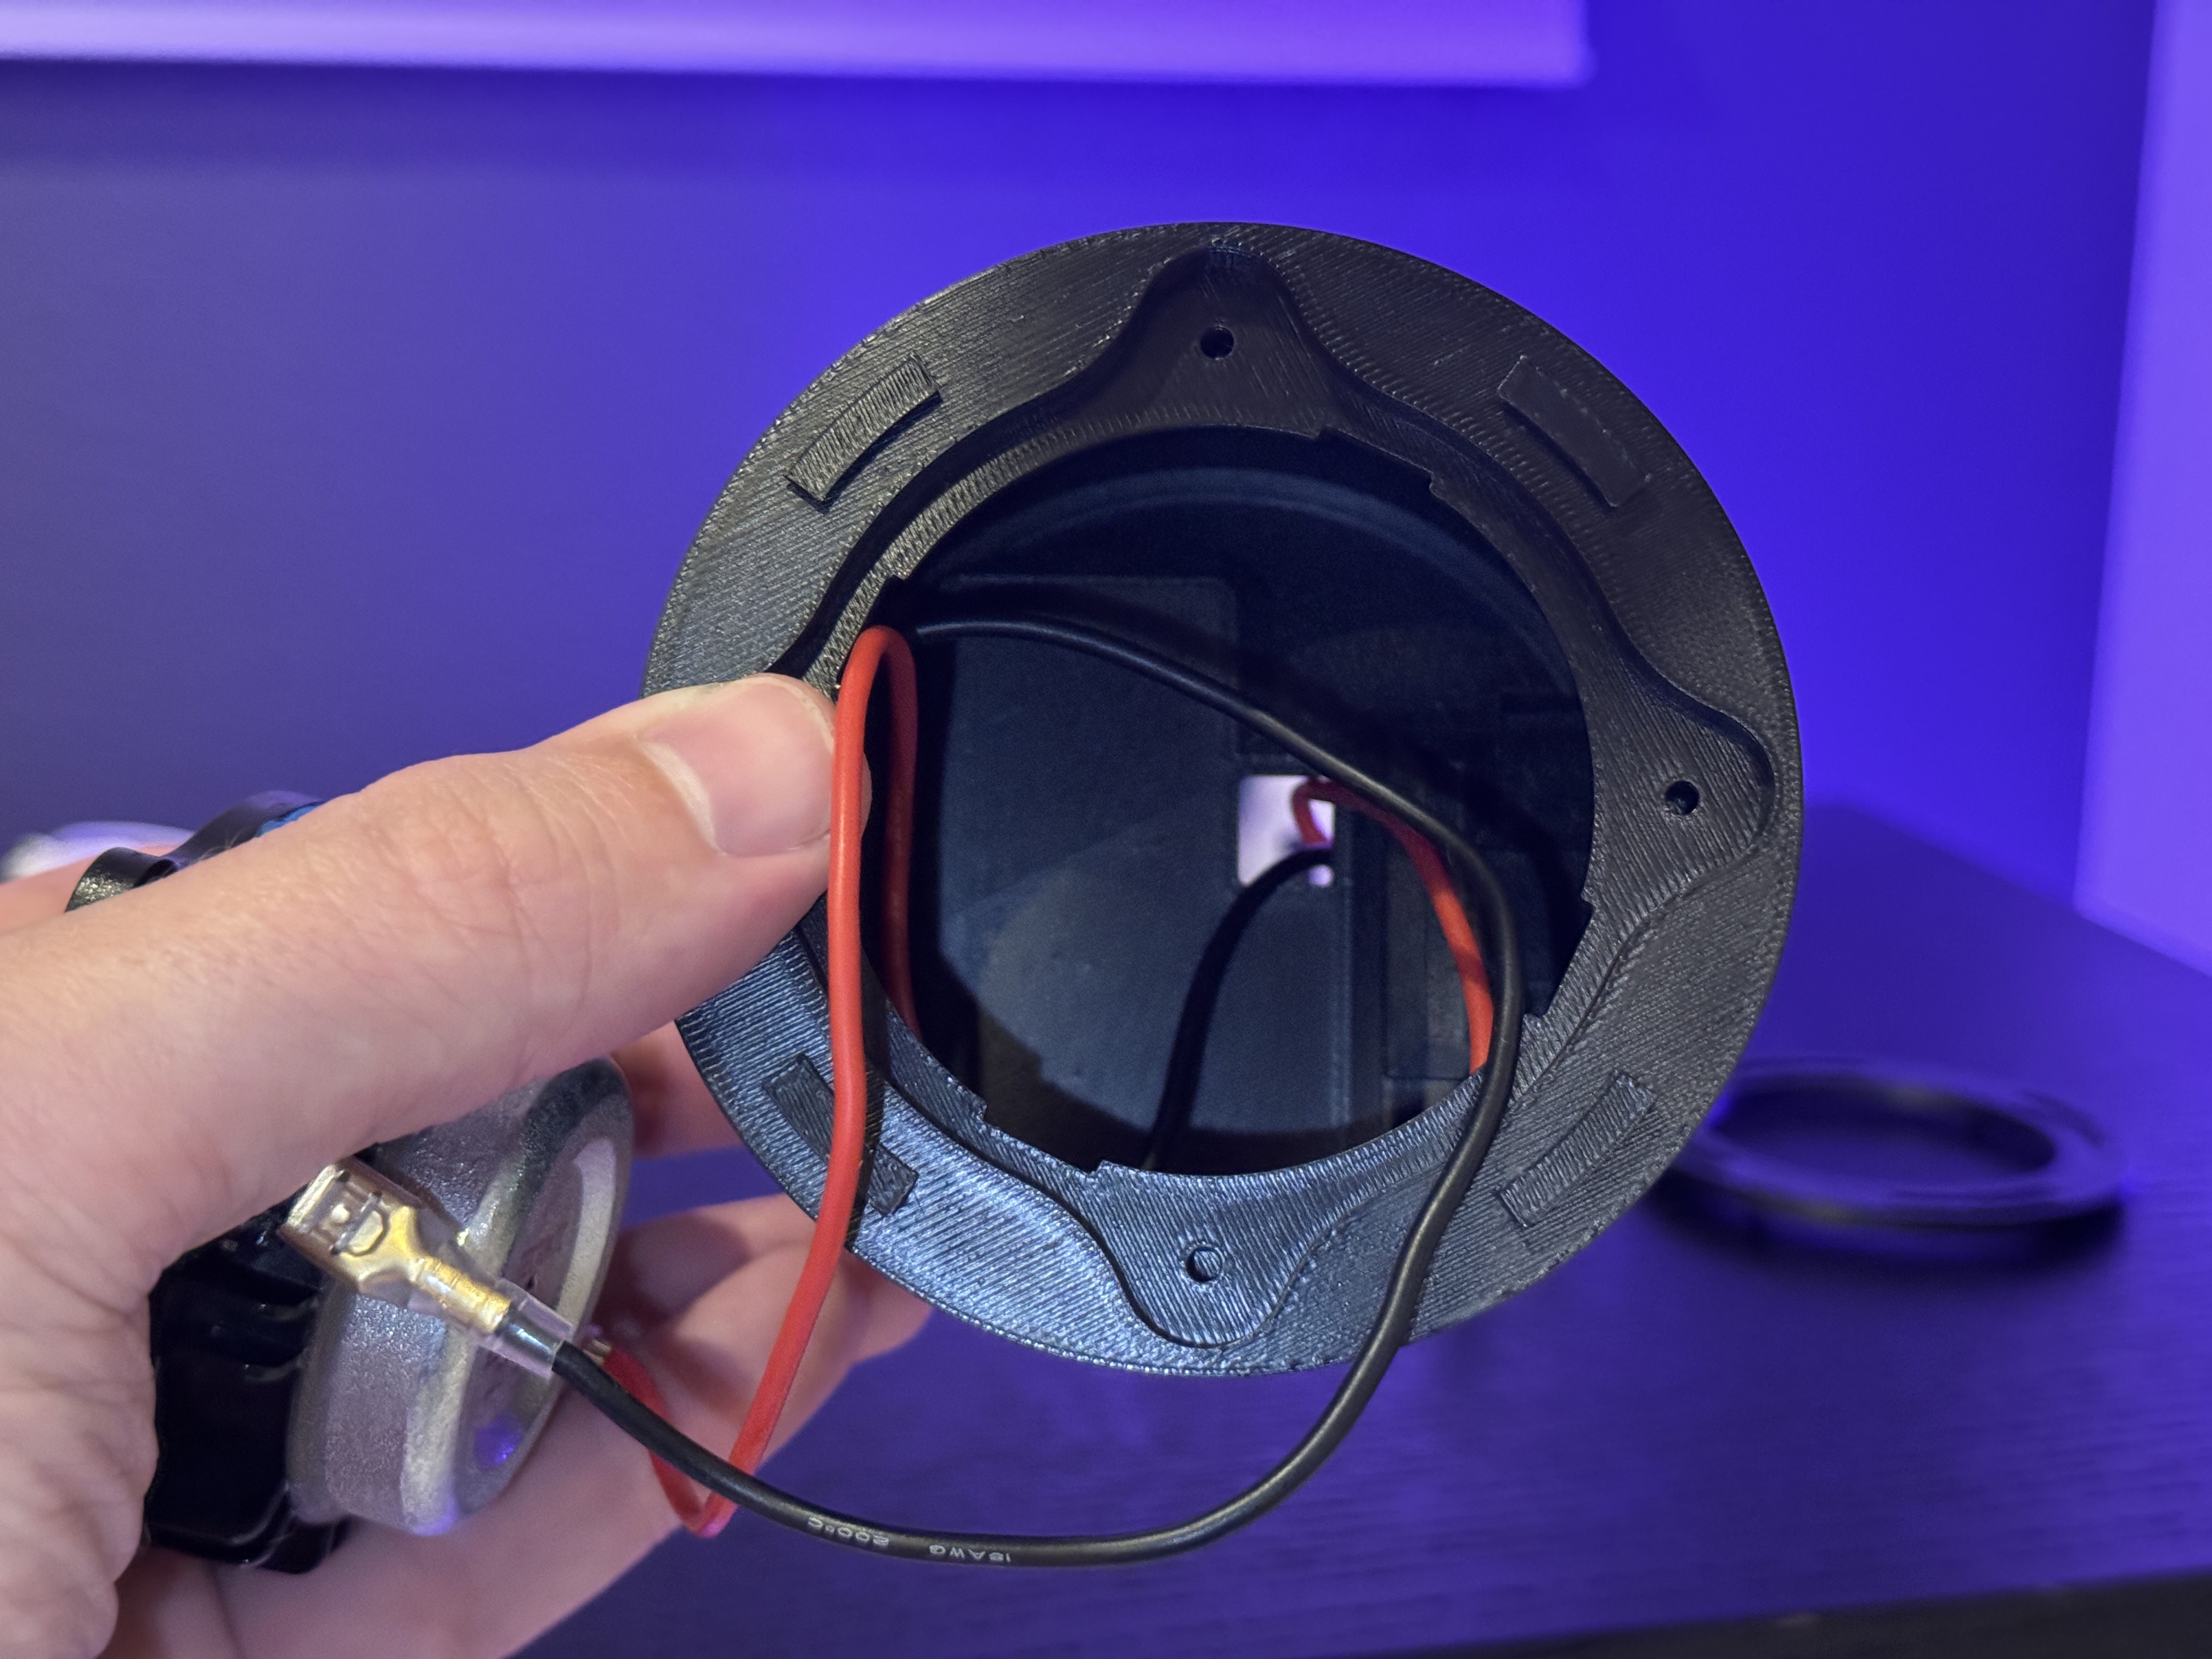
- Add polyfill to the speaker chamber.
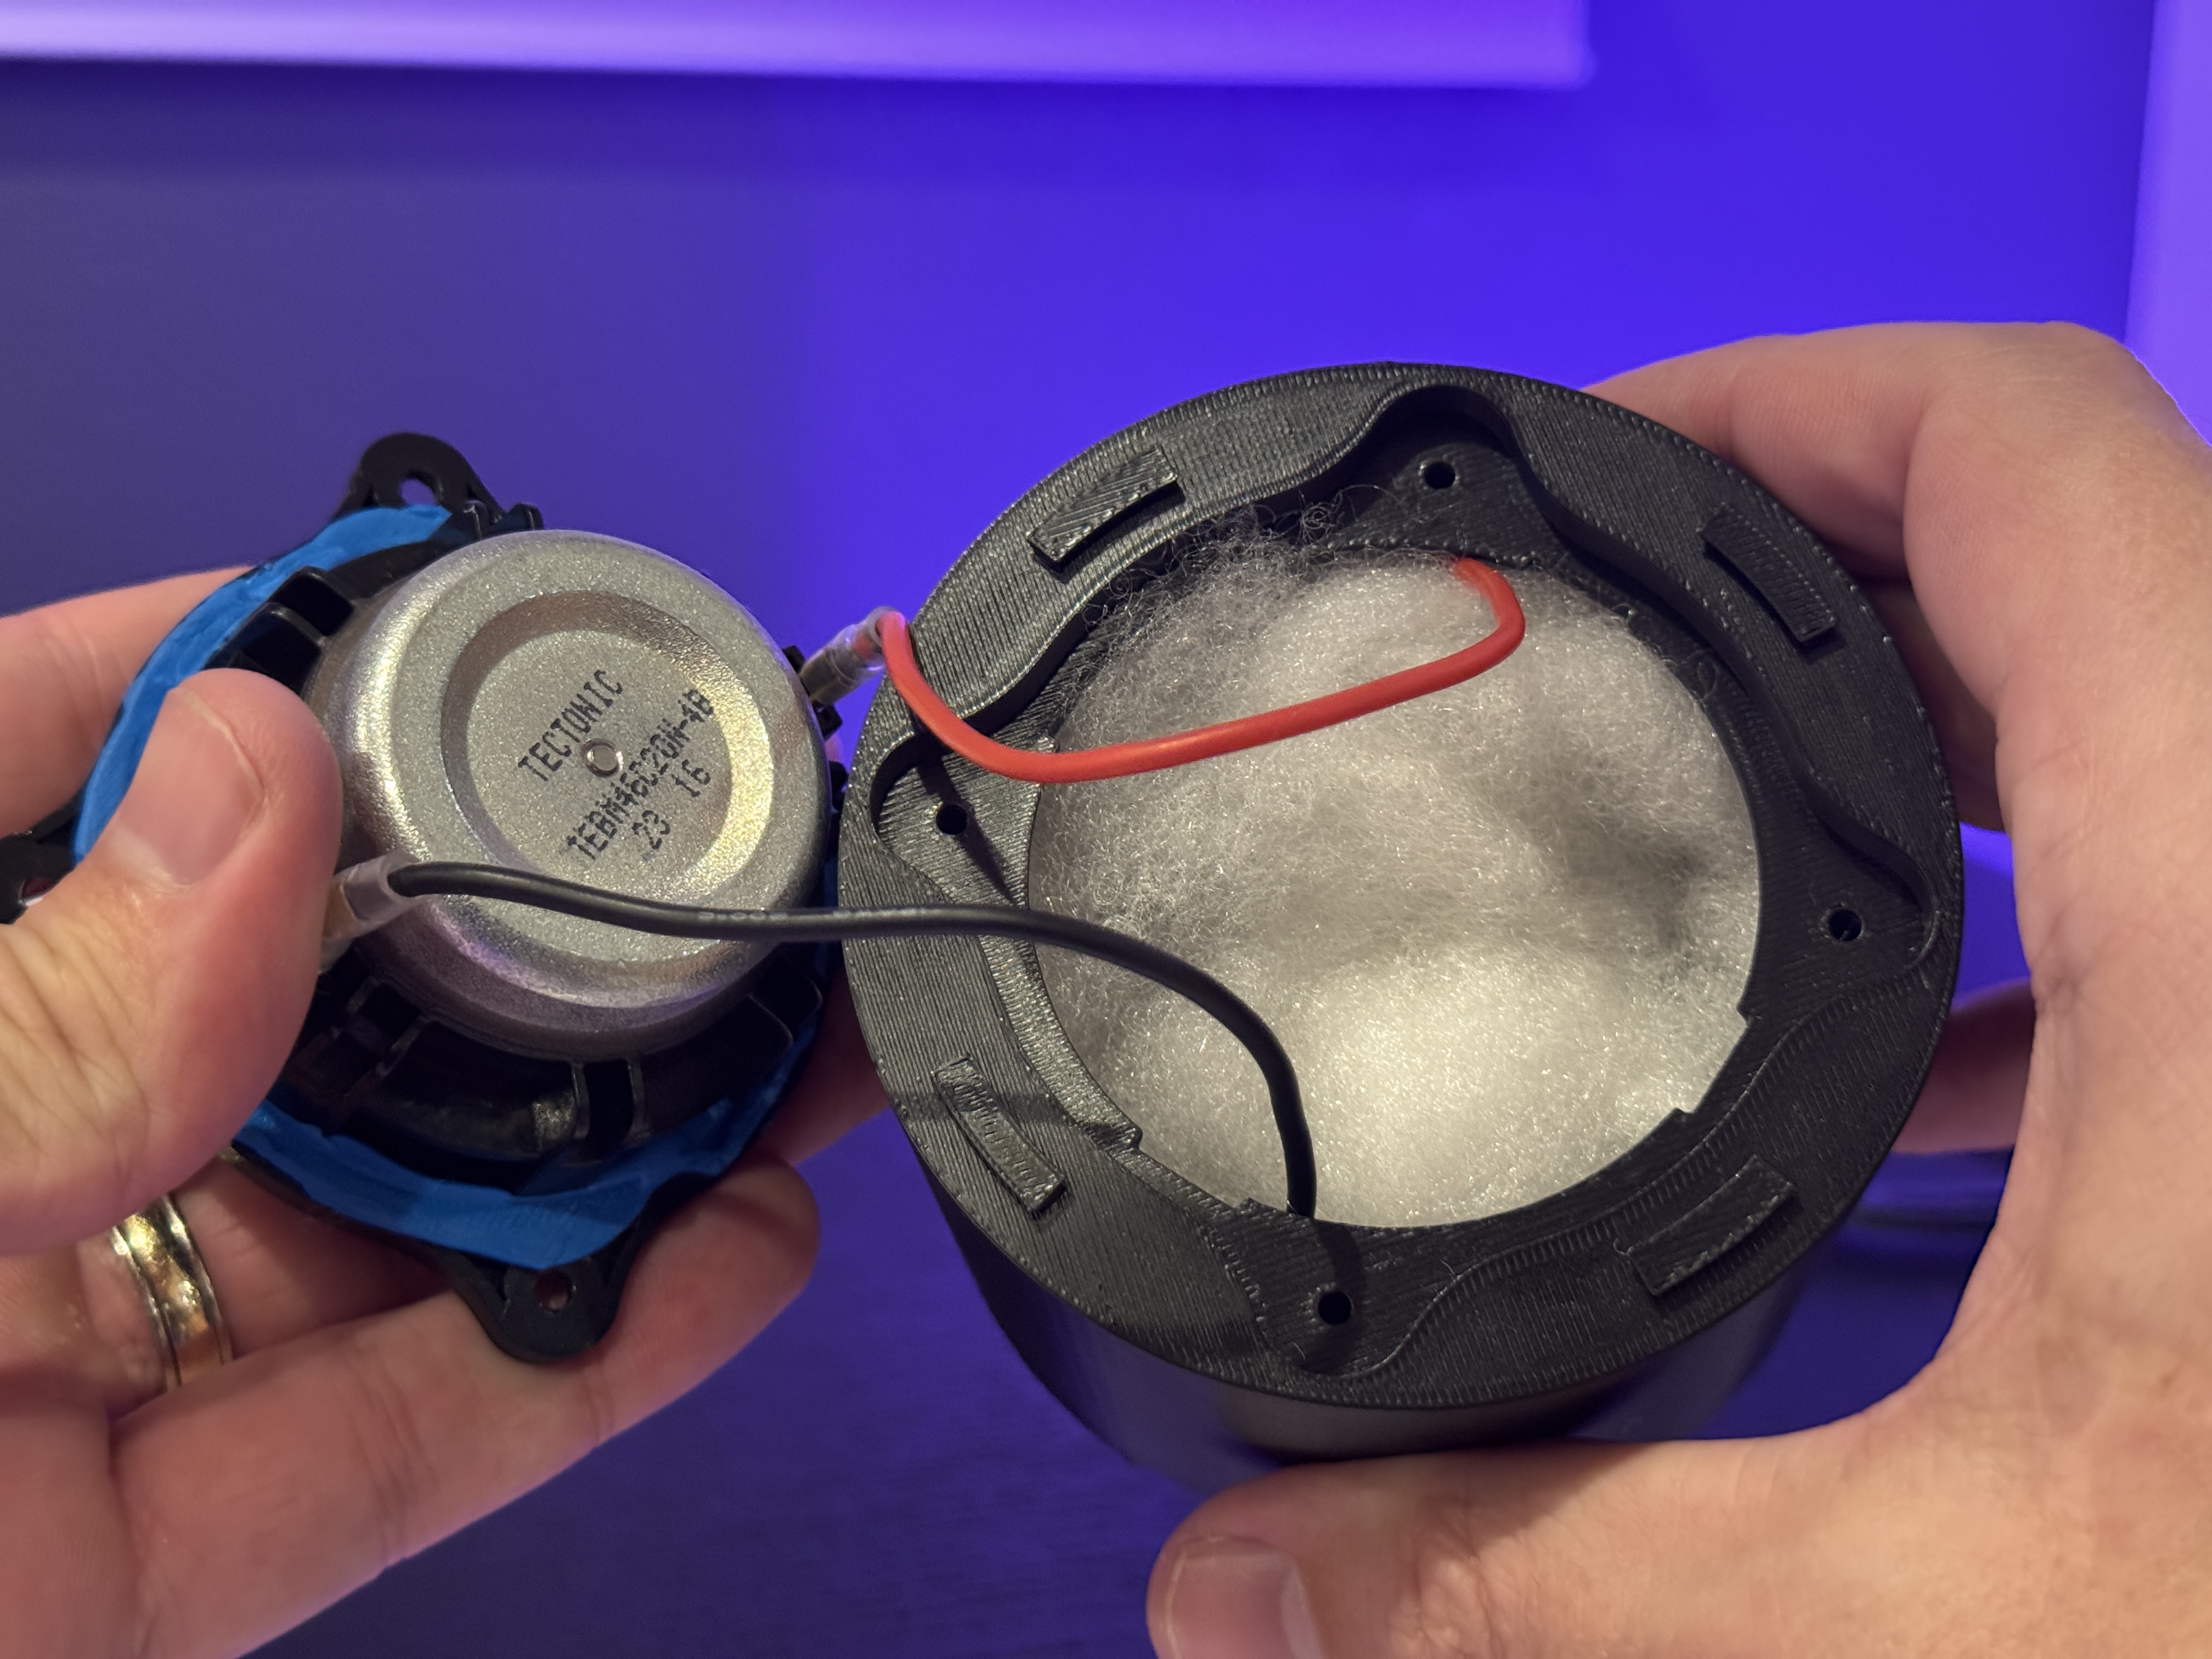
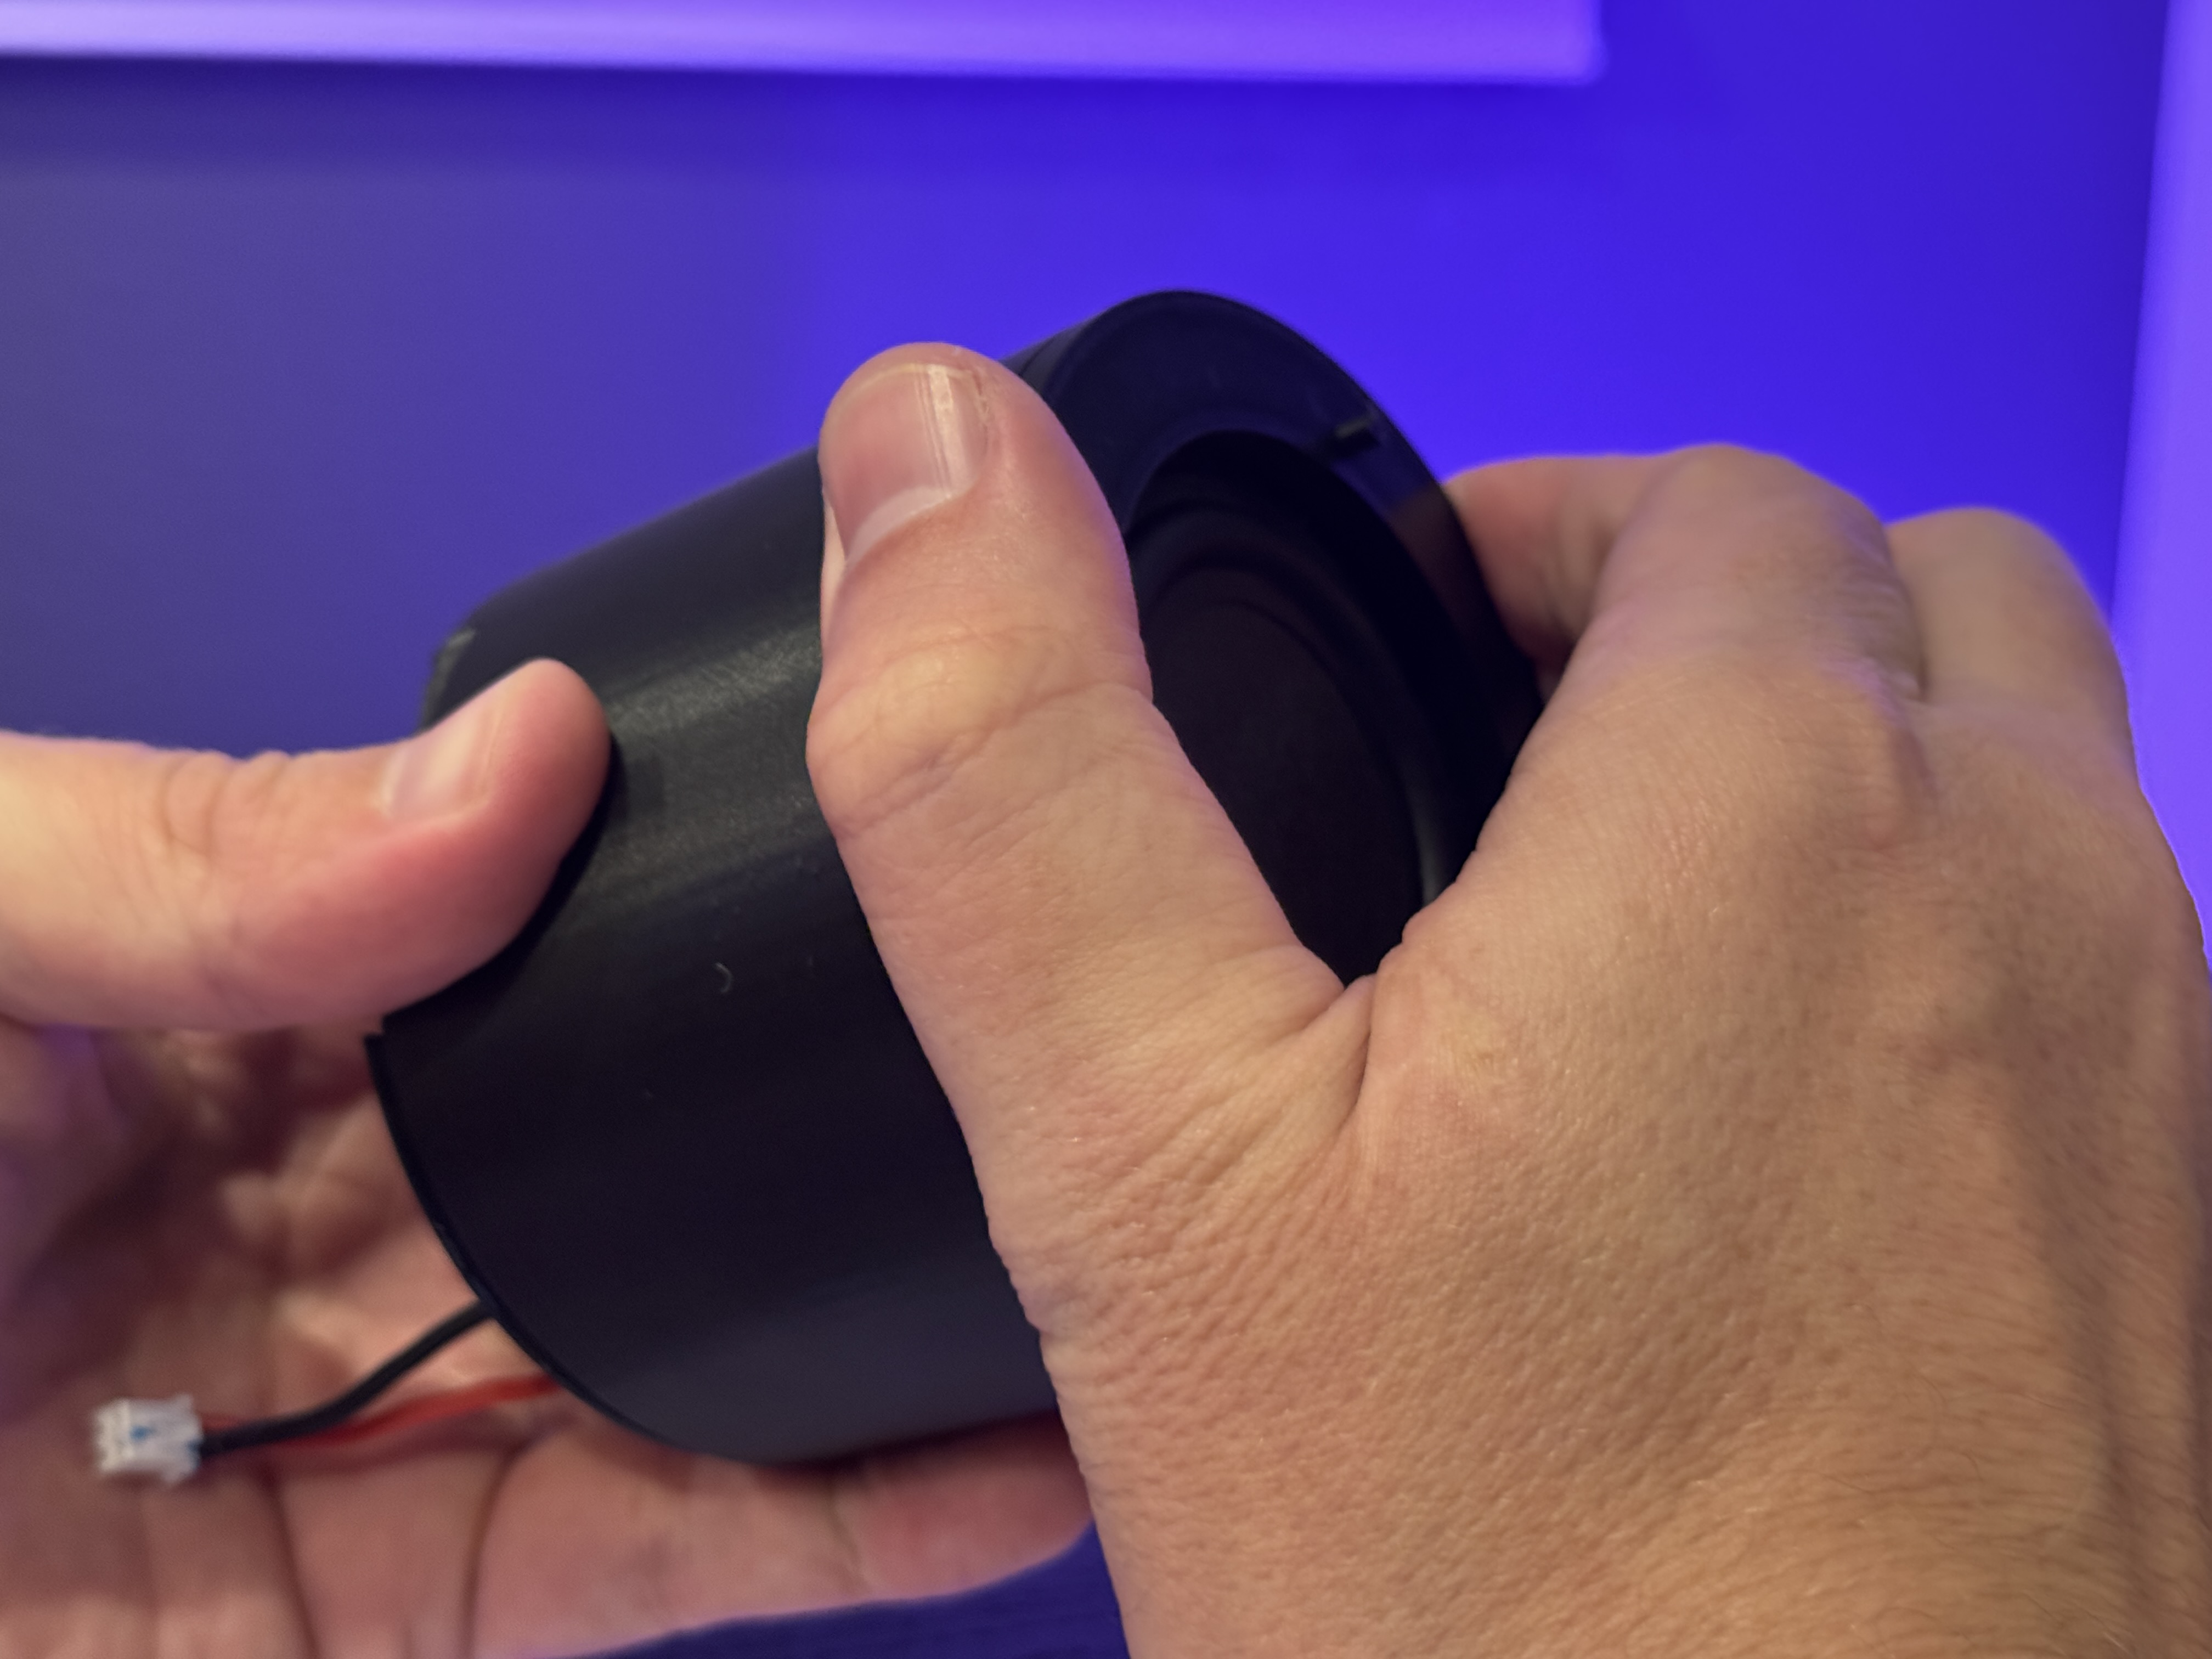
- Slot your speaker into the enclosure (the speaker should not sit flush due to the gasket) and lock it in with the lock ring.
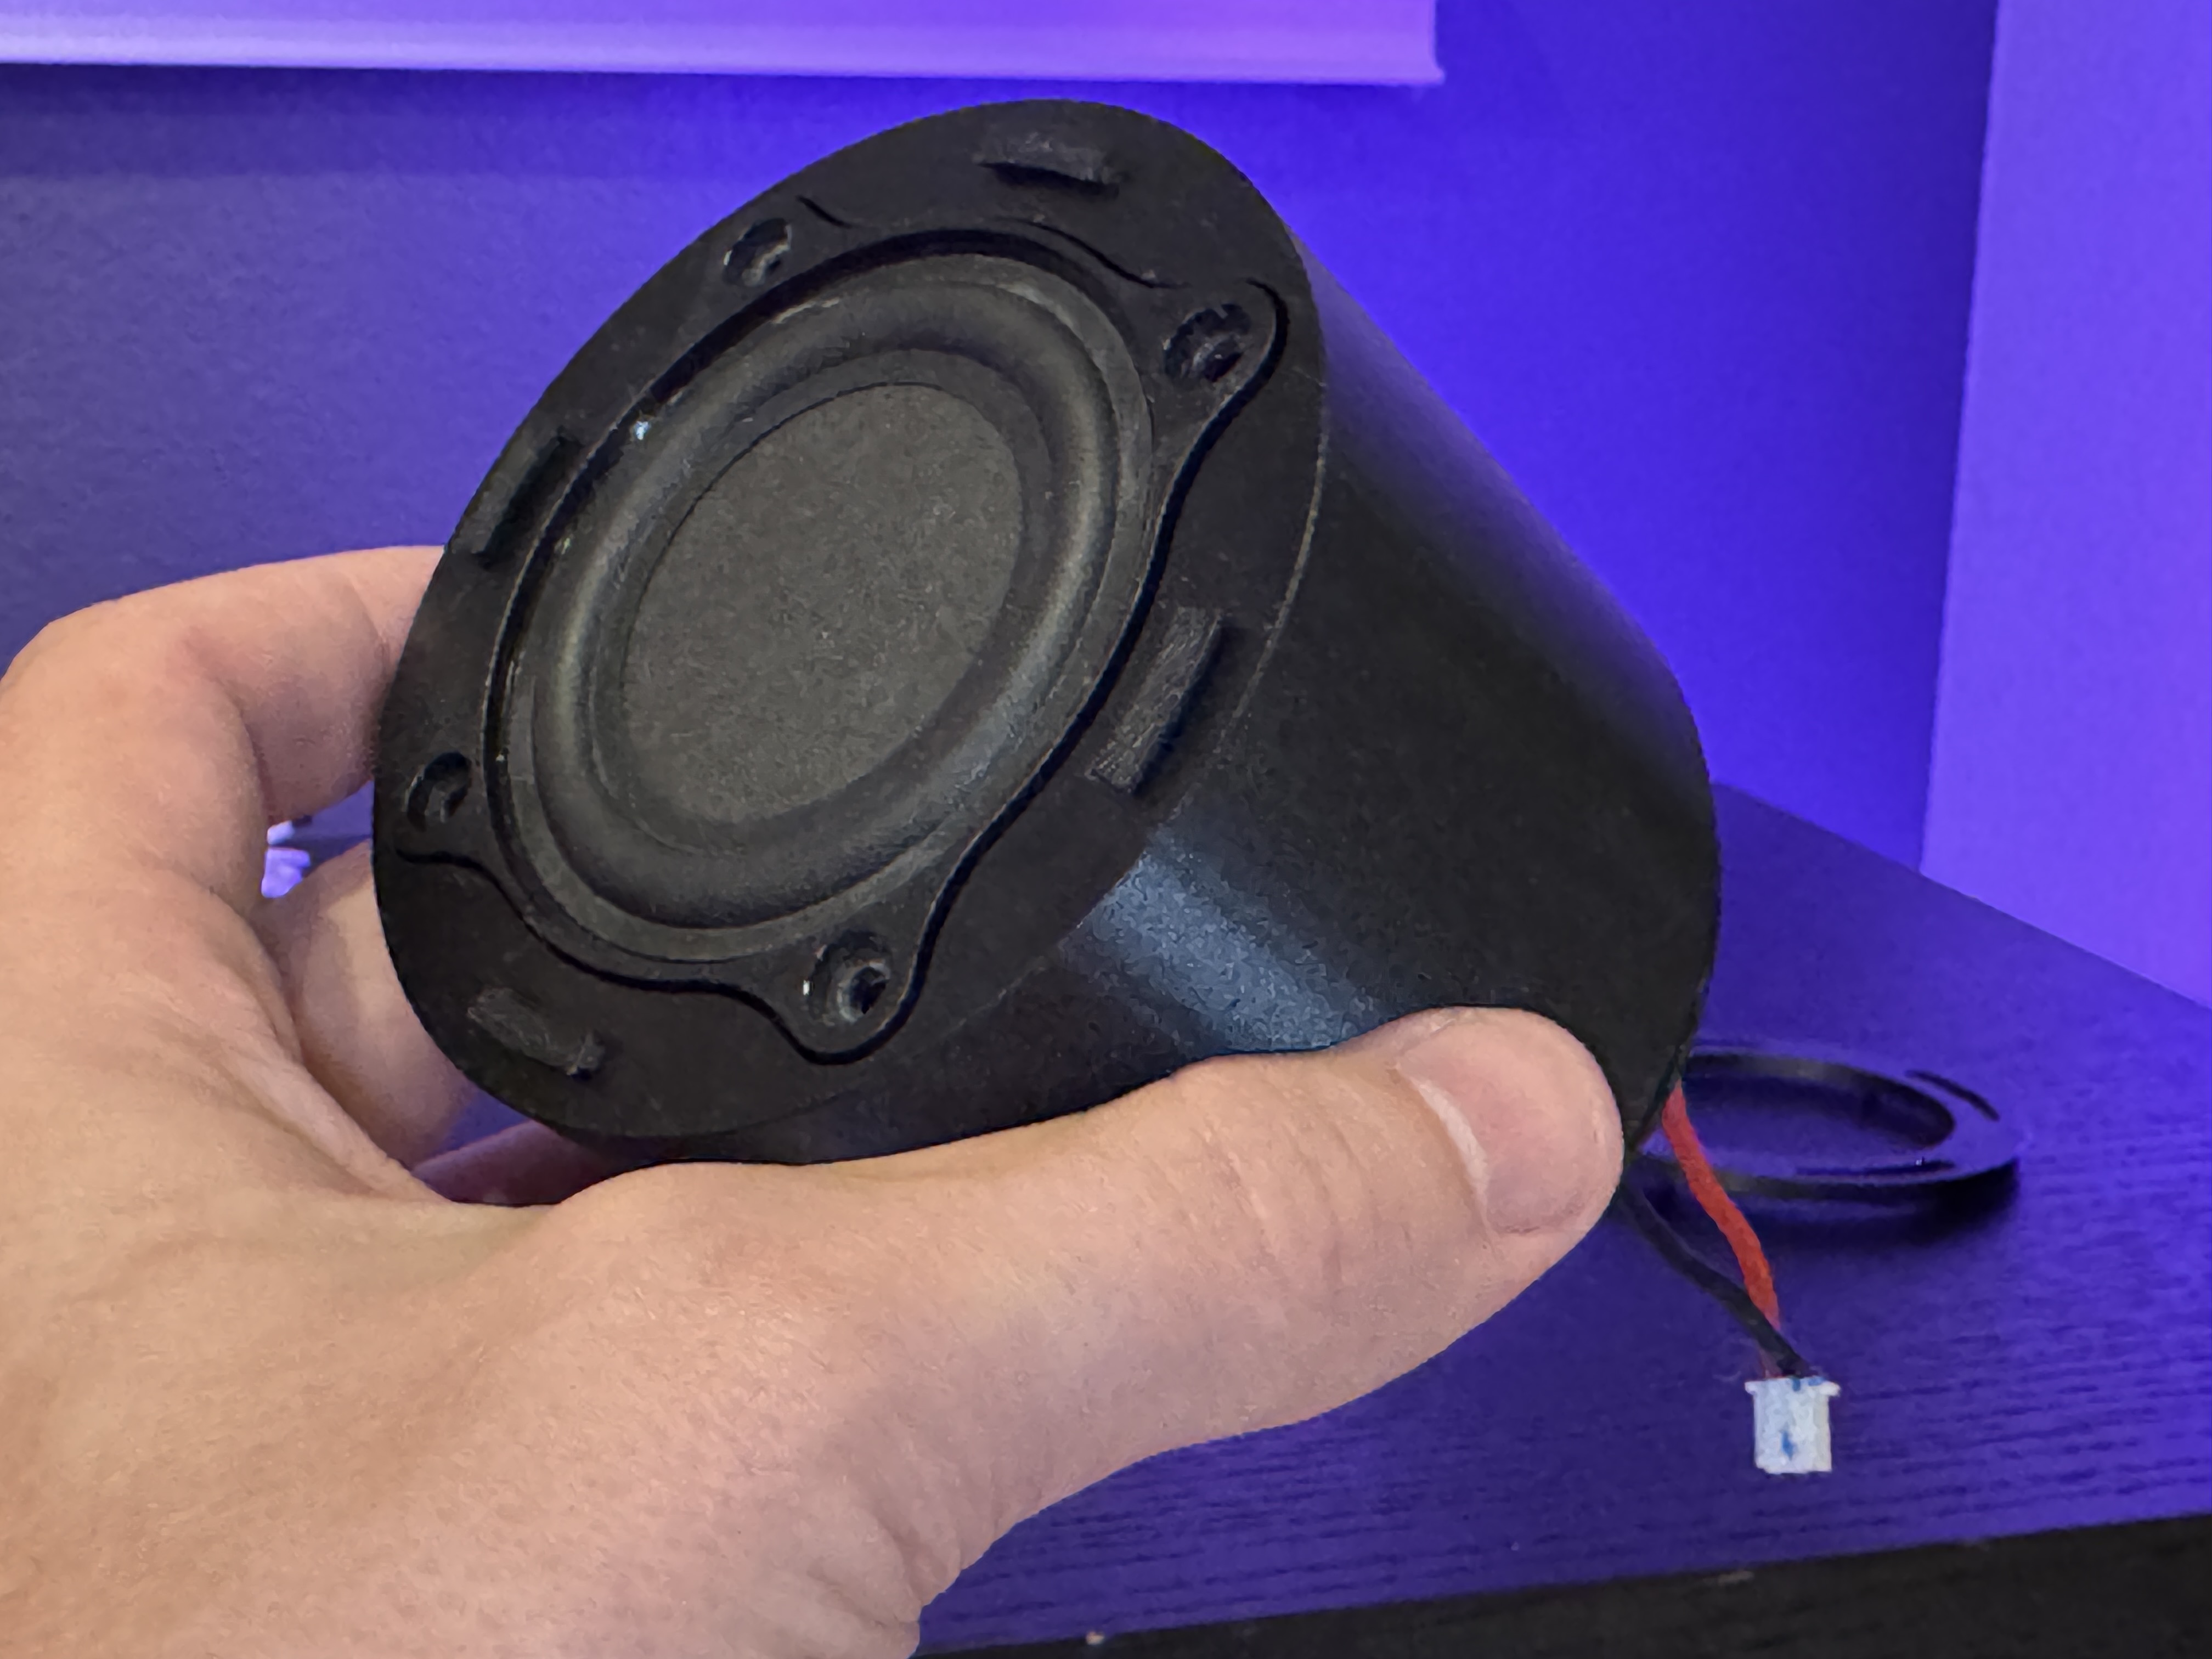

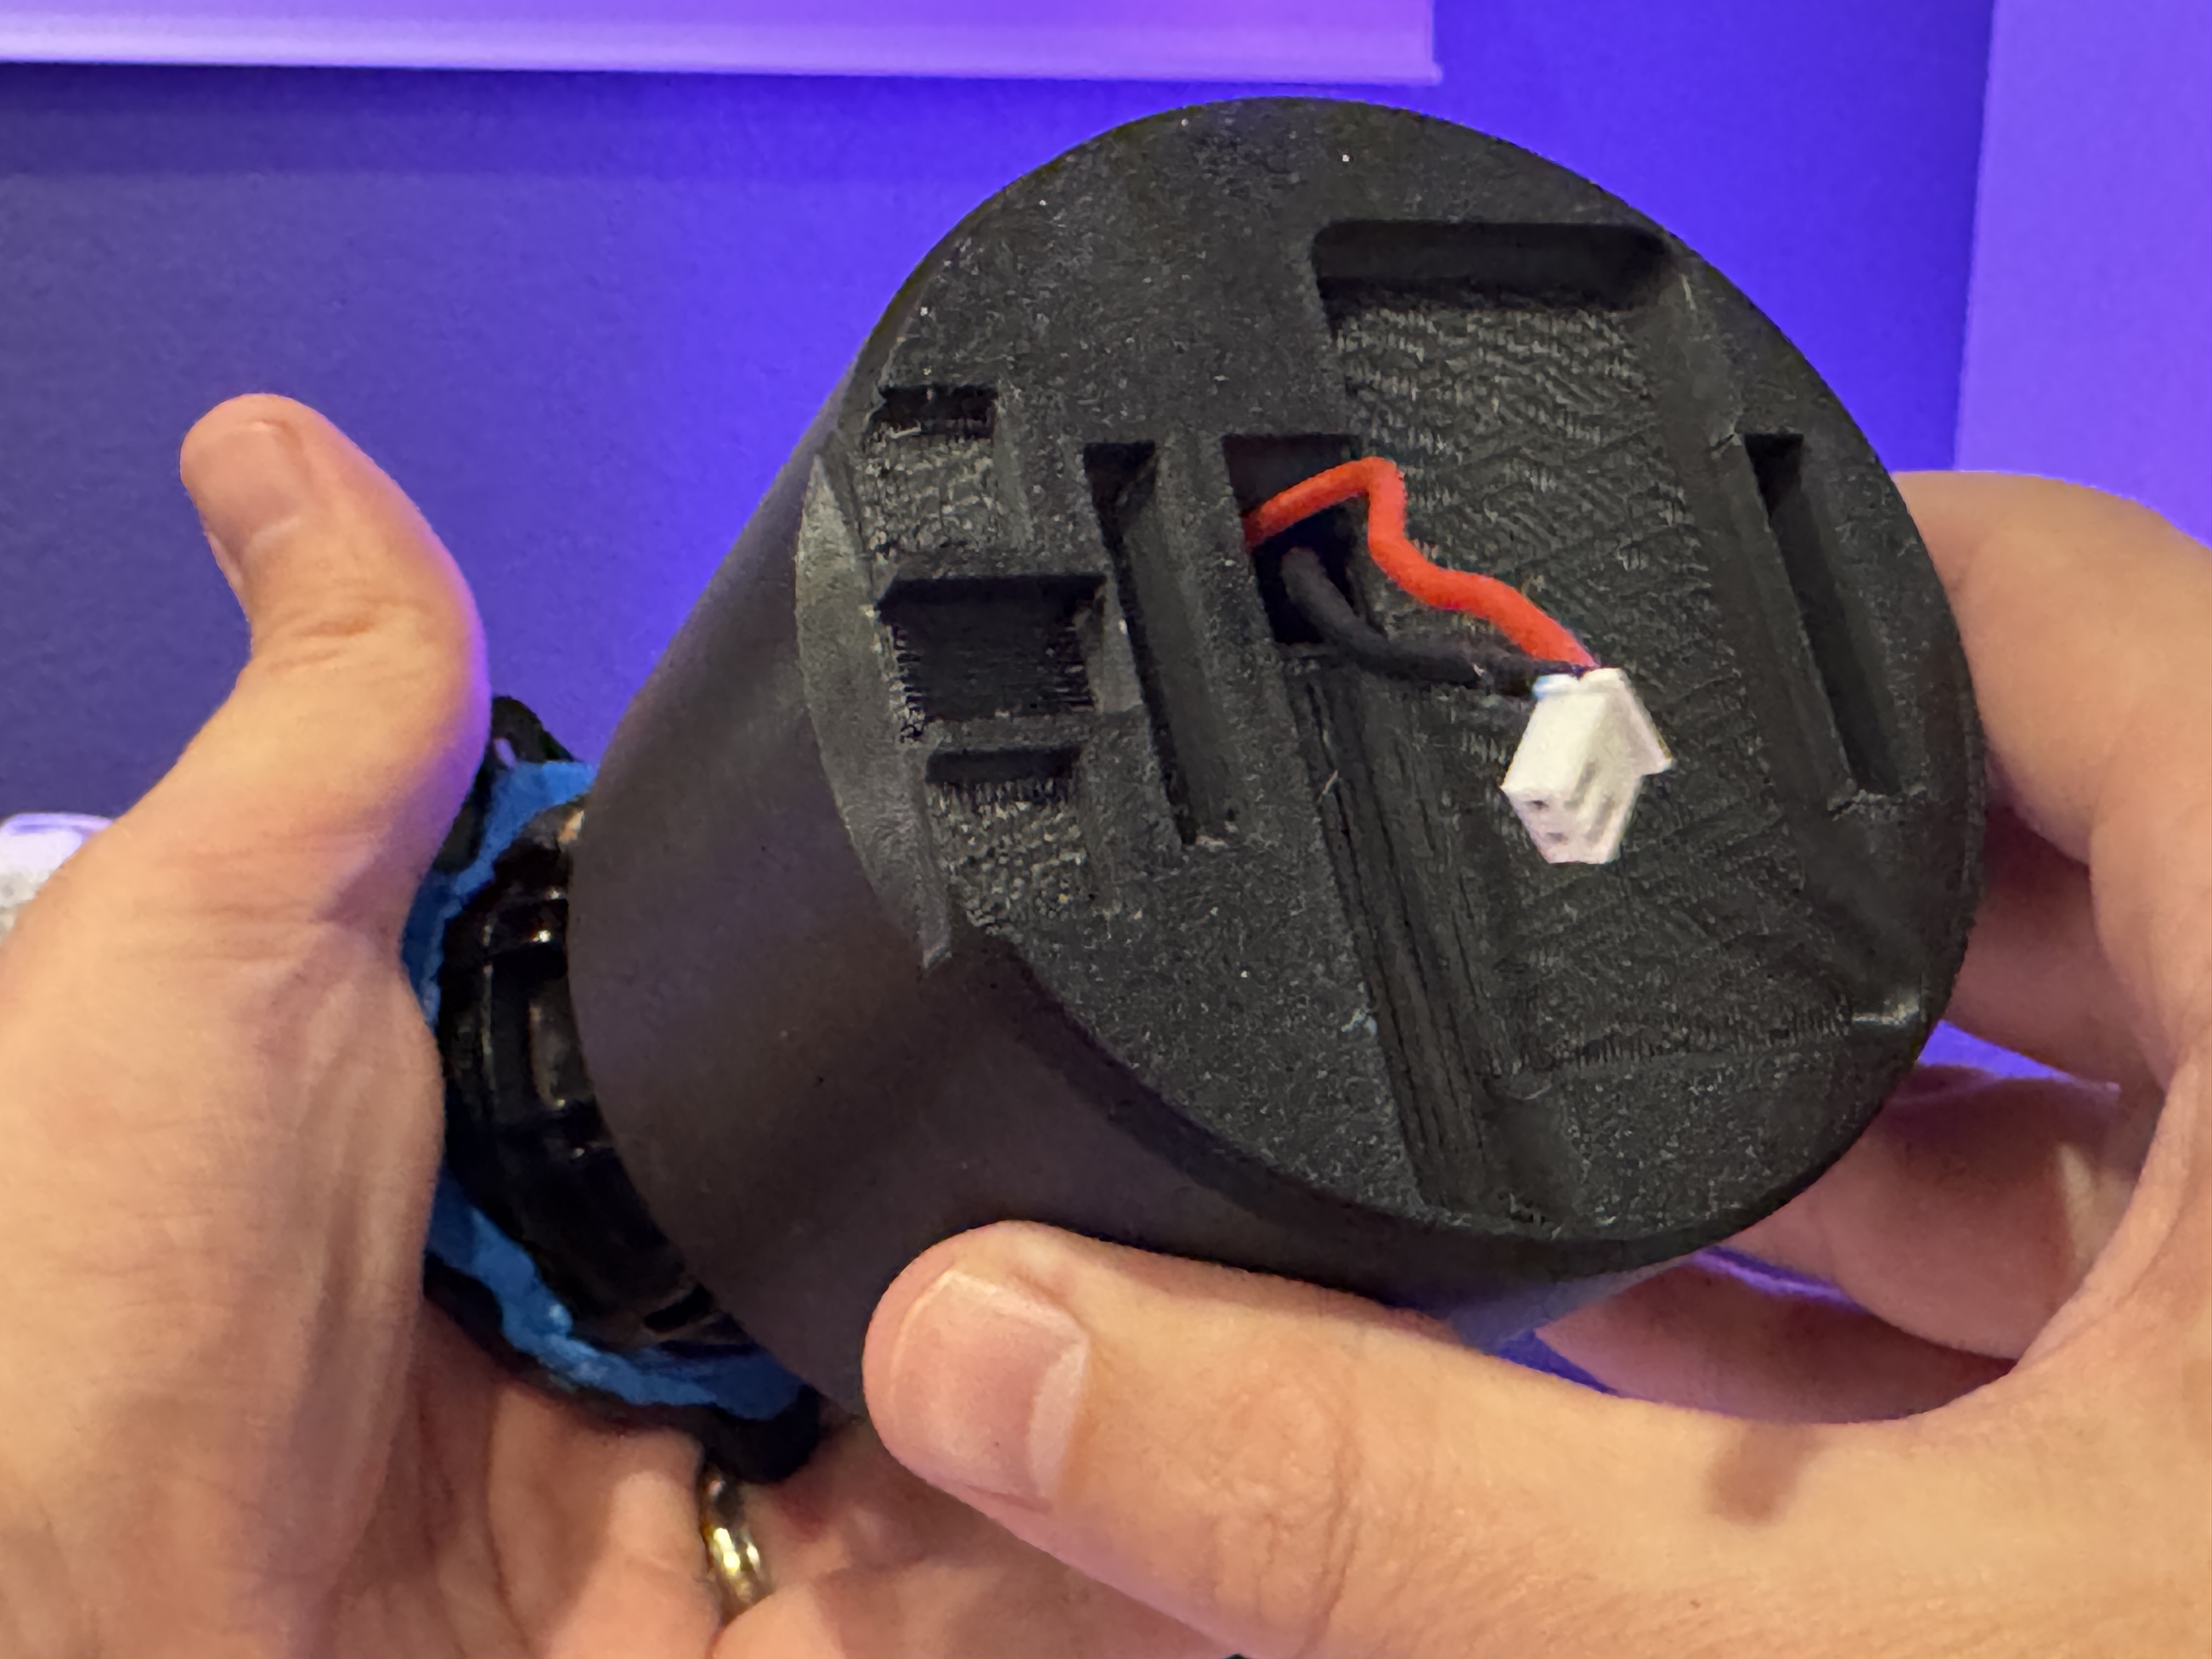
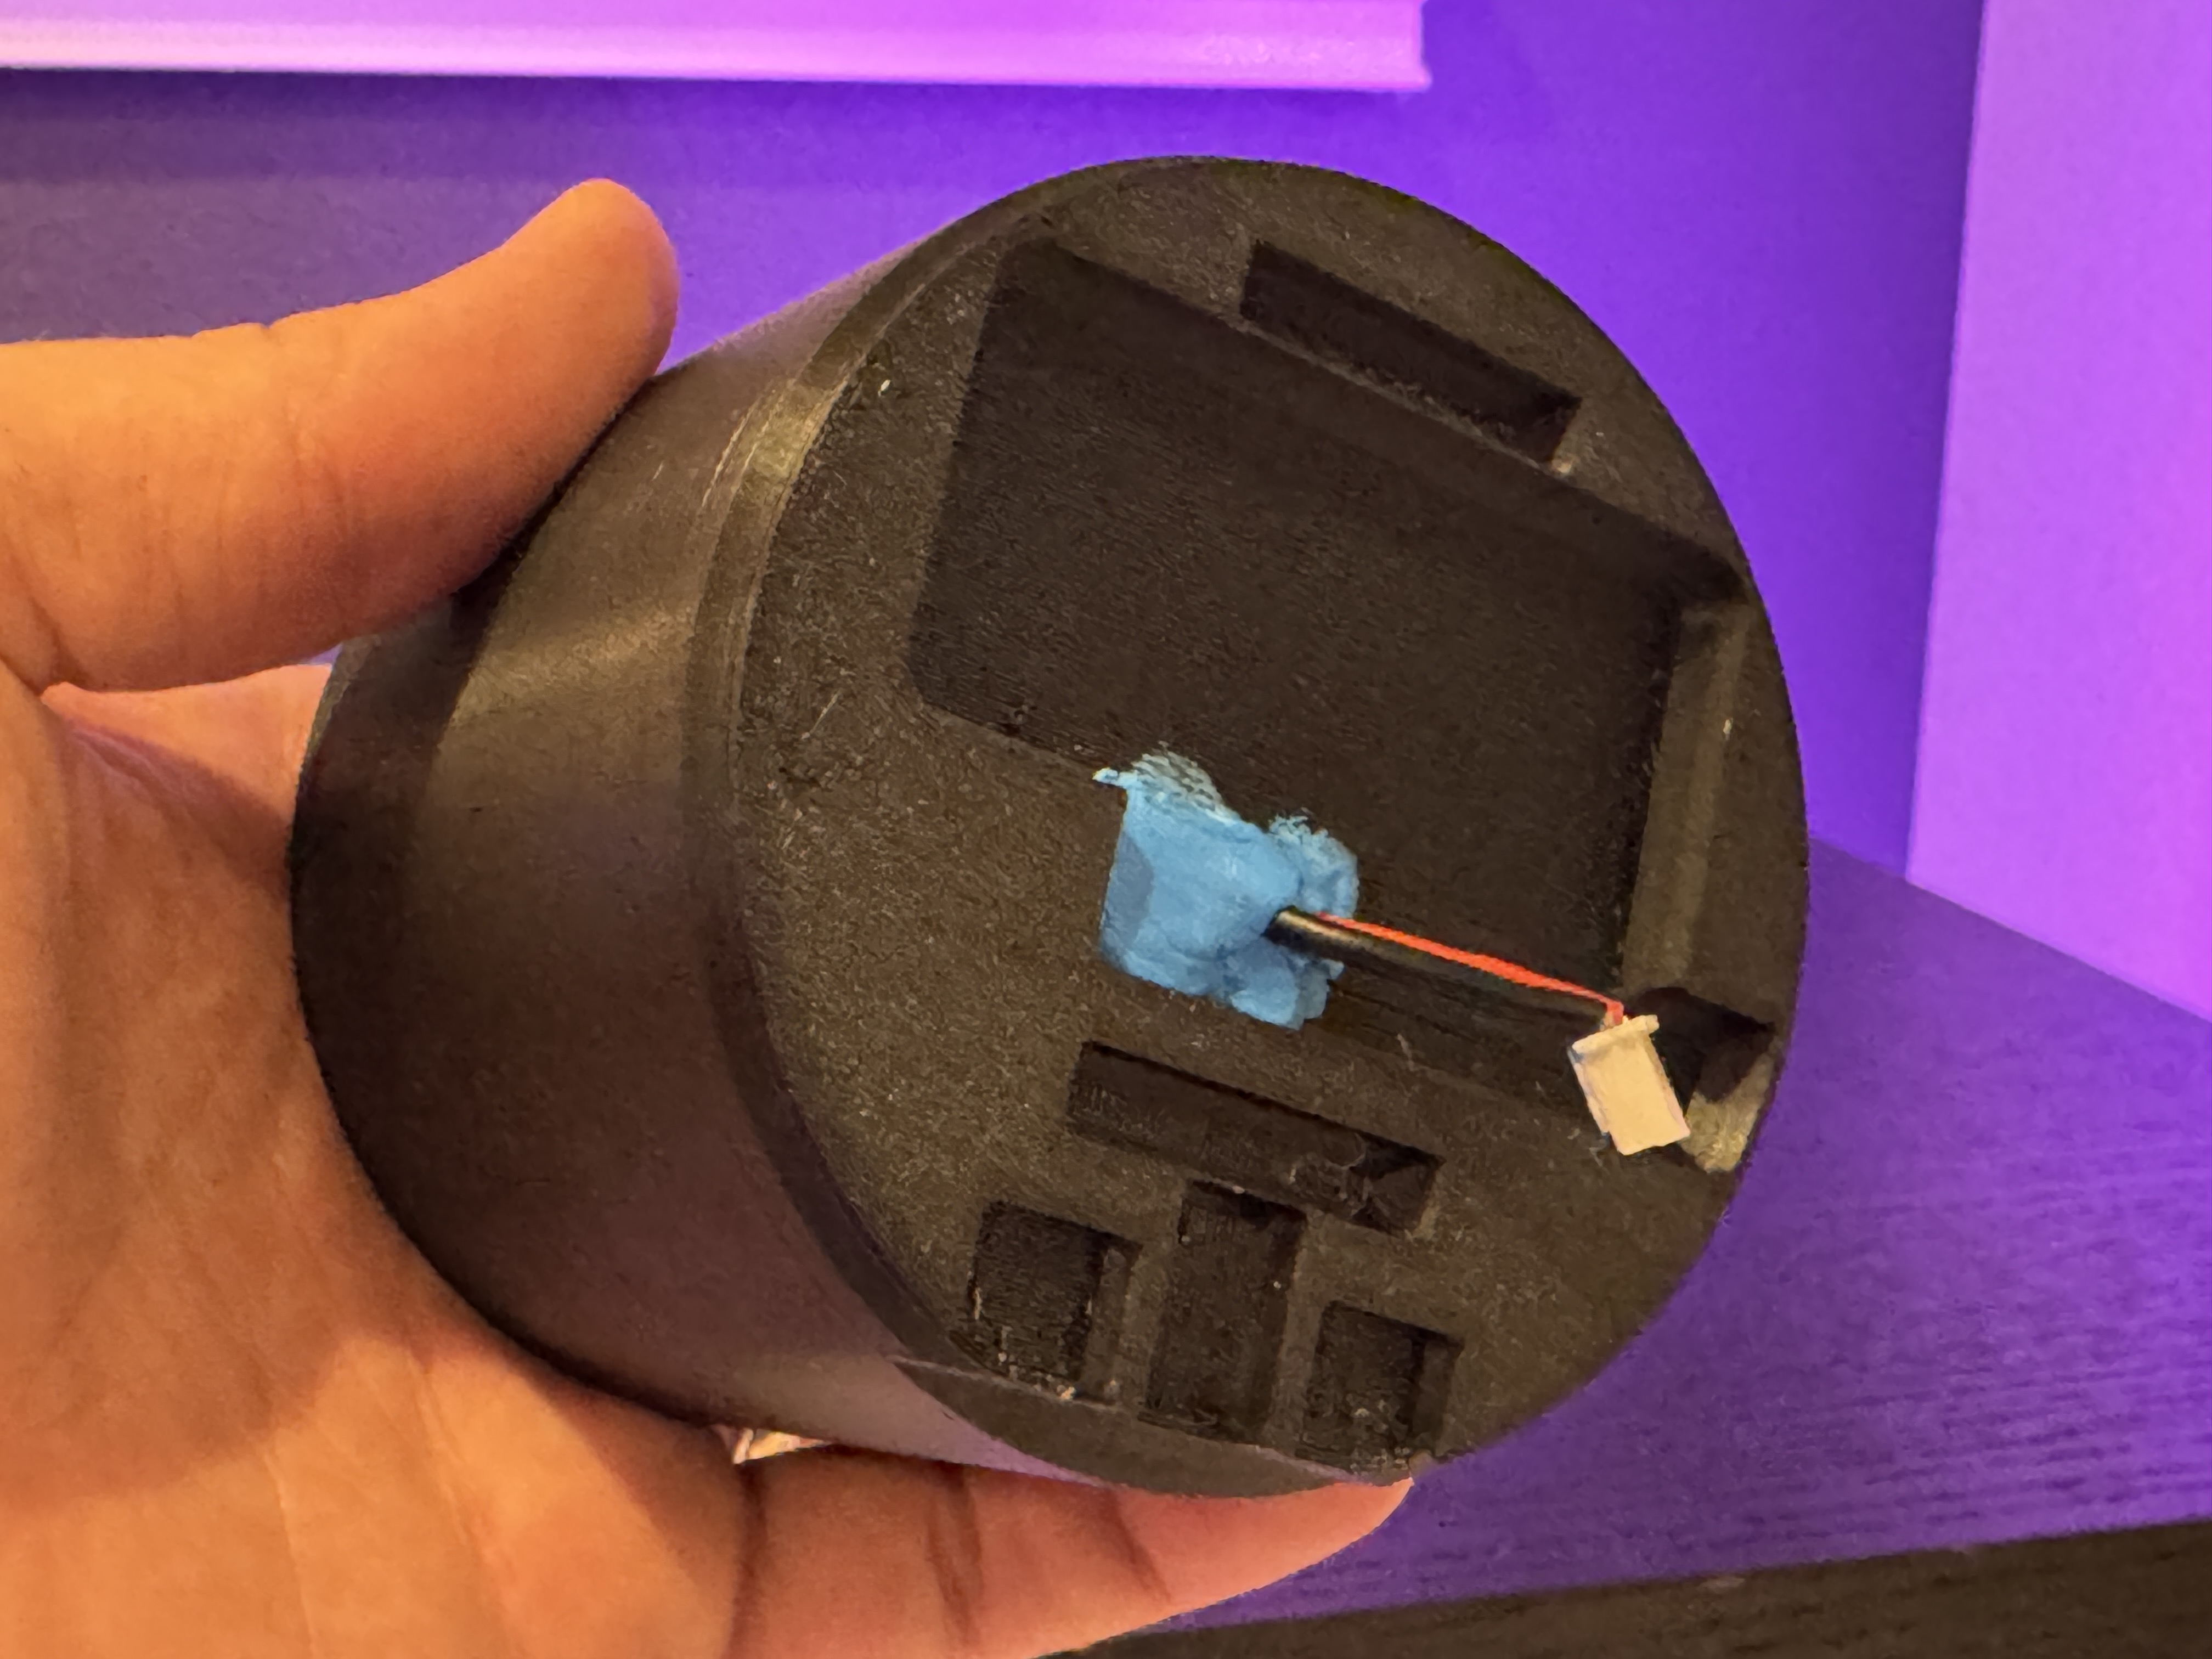
- Choose the right speaker chamber plug based on the guage of your speaker cables and wedge it in as best as possible, leaving about 1 in of cable sticking out. Cover the plug with Loctite.
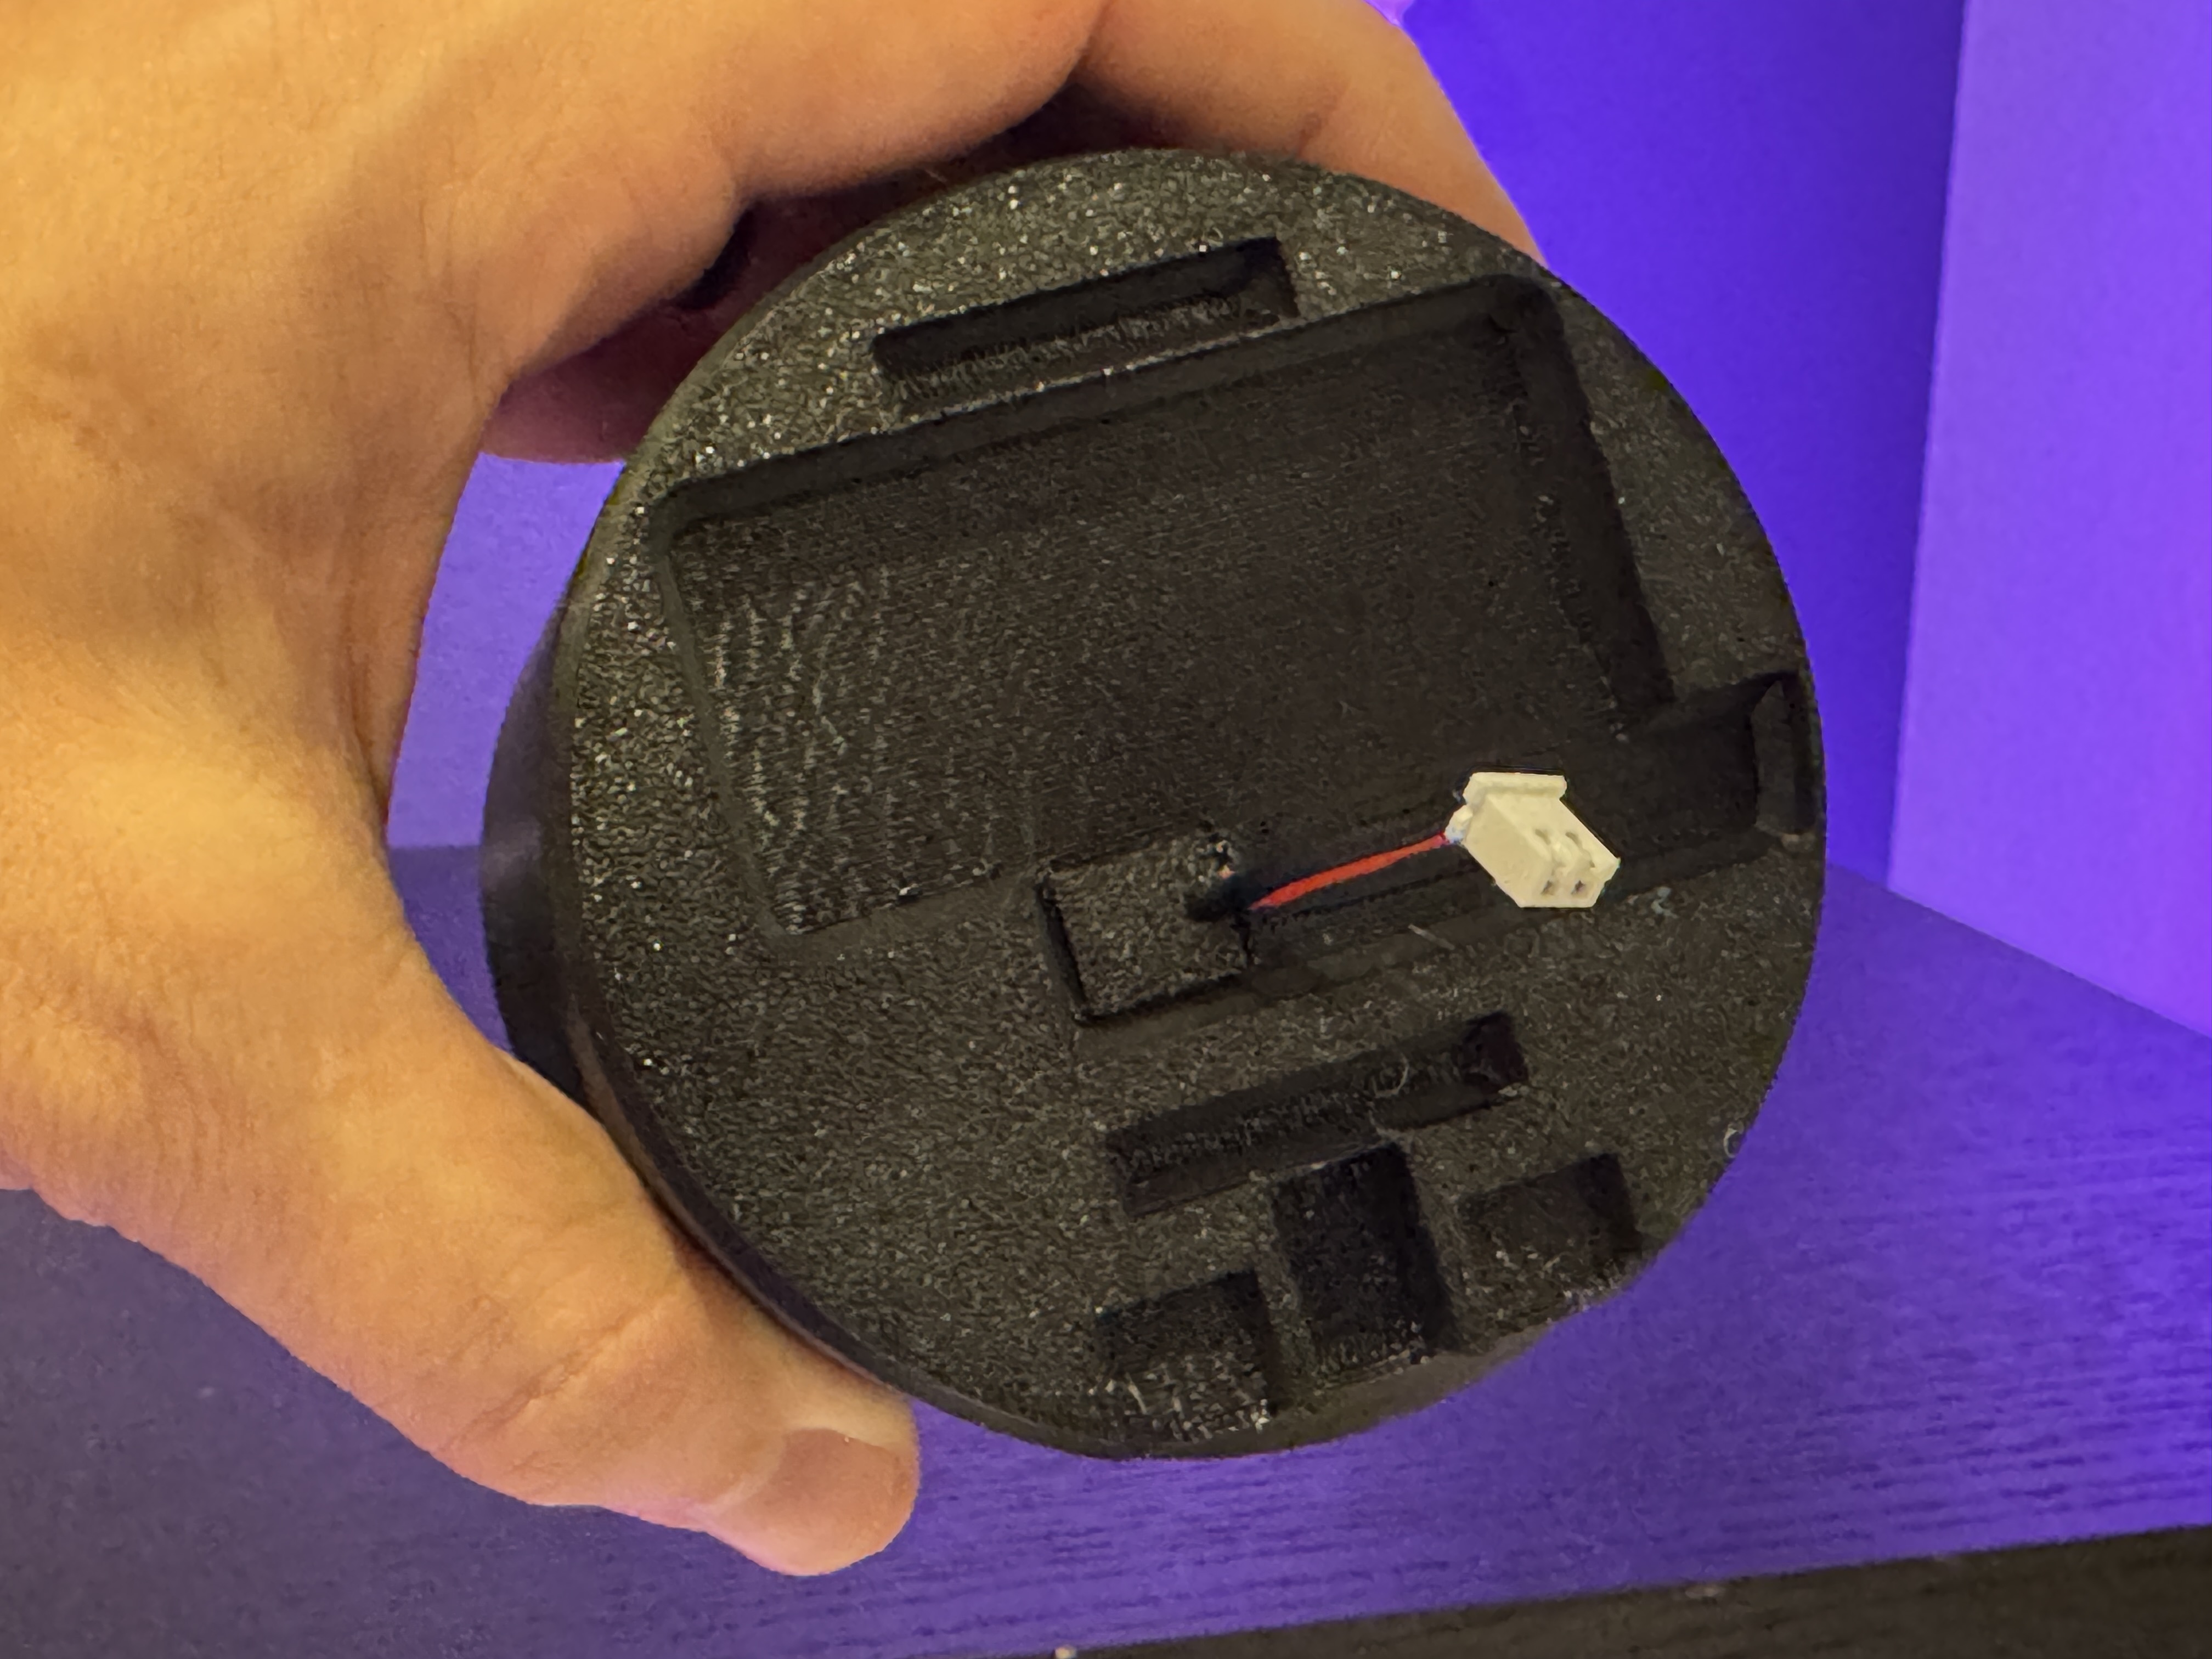
- Connect the JST-XH connector to the bottom of the HAT and align then snap the UFO to the speaker chamber.
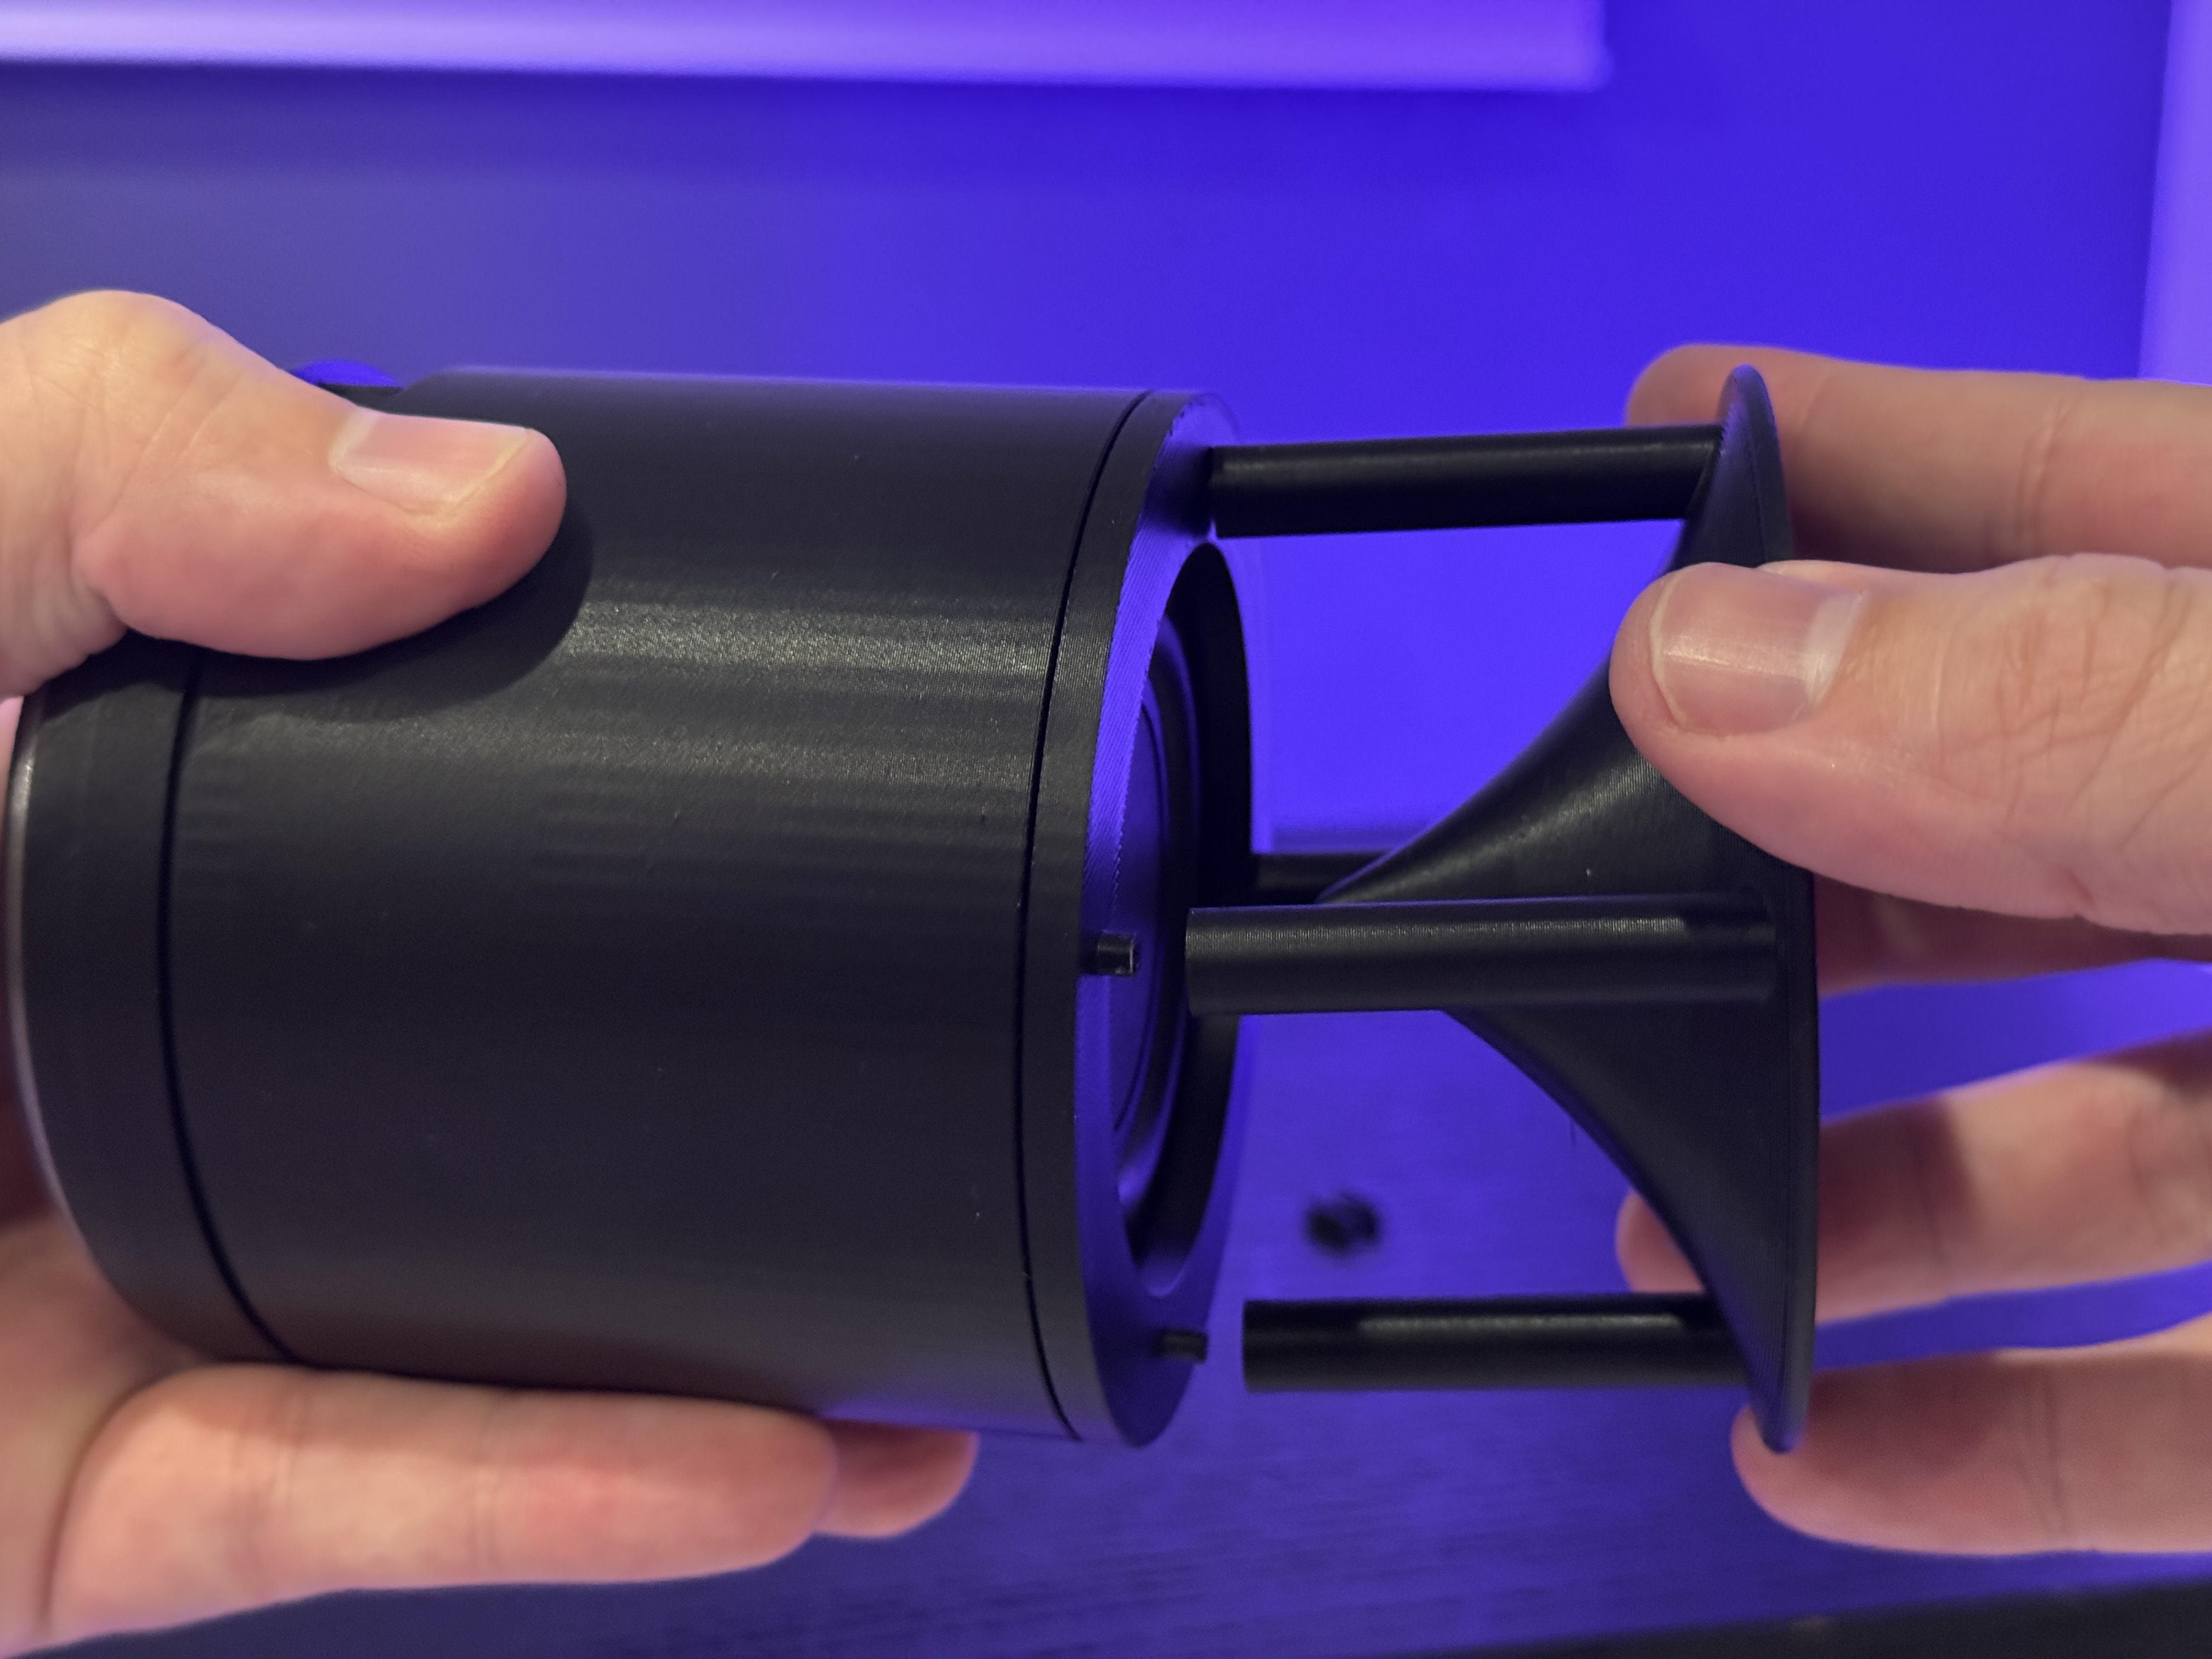
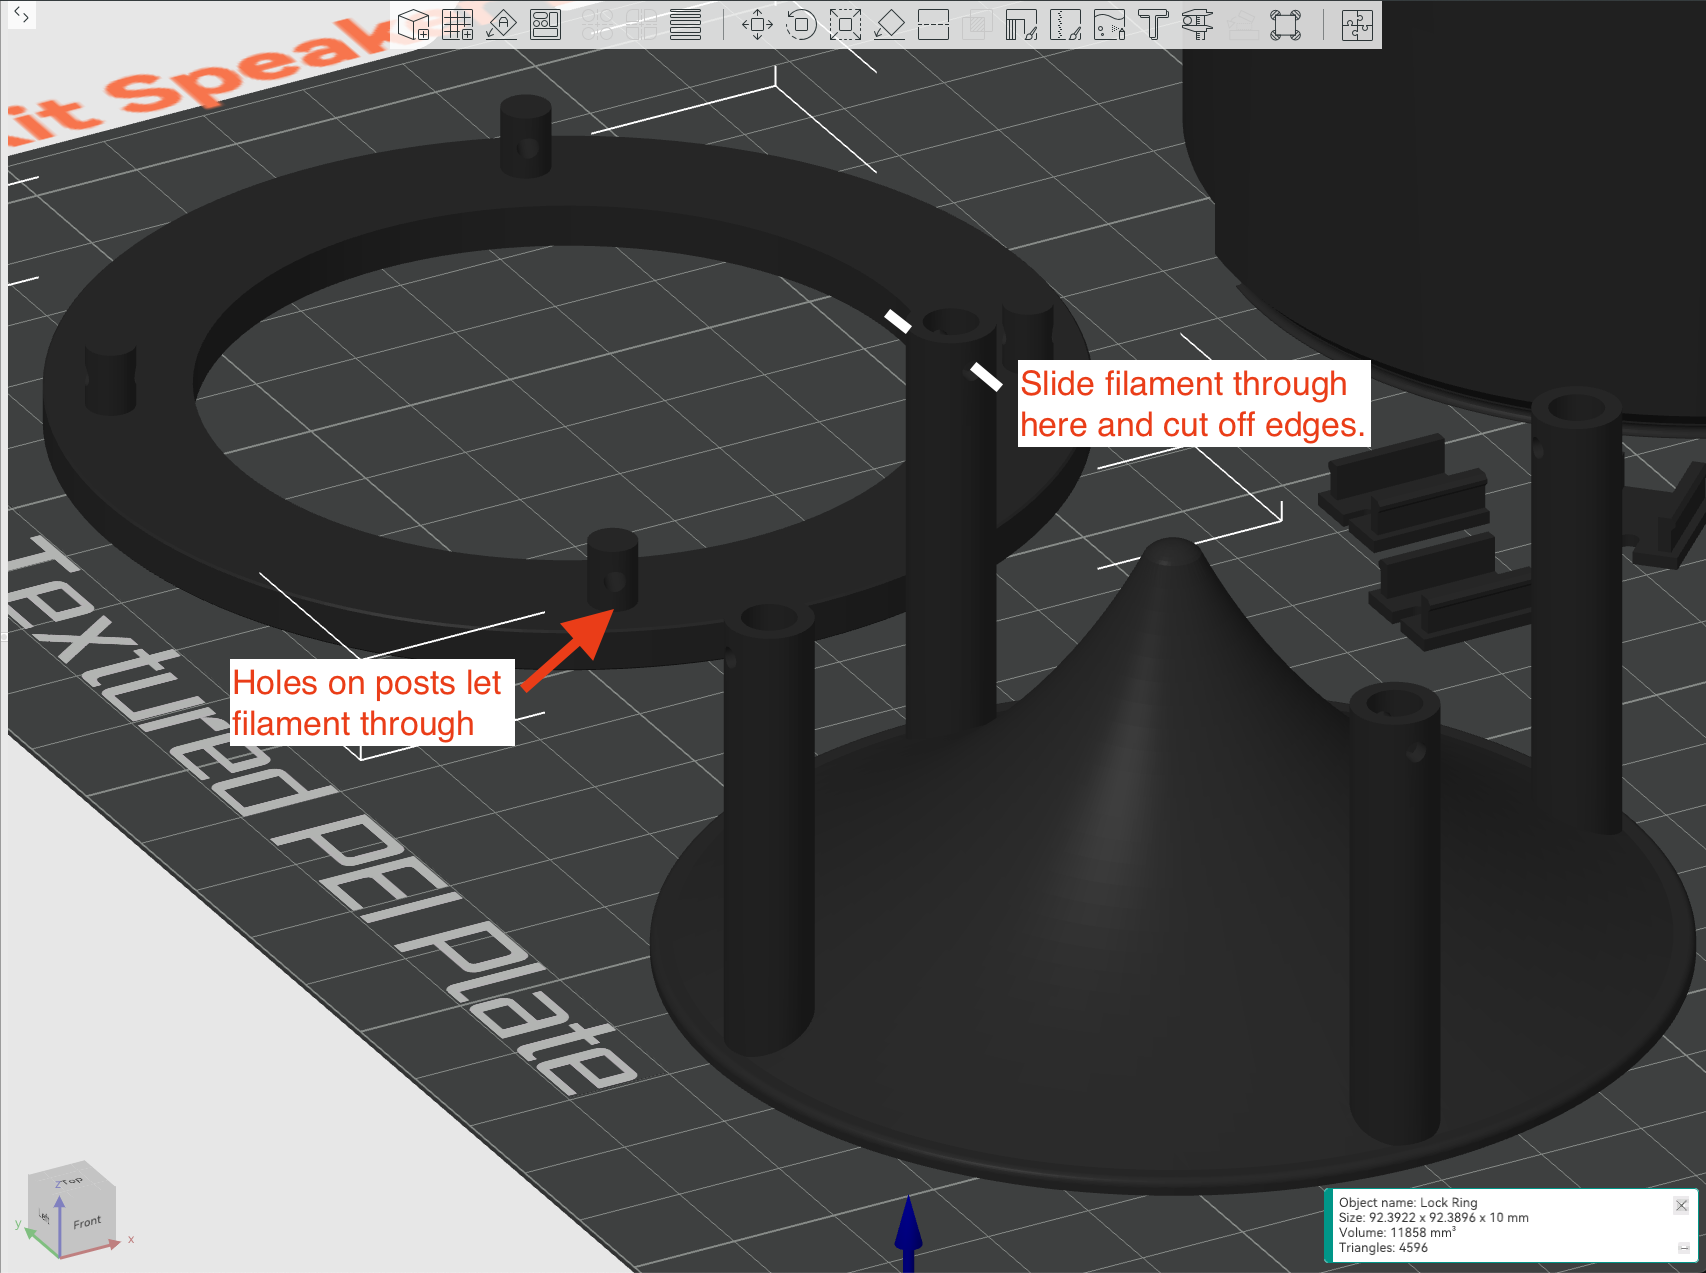
- Align the speaker stand with the lock ring's posts. Notice the hole at the top of each leg. Simply cut a piece of filament and slide it into each leg's hole to hold the stand in place.
- Find the "V" icon on the UFO enclosure. This is where you'll plug the USB-C cable to the HAT/CORE which powers up the device.
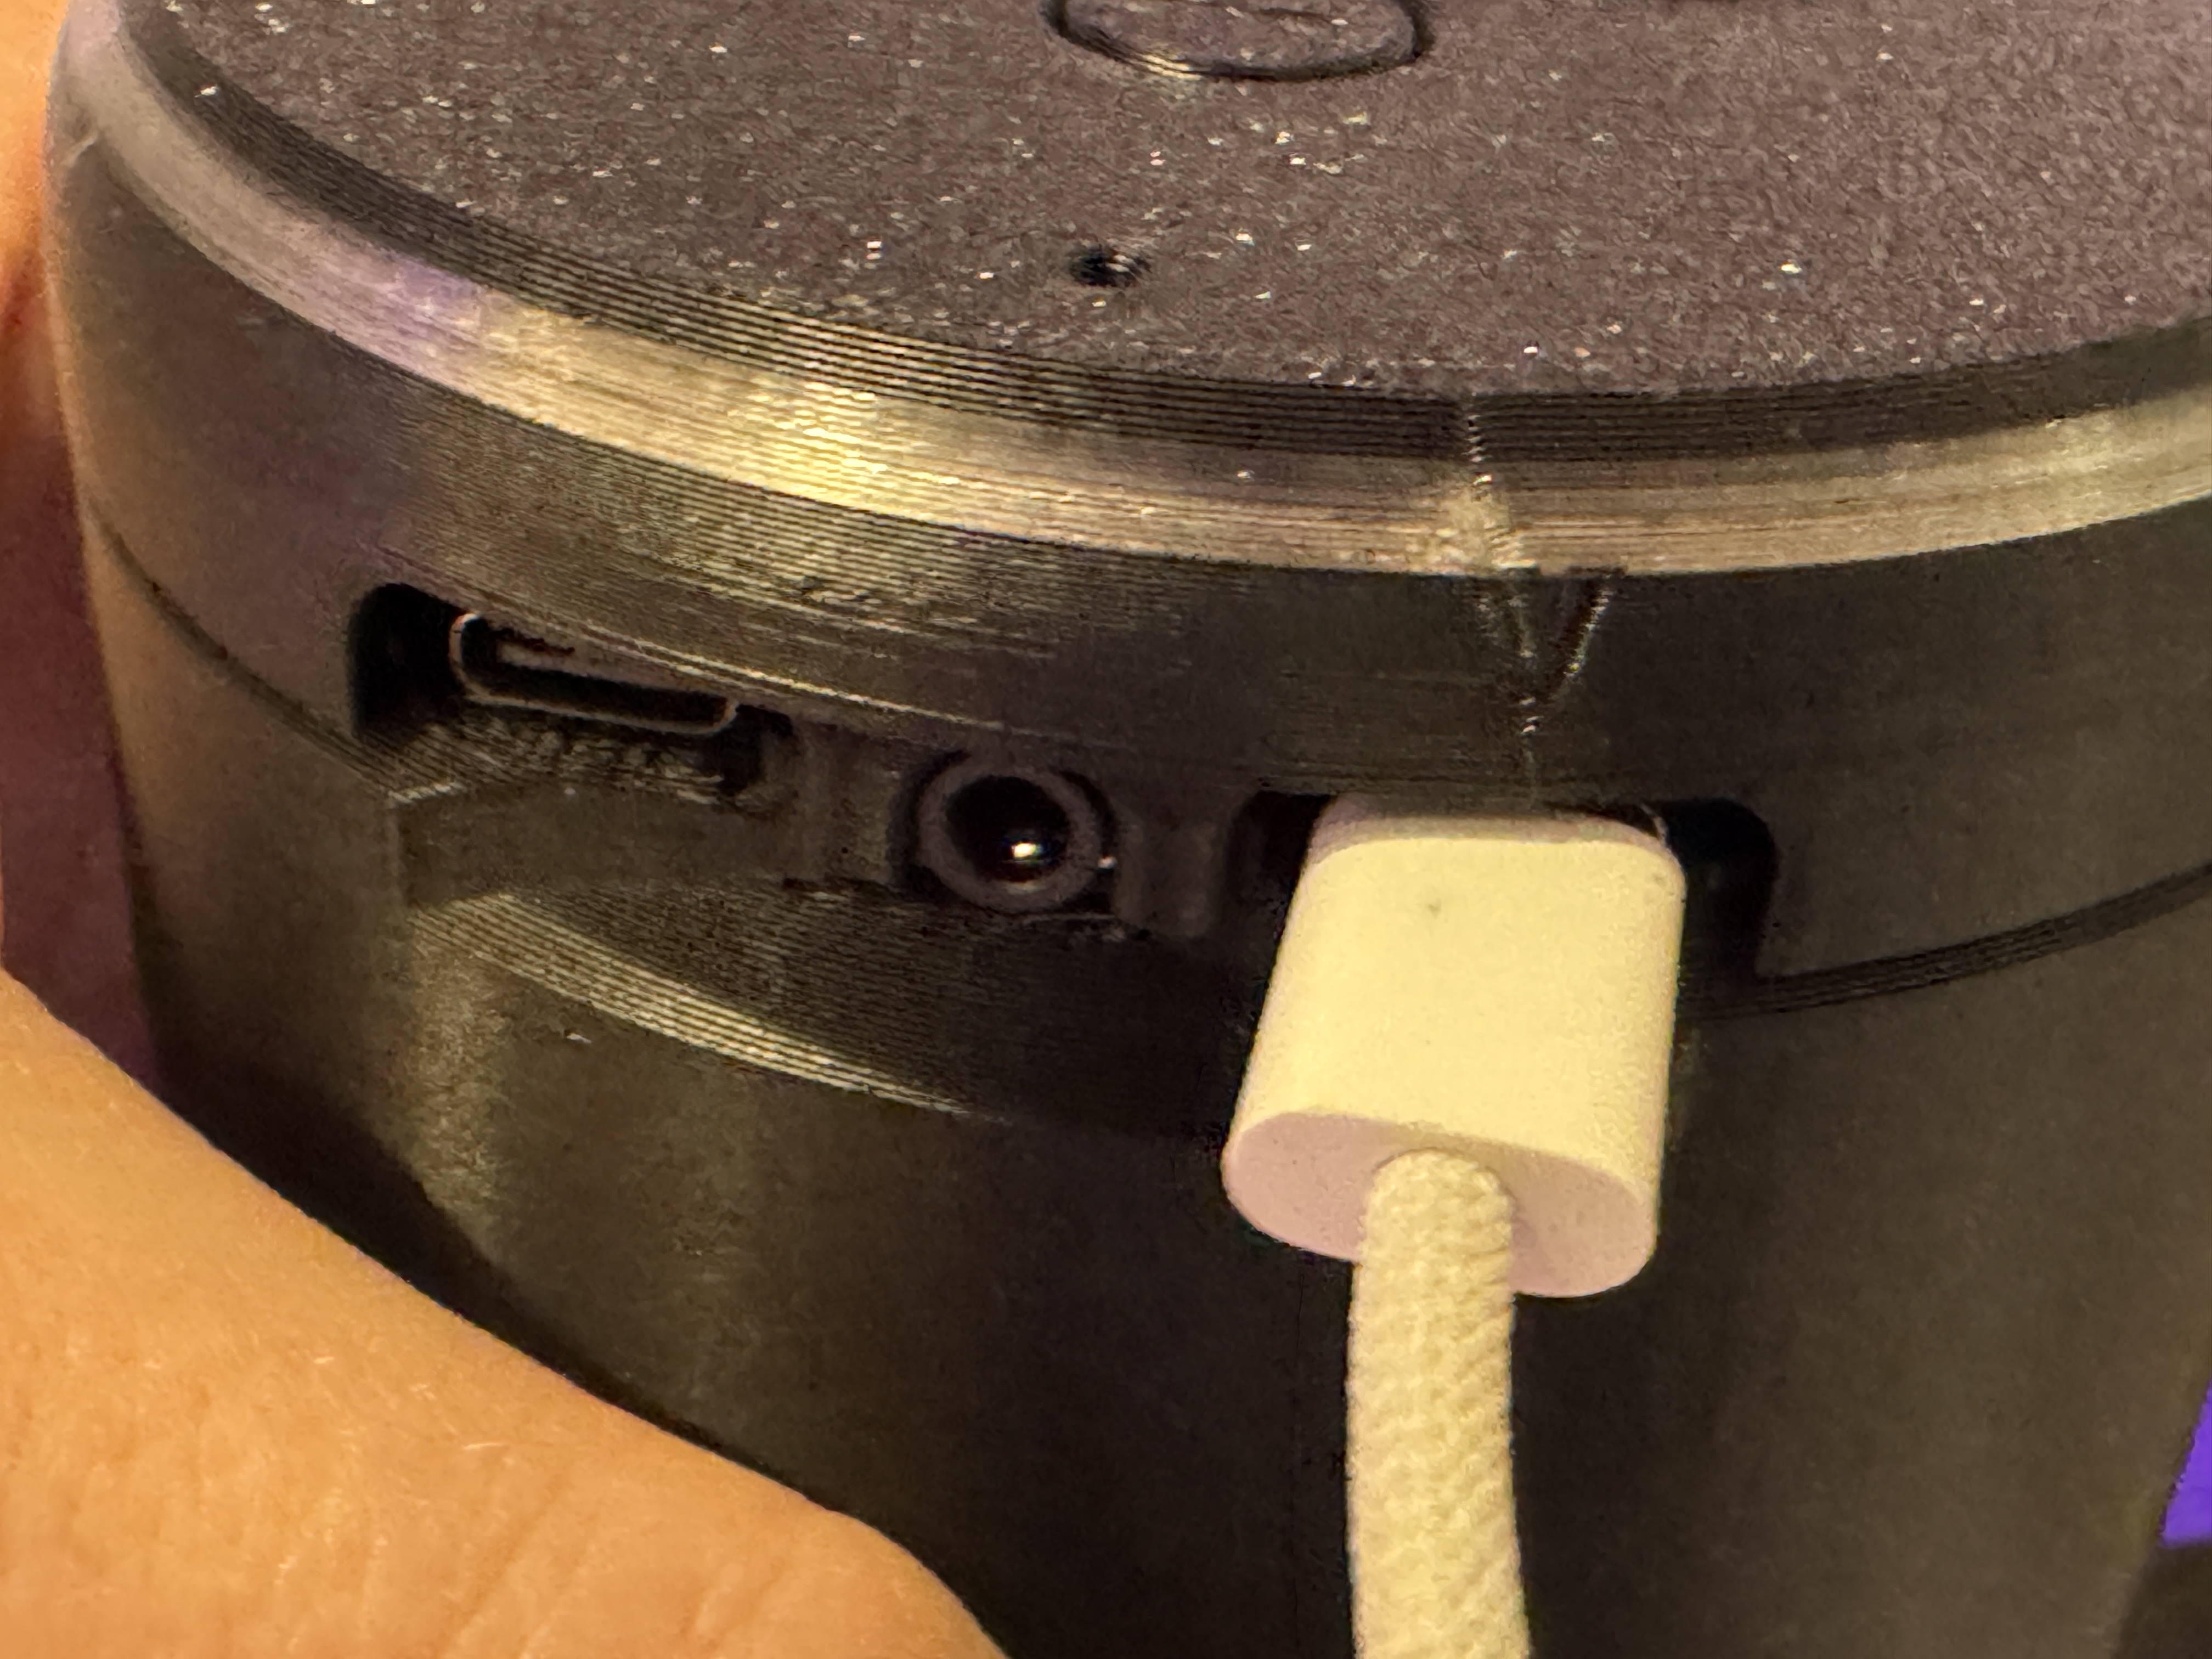
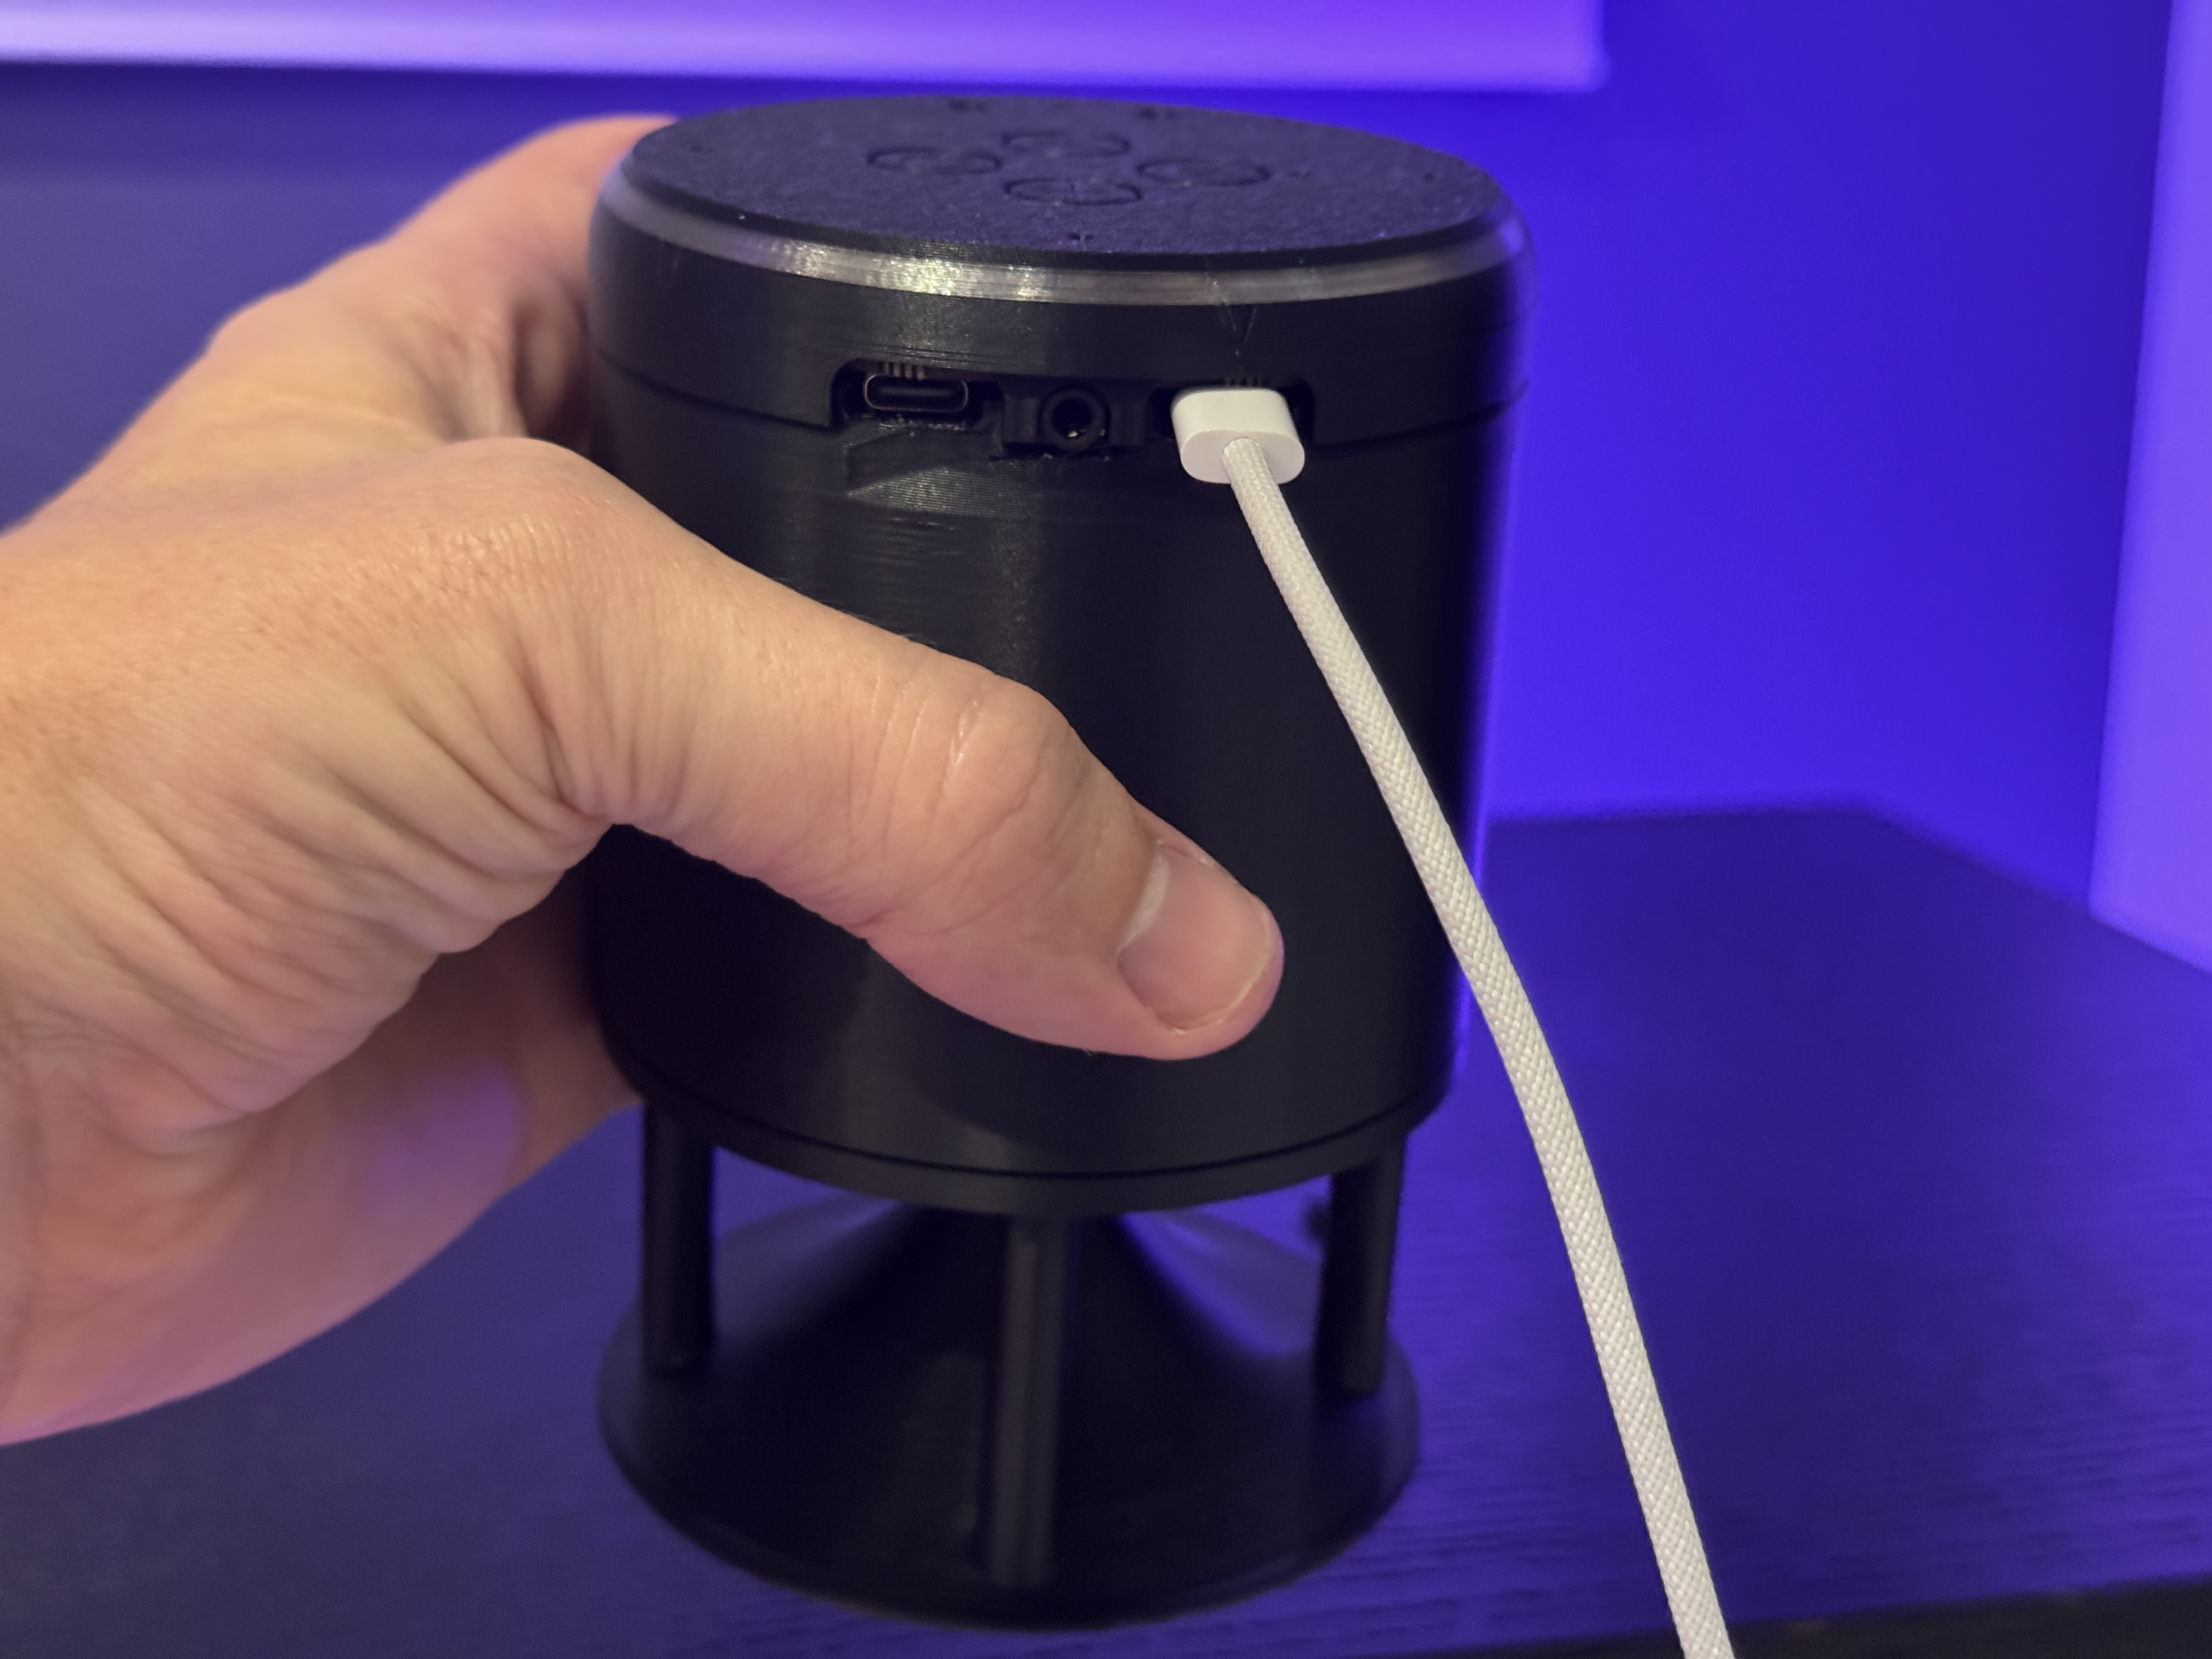
Congrats on building your own Satellite1 Dev Kit Speaker Enclosure!